• Skip to primary navigation
  • Skip to main content
  • Skip to primary sidebar
  • Skip to footer

Eclectic Momsense

Phoenix Area Creative Lifestyle Influencer

  • Email
  • Facebook
  • Instagram
  • Pinterest
  • Twitter
  • YouTube
  • Home
  • About Me
    • Privacy Policy
  • Recipes
  • Crafts
  • Disney
  • Travel
  • Parties
  • Contact Me
This site contains affiliate links. Please see Policies for more information.

No Sew Braided Fleece Blanket

07/19/2014

If you're new here, you may want to subscribe to my RSS feed. Thanks for visiting!

No-Sew Braided Fleece Blanket
It is baby season right now.  Just as our family finished growing the world around us is multiplying.  Friends and family are being blessed with bundles of joy.  I’m so excited to get to share a little handmade goodness, especially when it’s girly and pink.  This easy no sew braided fleece blanket is perfect for keeping little piggies warm.

Supplies:

2 equal pieces of fleece
scissors

Directions:

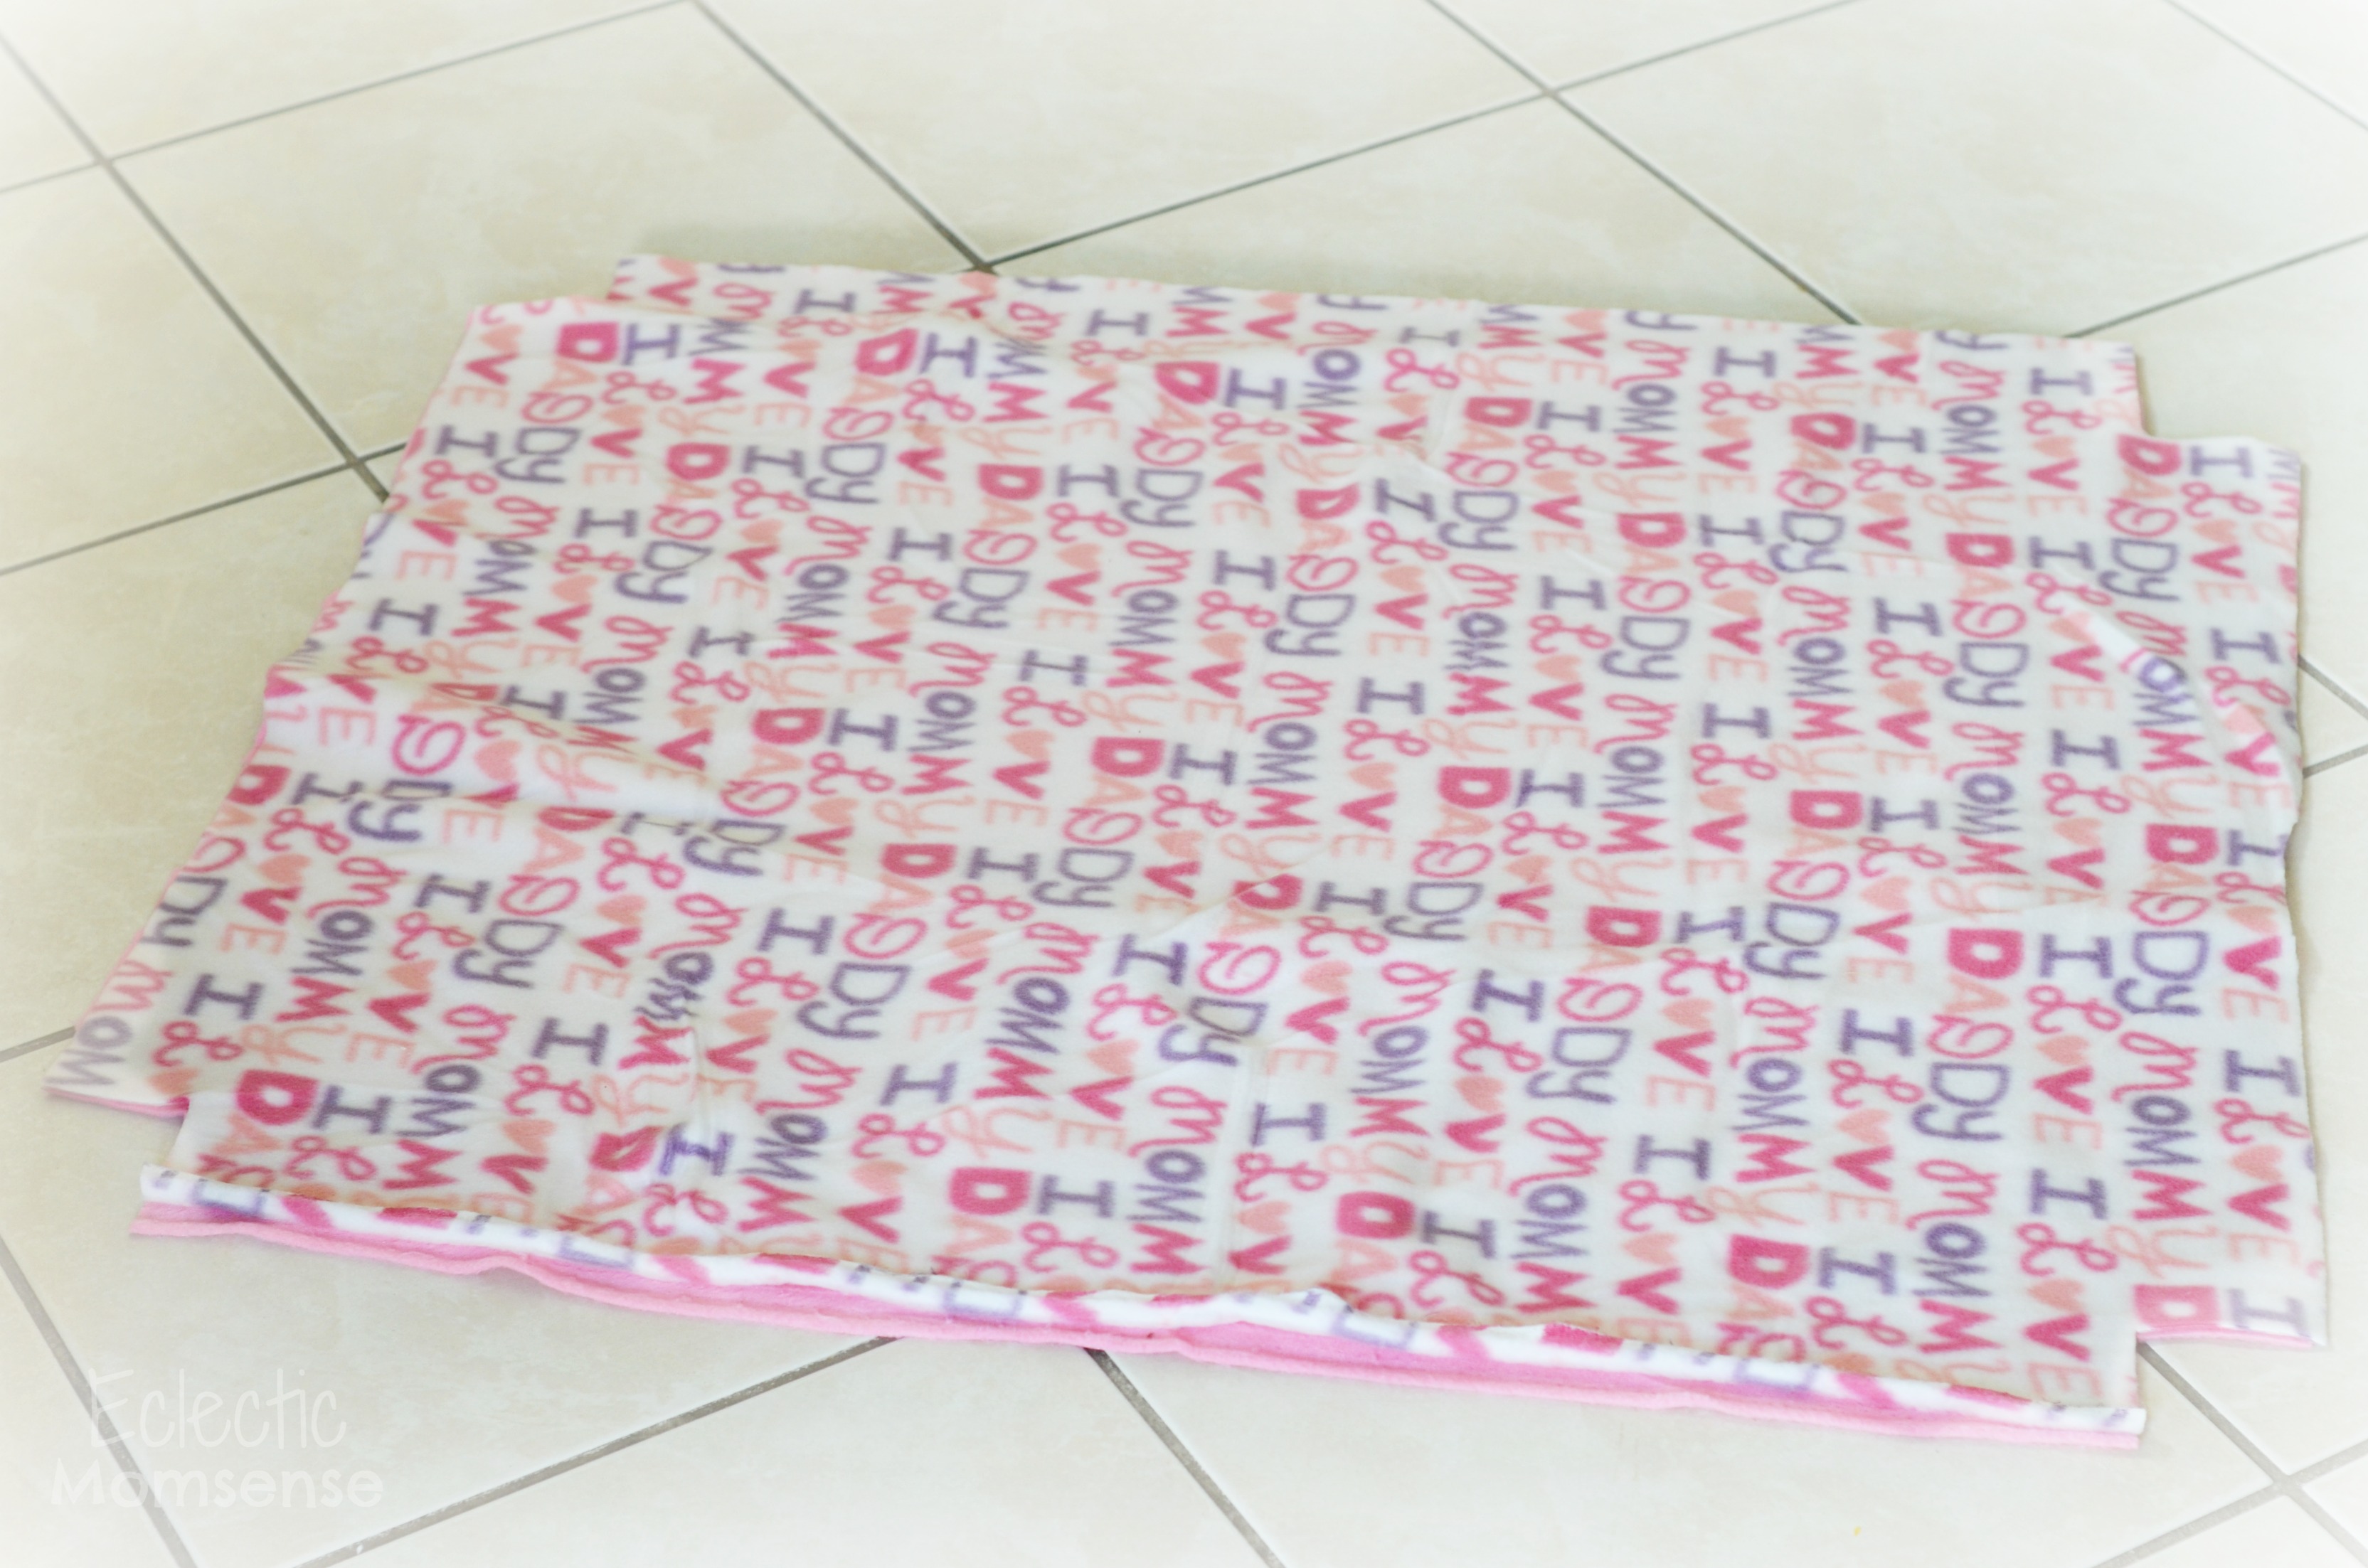
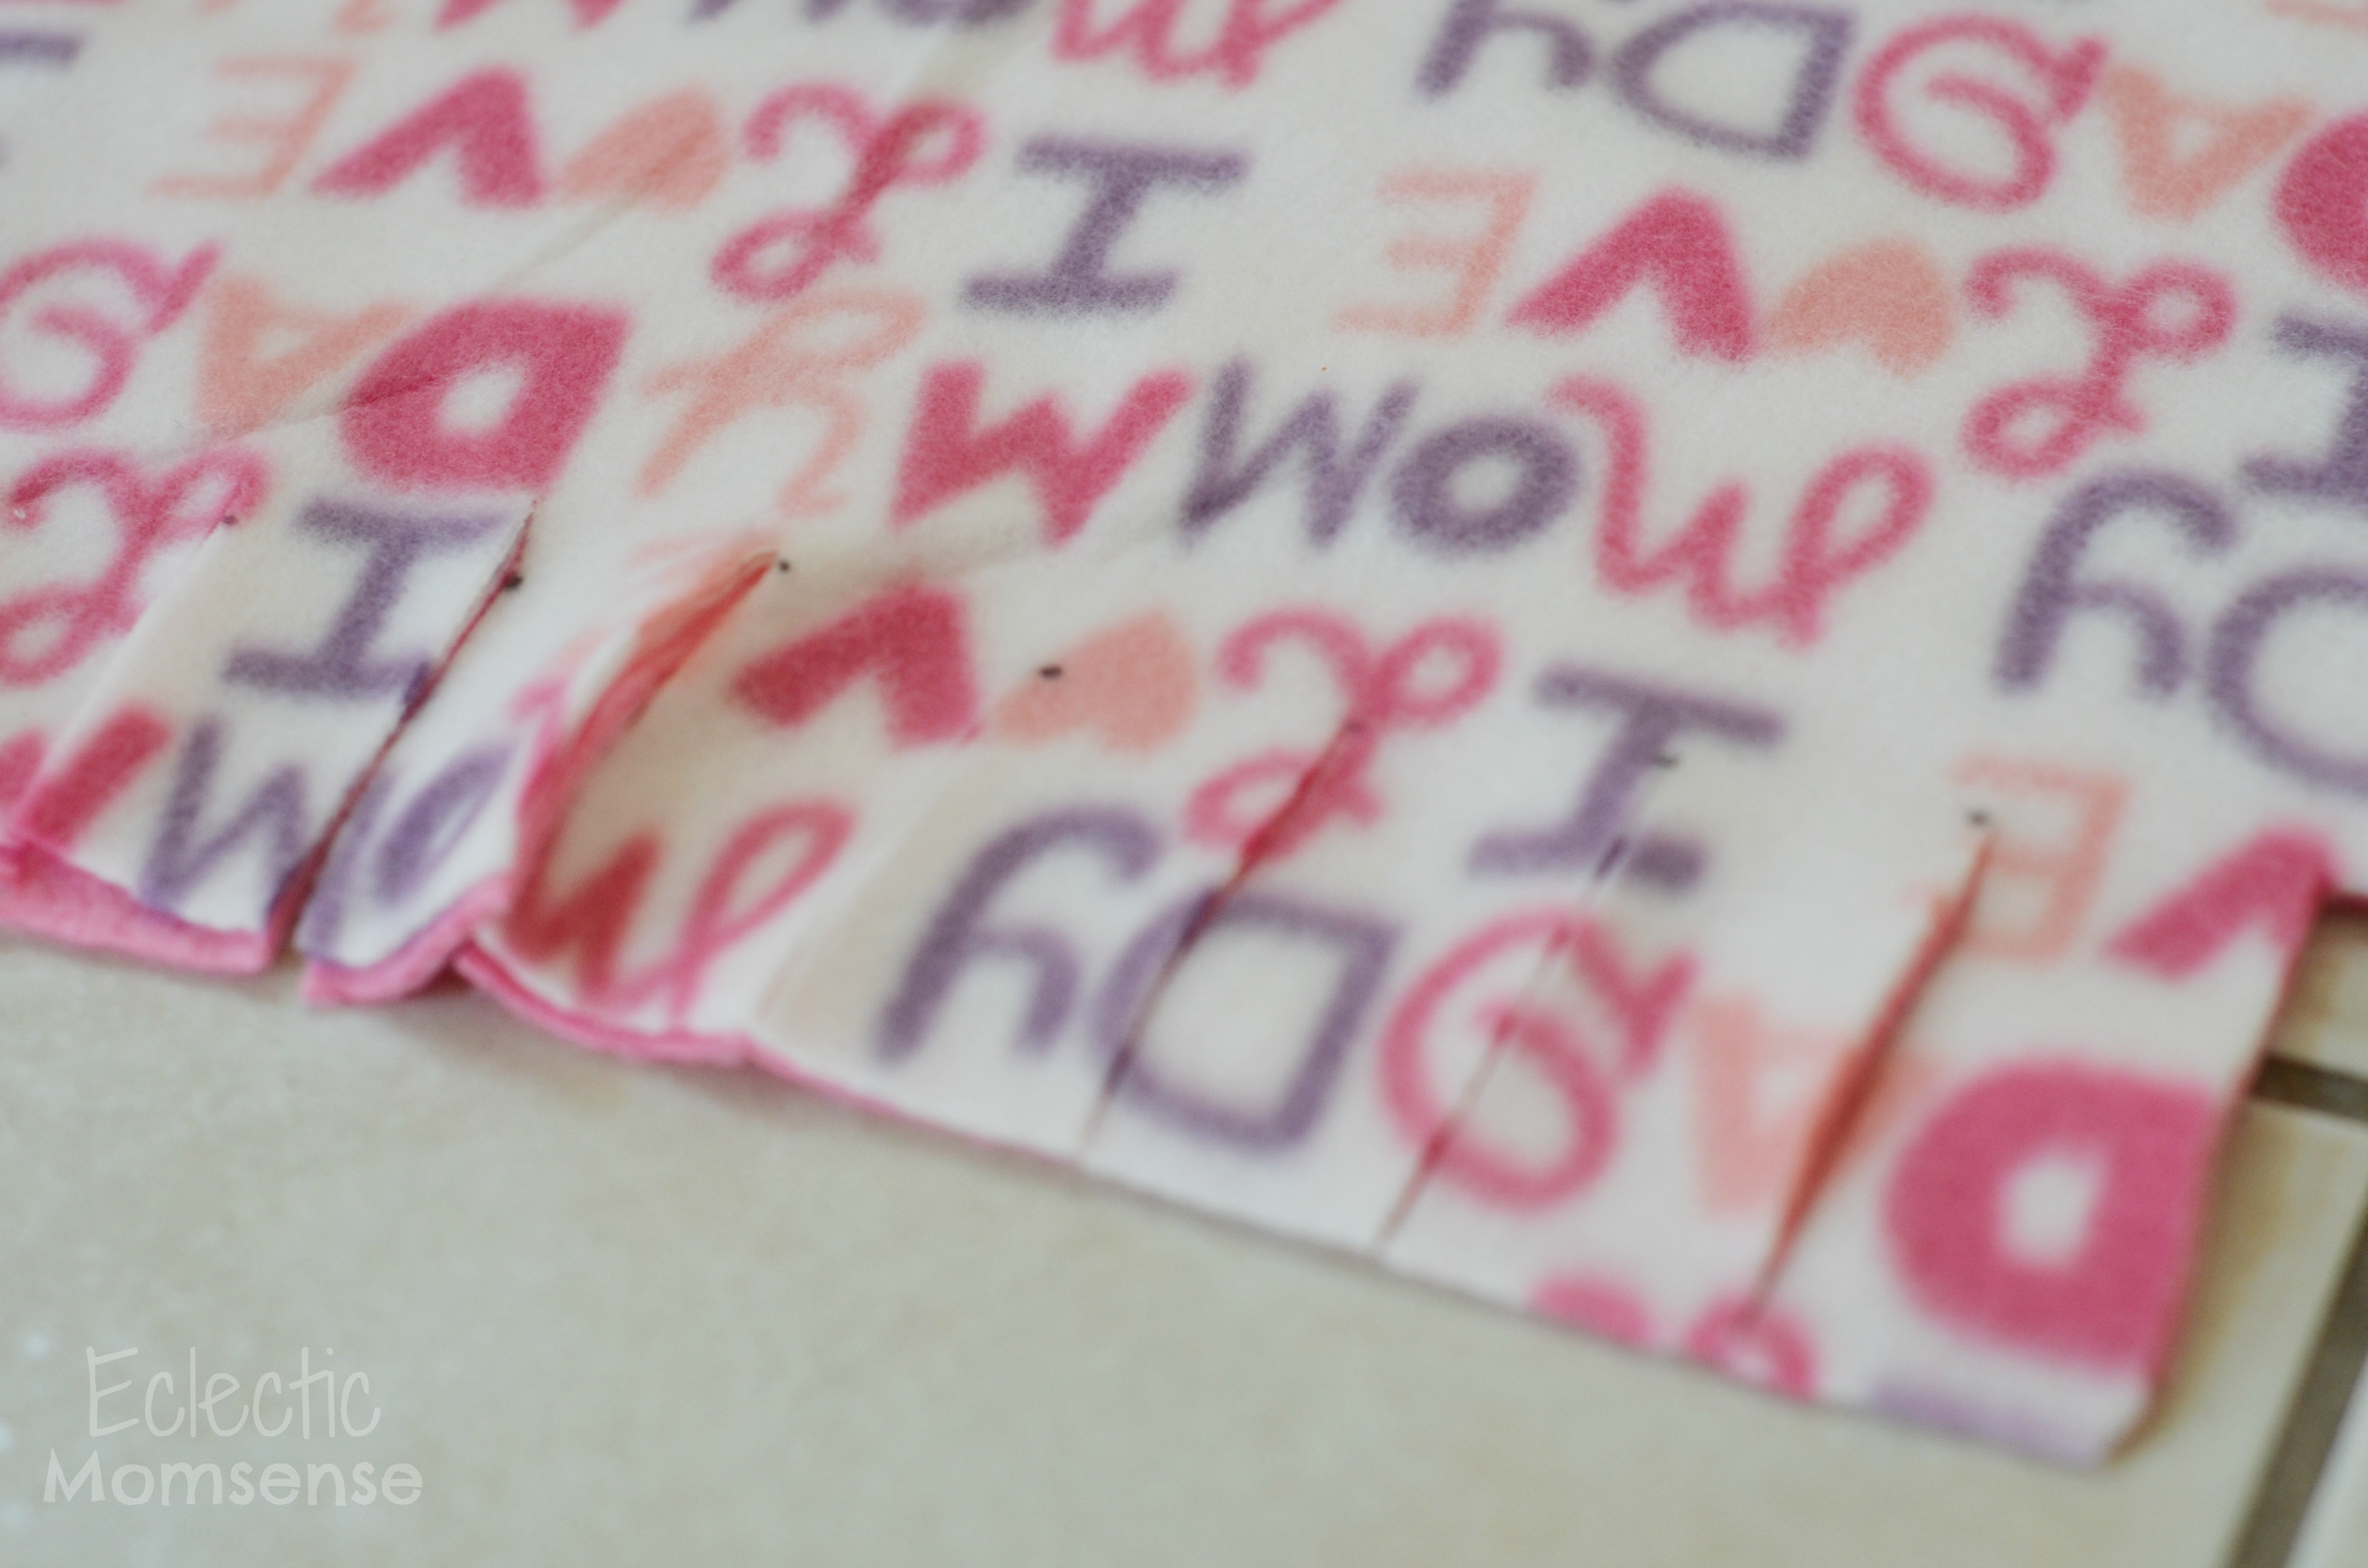
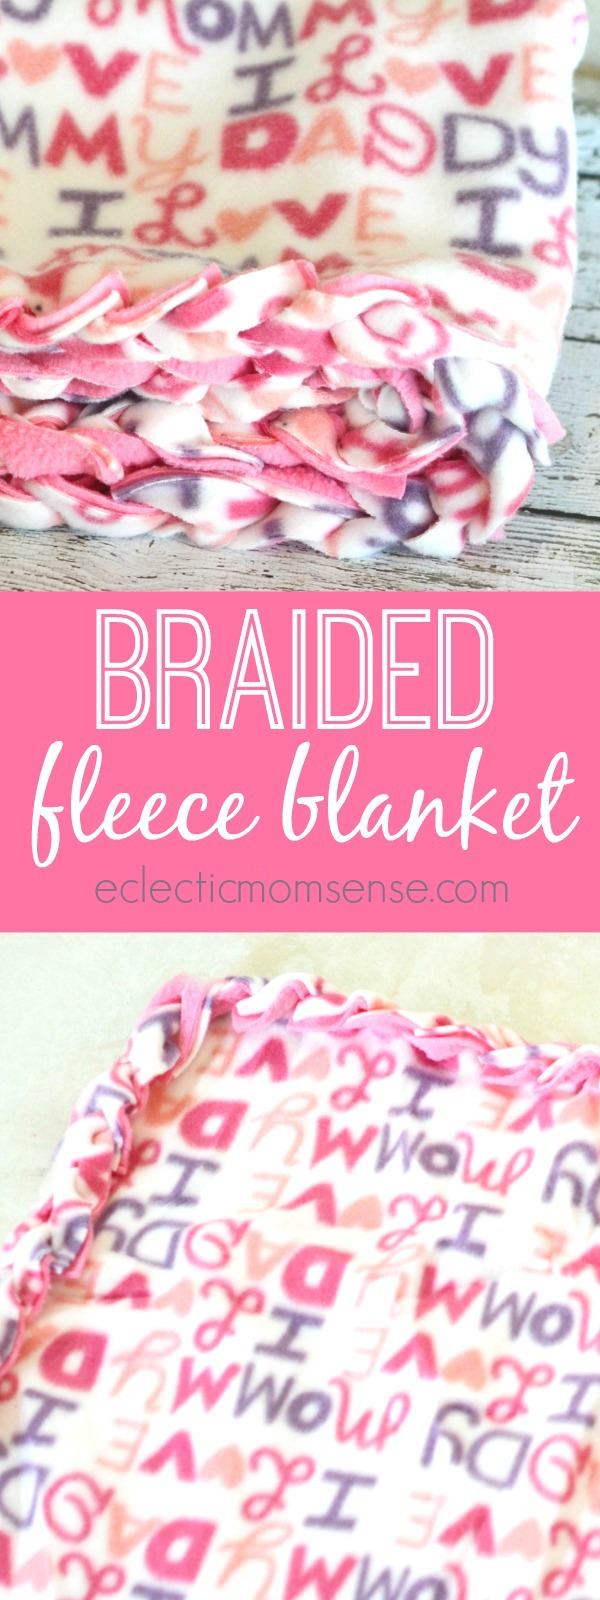
Cut your pieces of fleece to the same size.  Cut out a 3″x3″ square from each corner.

No-Sew Braided Fleece Blanket
Cut 3″ slits/tabs every inch around the blanket.

No-Sew Braided Fleece Blanket
Fold your tabs in half and cut a small slit in the middle.

No-Sew Braided Fleece Blanket
Start with one tab and pull it through the next slit. Take the next tab and thread it through the one you just pulled through creating a chain. Continue all the way around. (for example: right tab up through left tab.  Tab you just threaded becomes the left now.  Thread right tab through left tab, and so on.)

No-Sew Braided Fleece Blanket
You should be left with the first and last tabs.  Take the first and last tabs and tie in a double knot.  Tuck the loose strands inside the blanket.  You could easily use a fleece blanket kit and modify it by cutting slits in the tabs.

No-Sew Braided Fleece Blanket
These fleece blanket throw kits are a perfect start. They come with 2 sets of fleece fabric cut and ready to assemble. To complete the braided edge you just need to cut the center slits and go from that step on.

Tweet
Pin18K
Share124
18K Shares

Filed Under: baby, Crafts Tagged With: braided fleece blanket, fleece blanket, no sew blanket, no-sew

Previous Post: « Disney Planes: Fire & Rescue {review}
Next Post: Disney Planes: Fire & Rescue Coloring Pages & Printable Activities »

Reader Interactions

Comments

  1. bluegirl

    01/12/2015 at 9:53 am

    Oooh! This is wonderful! Question b/c I got lost at one point. When you say: “Start with one tab and pull it through the next slit.” What do you mean? For some reason it’s stumping me. I keep picturing in my mind that the tabs would keep popping out.

    Also, do you think this would work with a bigger blanket?

    Thank you!
    bluegirl recently posted…Embedded in an Orderly FrameworkMy Profile

    • Kelly Denton

      01/12/2015 at 10:30 am

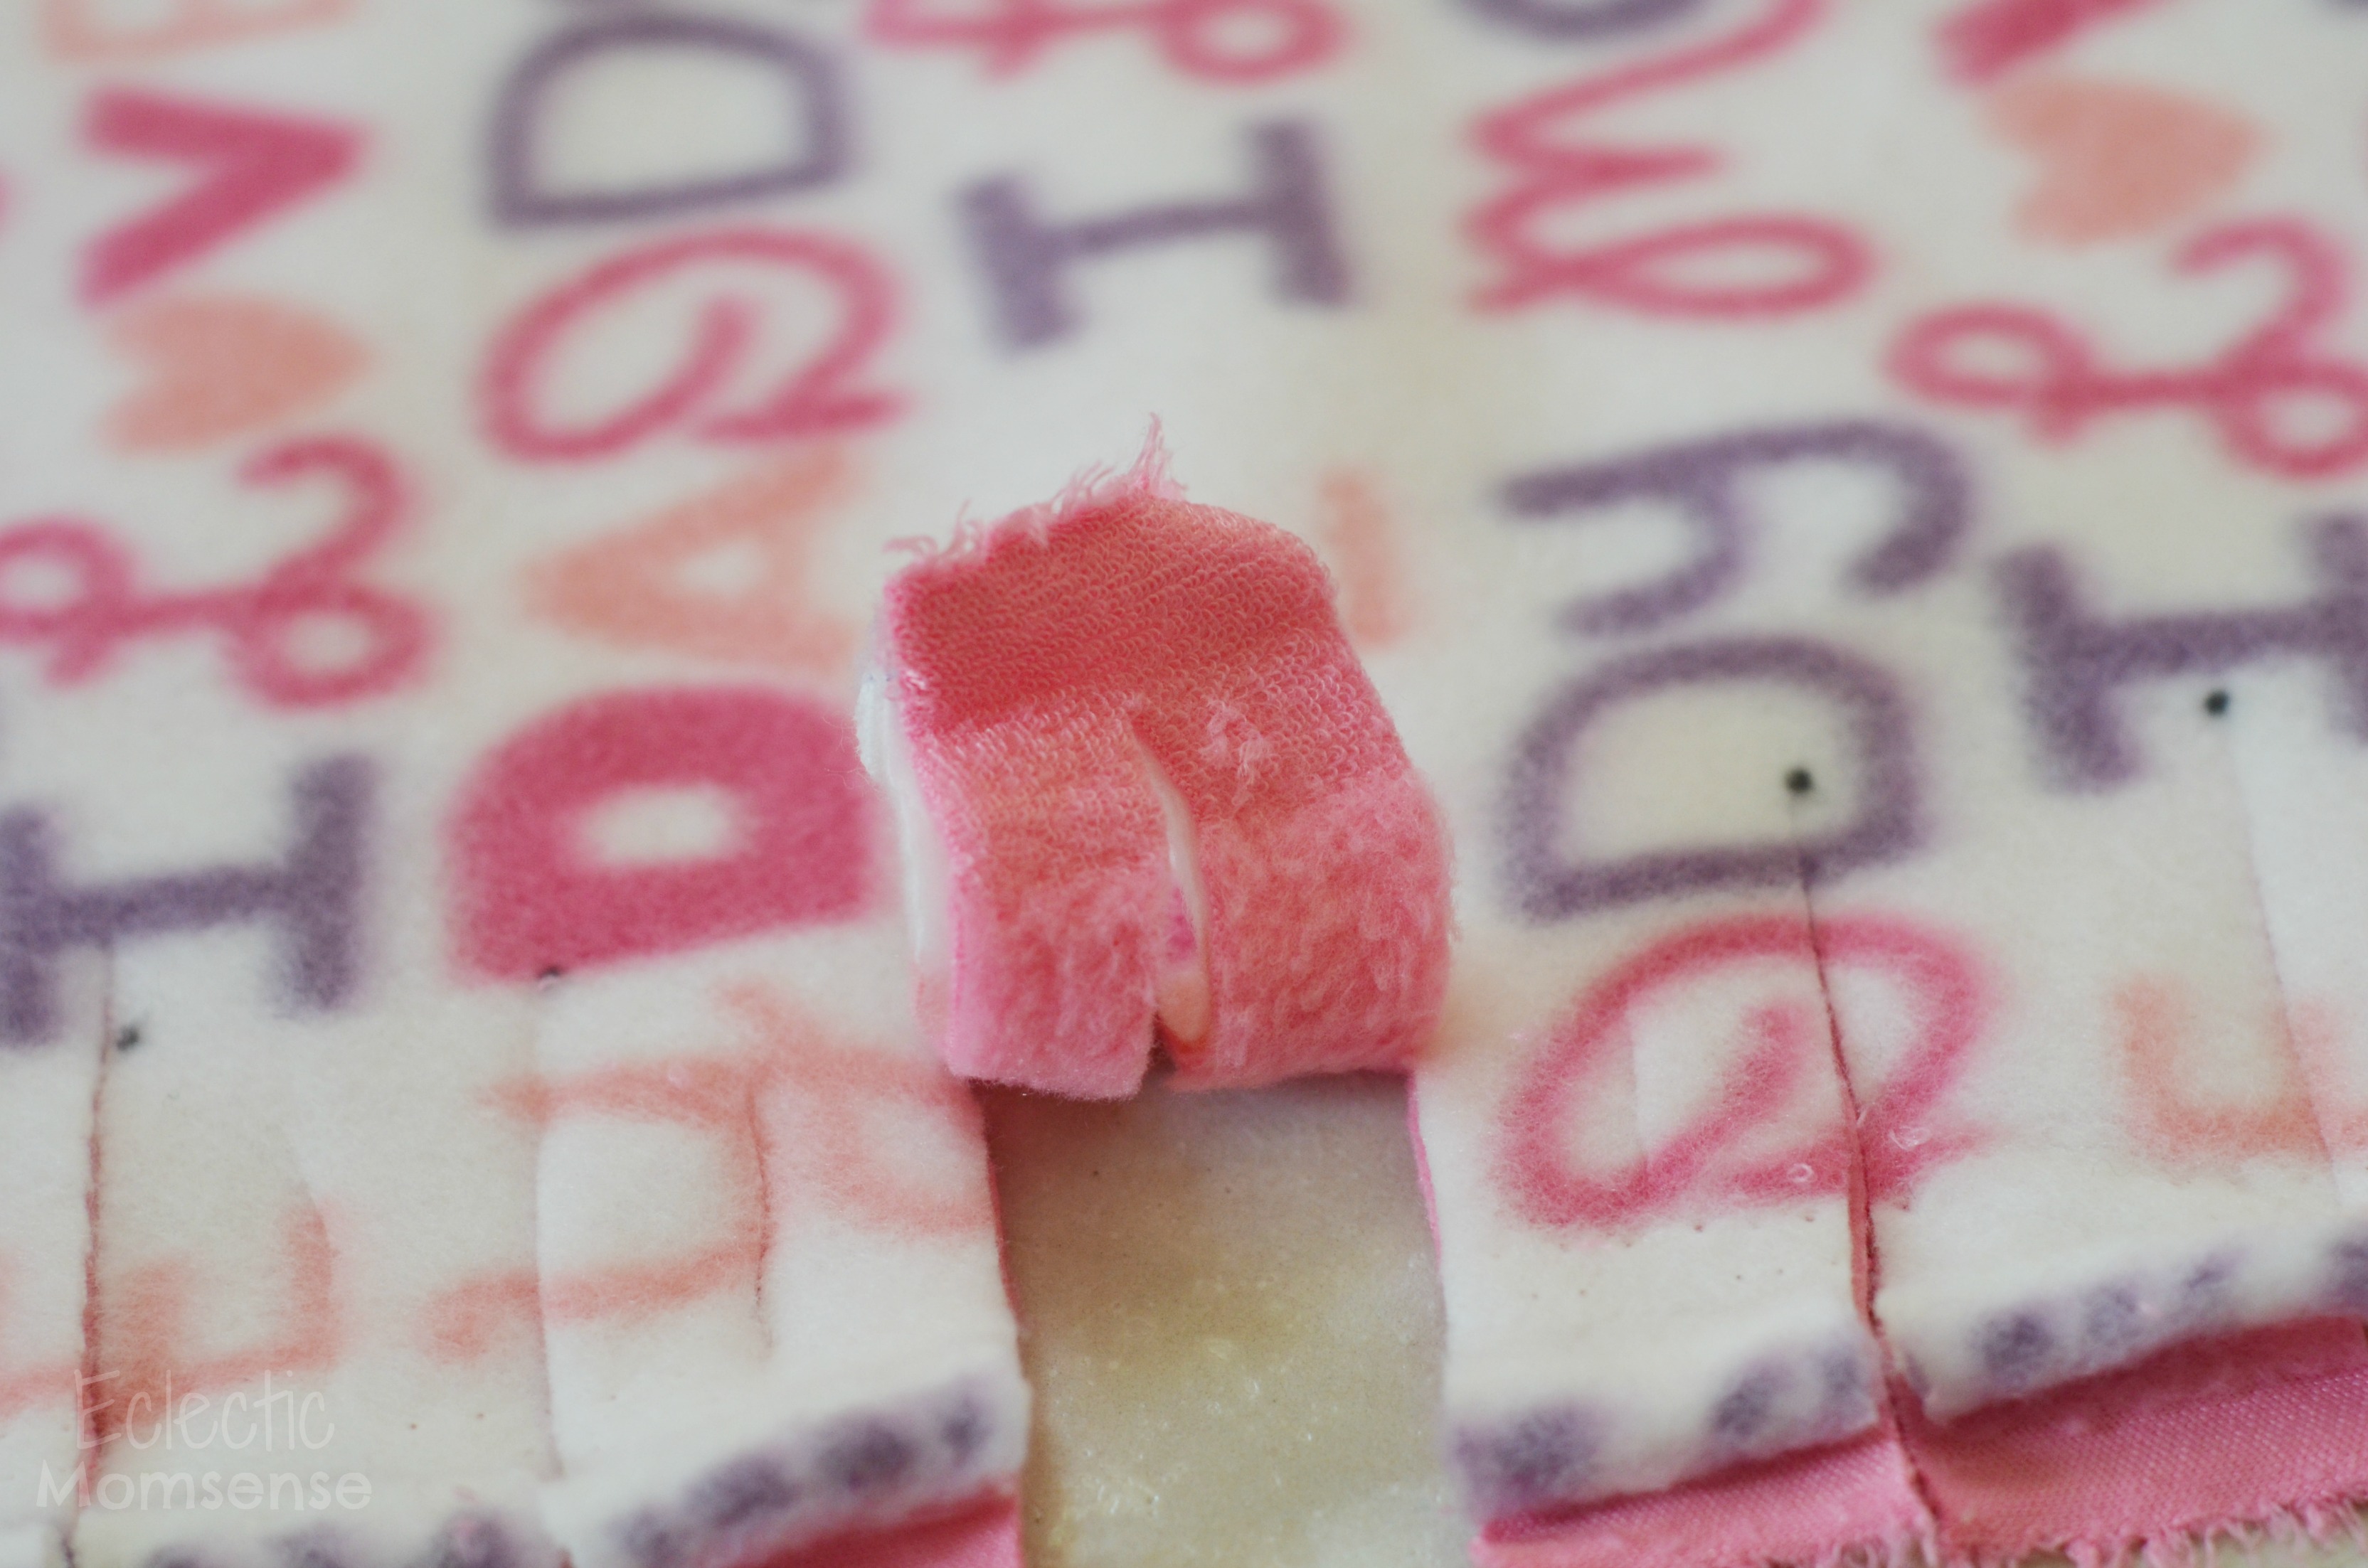
      So each tab has a slit cut in it. Take one tab and thread it through the slit of the tab next to it. Continue with the tab you just put through the slit and thread it through the next slit. You will be creating a chain of sorts that looks like a braid. This should work nicely with any size blanket. I love this finish because it doesn’t loosen or fall apart like the knot blankets over time.

    • faith

      01/14/2015 at 6:34 pm

      can u make on e for adults as well

      • Kelly Denton

        01/16/2015 at 7:49 am

        This technique should work with any size fleece.

        • Sharon

          02/23/2018 at 10:22 am

          Where can I find the pink and white (I love mommy/ daddy fleece fabic for blanket)

          • Kelly Denton

            02/23/2018 at 5:04 pm

            Sharon, I grabbed that at Joann’s a few years ago. I believe it was a remanent.

    • Pamela Pannell

      09/03/2016 at 7:01 am

      I have made 15 so far! For a “throw” to wrap up watching tv, I use 2 yards, two pieces. For a baby blanket, I use one yard, each piece.
      Take top piece, pull through bottom piece next to it, then pull the top piece through the bottom piece.
      I hope this helps you!

      • Kelly Denton

        09/26/2016 at 7:56 am

        15! That’s amazing. They make awesome gifts.

      • Mary Axford

        11/23/2016 at 6:15 pm

        Hi my name is. Mary, and I was reading about how you braided the blanket, but I still don’t understand it. It seems like it would fall out. Please explain.

  2. bluegirl

    01/12/2015 at 3:28 pm

    Kelly, thank you so much! I am going to give this a try. I will report back with results! Again, thanks. Have a great day!
    bluegirl recently posted…Embedded in an Orderly FrameworkMy Profile

  3. Jennifer

    01/14/2015 at 10:56 am

    Sadly I can’t figure out the braiding either. I have been trying different methods off and on for a couple of days.

    • athur mae paster

      03/05/2016 at 2:53 pm

      I’m having a problem putting it together

      • Kelly Denton

        03/14/2016 at 8:41 pm

        Is there a step I can help you with?

  4. Marilyn lee

    03/18/2015 at 6:10 pm

    ok do you work right to left or left to right? Do you thread the first tab thru the second going thru frm top to bottom or bottom to top? What happens to the dangling ends?

    • Kelly Denton

      03/23/2015 at 9:47 am

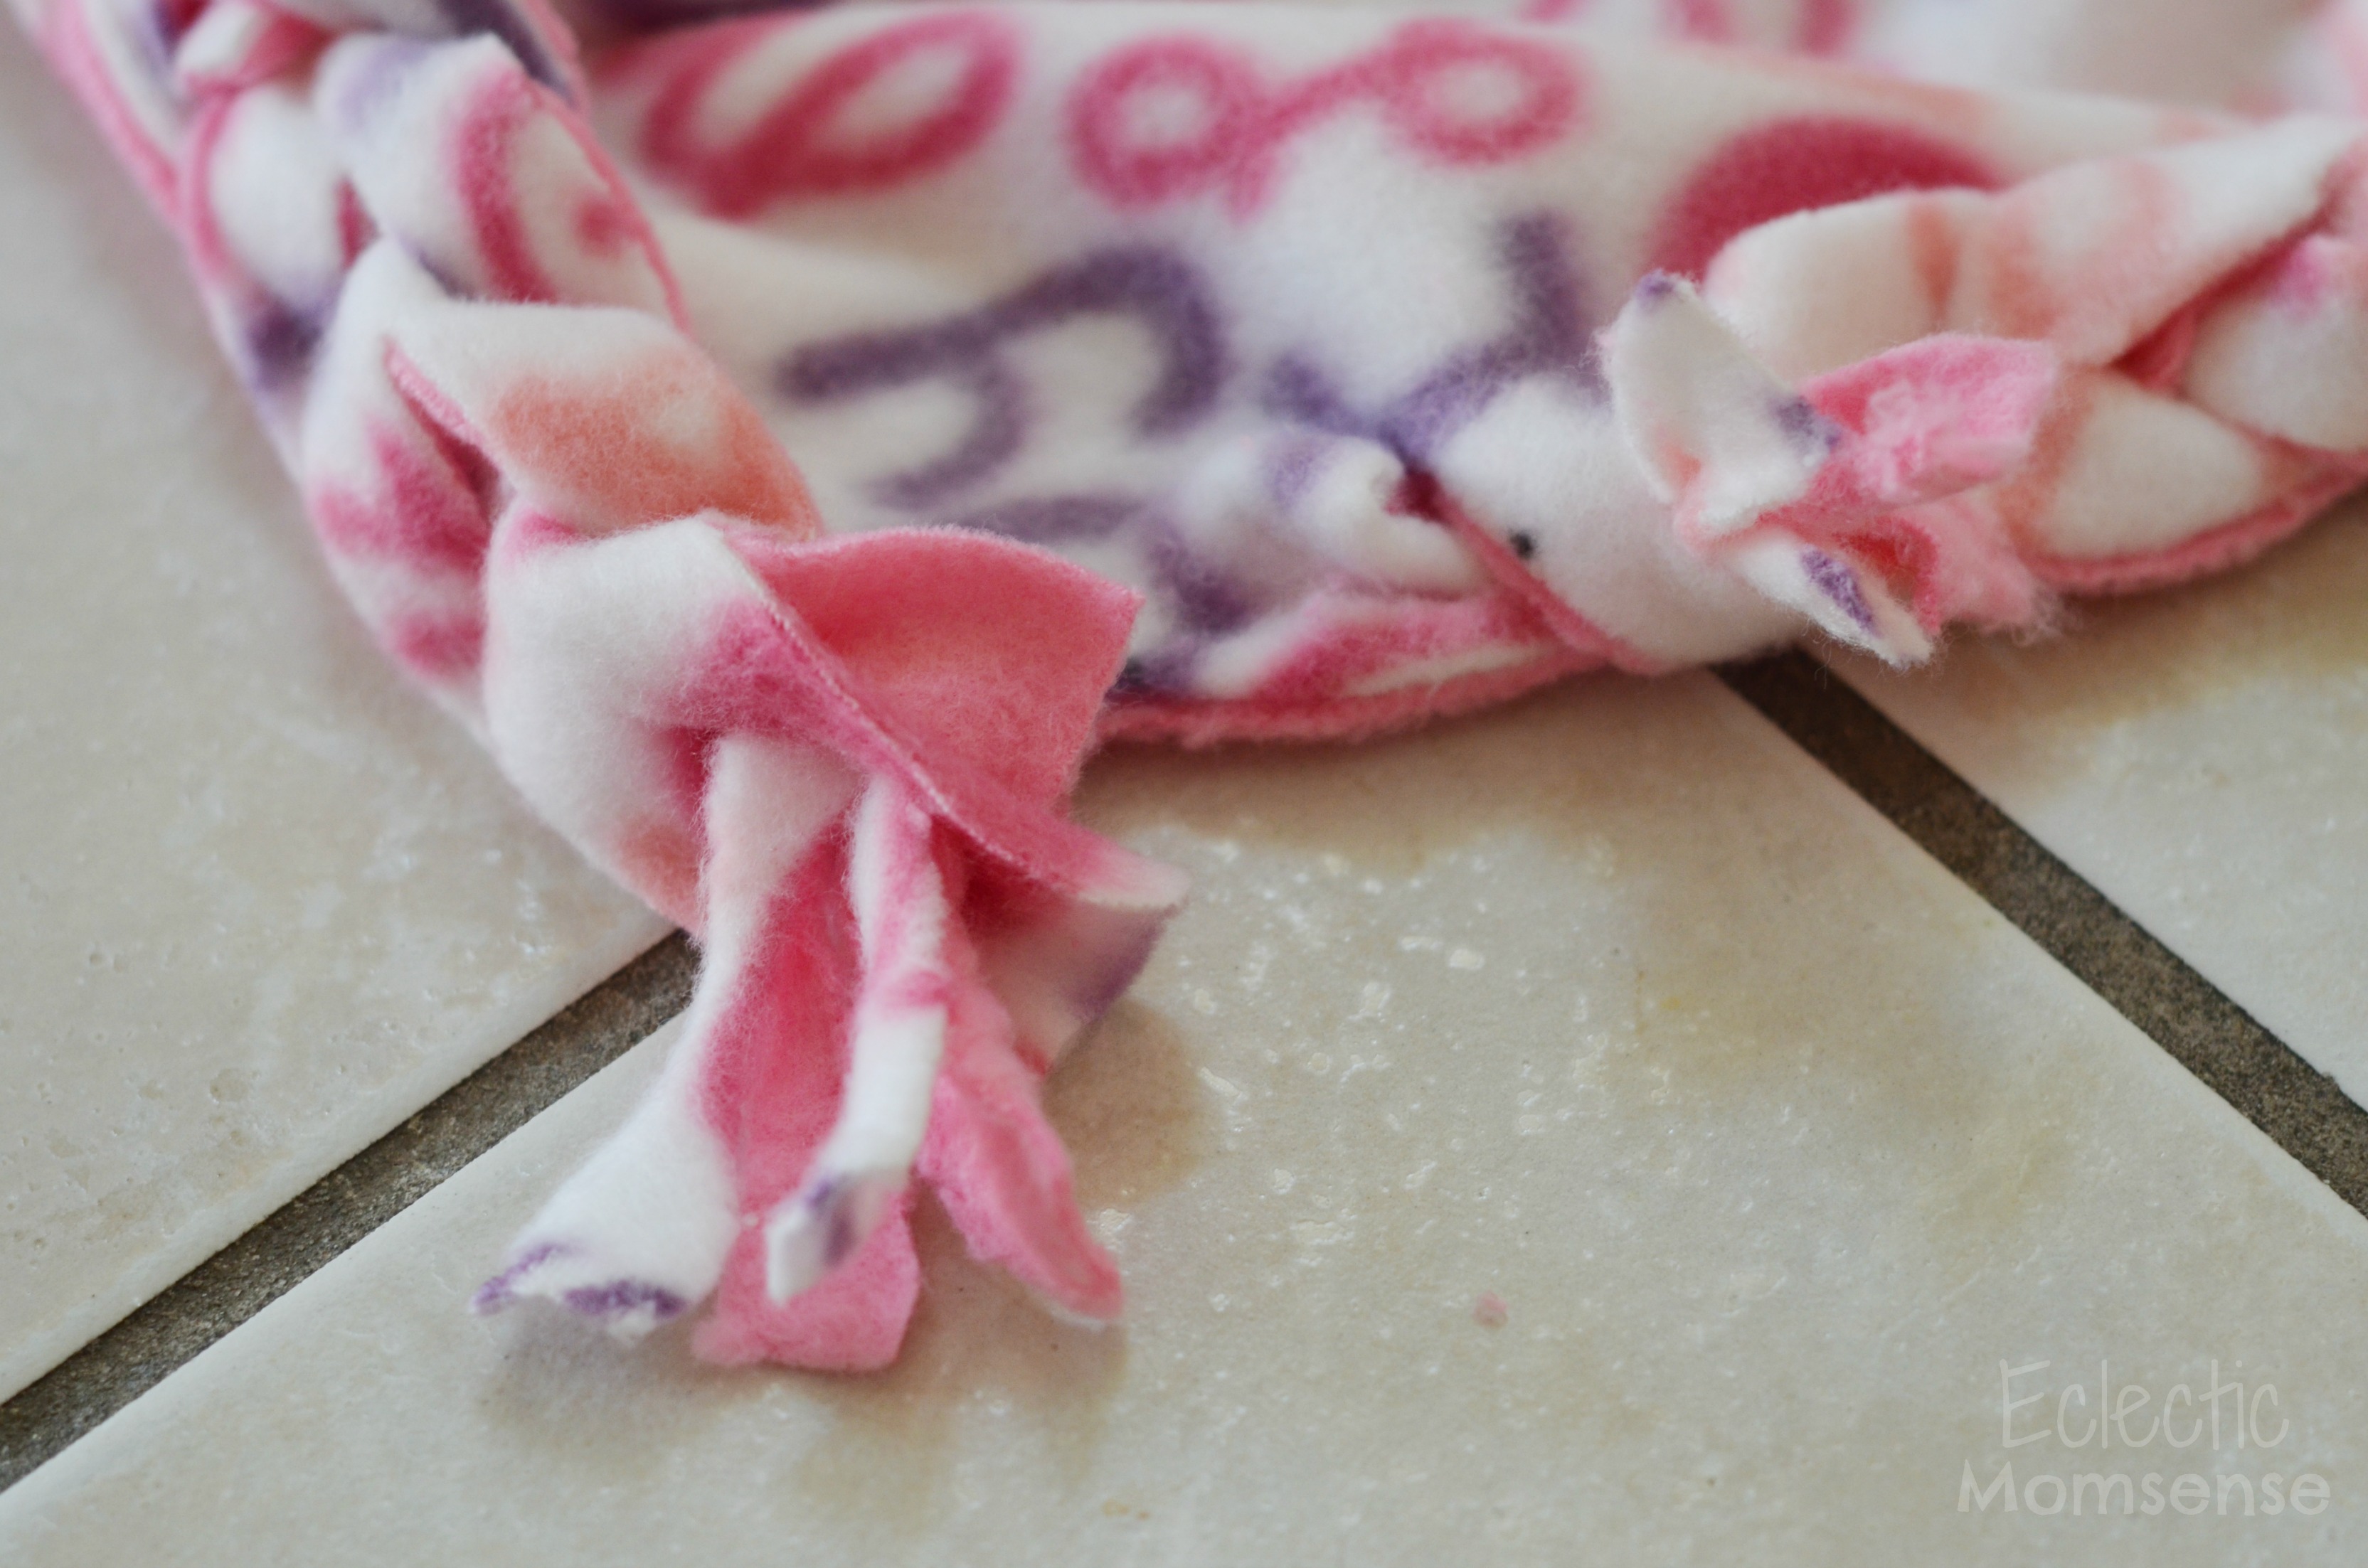
      Hi Marilyn. I filmed a video of me doing it. I’m trying to find it for you now. I worked clockwise. Taking two tabs, thread the one on the right through the one on the left. Then work clockwise. The dangling ends get knotted off and tucked inside.

  5. lisa

    02/19/2016 at 11:52 pm

    when using a top and bottom pieces, do you pull them together? how is this done with a top and bottom?

    • Kelly Denton

      02/22/2016 at 1:48 pm

      Yes. The sample in this post is a top and bottom piece of fleece. Both pieces of fabric move together as one layer.

  6. Lisa B

    06/19/2016 at 5:32 pm

    Do you have to pull the tabs tight through the cut slits? I’m just wondering if it’s not tight enough, will it come apart when it’s washed and put in the dryer?

    • Kelly Denton

      06/21/2016 at 1:39 pm

      Yes the tabs will pull through the each cut slit making a chain. This will secure the ends and prevent them from coming apart.

  7. Angela

    09/16/2016 at 6:37 pm

    This is great – can’t wait to try. how did you end it?

    • Kelly Denton

      09/26/2016 at 7:55 am

      I knotted at the end and tucked it inside the blanket.

  8. Sue

    06/11/2017 at 5:51 pm

    Are you sure this is supposed to be a 3″ slit instead of 2″? We did 3″ and discovered that when they are braided the under piece has too much length on the end to fit under completely. It tends to stick out sideways.

    • Kelly Denton

      06/11/2017 at 8:50 pm

      Hi Sue. I used 3″ slits. They match with the 3″ squares cut from each corner.

  9. Michelle

    05/12/2018 at 12:31 am

    Hello! Beautiful blanket! I’ve been trying to find that exact style of fabric and I can’t seem to find it anywhere. May I ask where you got it? I would love to make this for my daughter. Greatly appreciate it in advance. šŸ™‚

    • Kelly Denton

      05/23/2018 at 11:21 am

      Hi Michelle. I picked this up at Joann several years ago as a remnant.

  10. Andi

    07/21/2018 at 5:48 pm

    Do you have to cut the corners out?

    • Kelly Denton

      09/02/2018 at 7:54 am

      Yes, the corners need to be removed.See step 1 for the cut size.

Trackbacks

  1. Adult Minky Blanket – saltwaterdaze says:
    04/13/2016 at 5:51 am

    […] Here’s a great tutorial on how to do the edges: https://eclecticmomsense.com/2014/07/sew-braided-fleece-blanket.html […]

Primary Sidebar

Hello!

Hi, I'm Kelly. A wife, mom, and jane of all trades. Just a little bit crafty, a smidgen of all things green, and a huge helping of everything mom! To learn more about Kelly, the mom behind the creativity, click here...

recipes
crafts
parties
disney
travel

What's Poplular?

  • Lady and the Tramp
    Disney’s LADY AND THE TRAMP (Walt Disney Signature Collection)
  • LeapFrog Touch Magic Playdate {review}
  • outdoor entertaining
    Outdoor Entertaining | How to Hang Cafe Lights
  • DIY Captain America shirt
    DIY Captain America Shirt
  • table and chair makeover
    Furniture Makeover
  • Crayon Removal
    Cleaning Hack: Remove Crayon From Almost Any Surface
  • Buffalo Seasoning
    Buffalo Seasoning
  • Bouncy Ball Valentine
    Bouncy Ball Valentines


Footer

Hi, I'm Kelly. A wife, mom, and jane of all trades. Just a little bit crafty, a smidgen of all things green, and a huge helping of everything mom! To learn more about Kelly, the mom behind the creativity, click here…

Categories

Eclectic Momsense

  • About Me
  • Contact Me
  • Policies & Diclosures
  • Copyright Info
  • Sponsored

Copyright © 2023 Eclectic MomsenseĀ· Site Designed on Foodie Pro. All Rights Reserved.