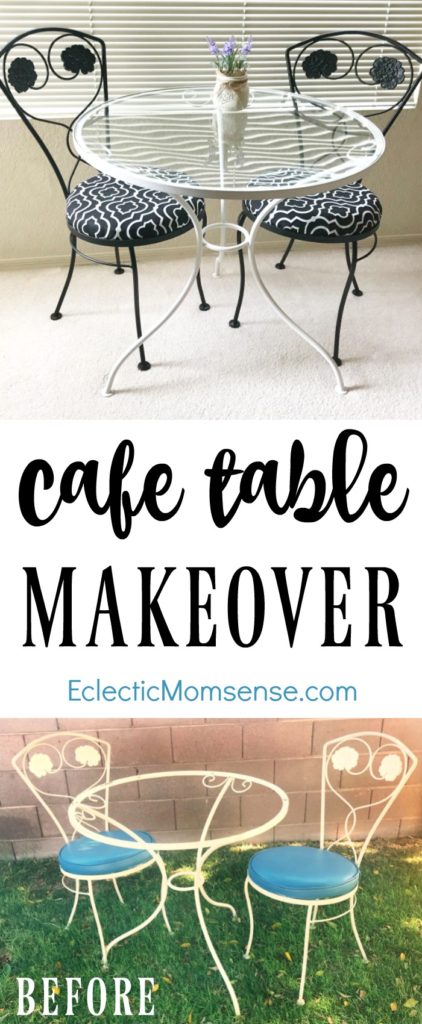
Are you ready to see this amazing transformation? With a little help from Home Right I helped take an old cafe set from drab to fab. Read on to see how I used the Paint Sprayer Home Right sent for this furniture makeover.
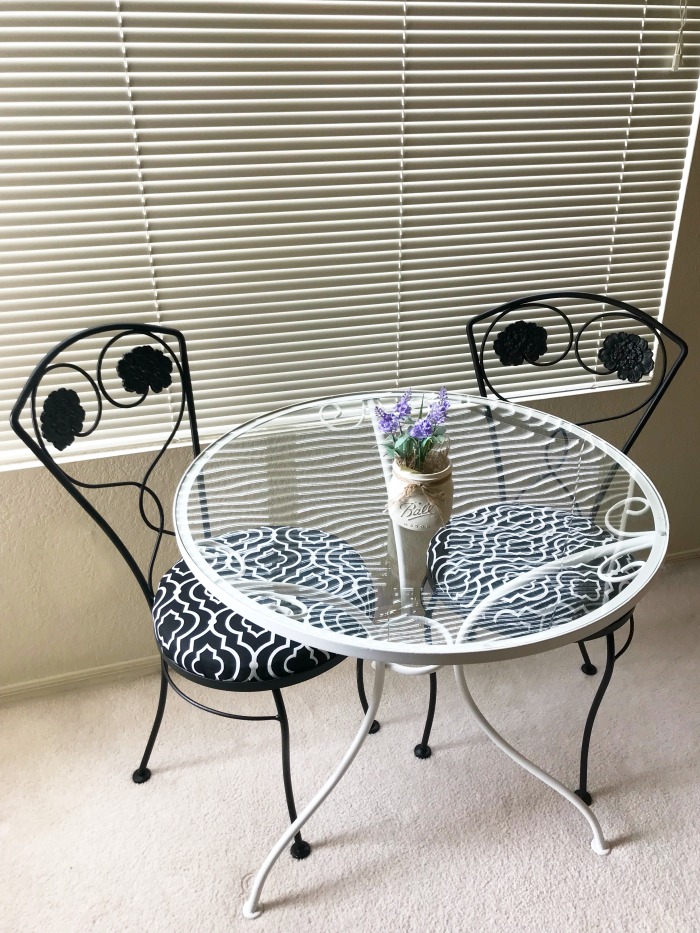
Do you have a piece of furniture that could use a little love? What about something old in need of a little updating? With the help of a fresh coat of paint it’s easy to transform something headed for the donation pile to something gorgeous.
Cafe Table Makeover
For this project we used an old cafe set that had faded from year’s of Living on a sun room, in the Arizona sun. This lovey set had great bones but was in need of a coat of paint and some new chair covers.
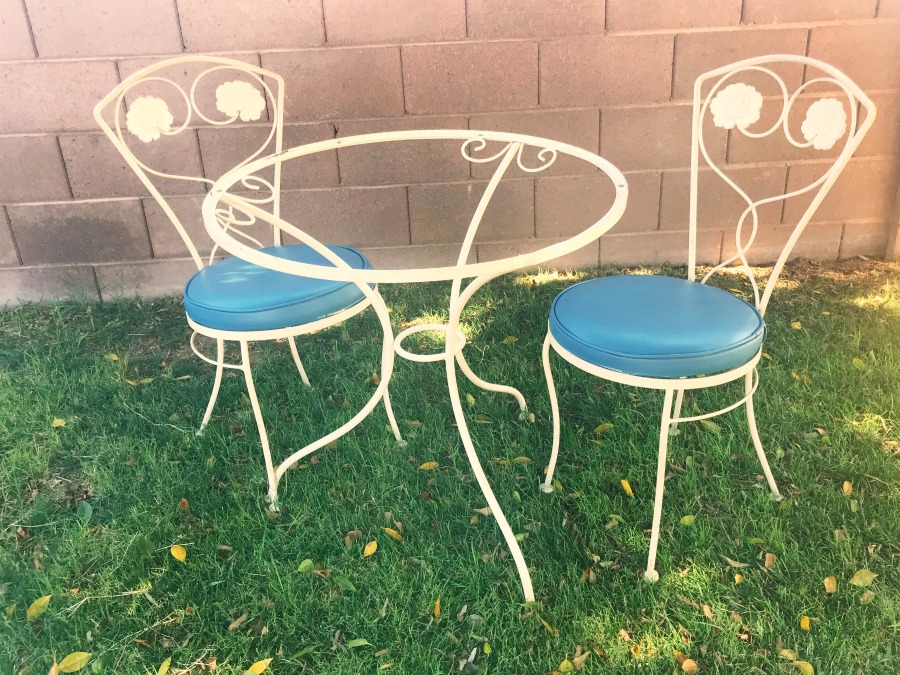
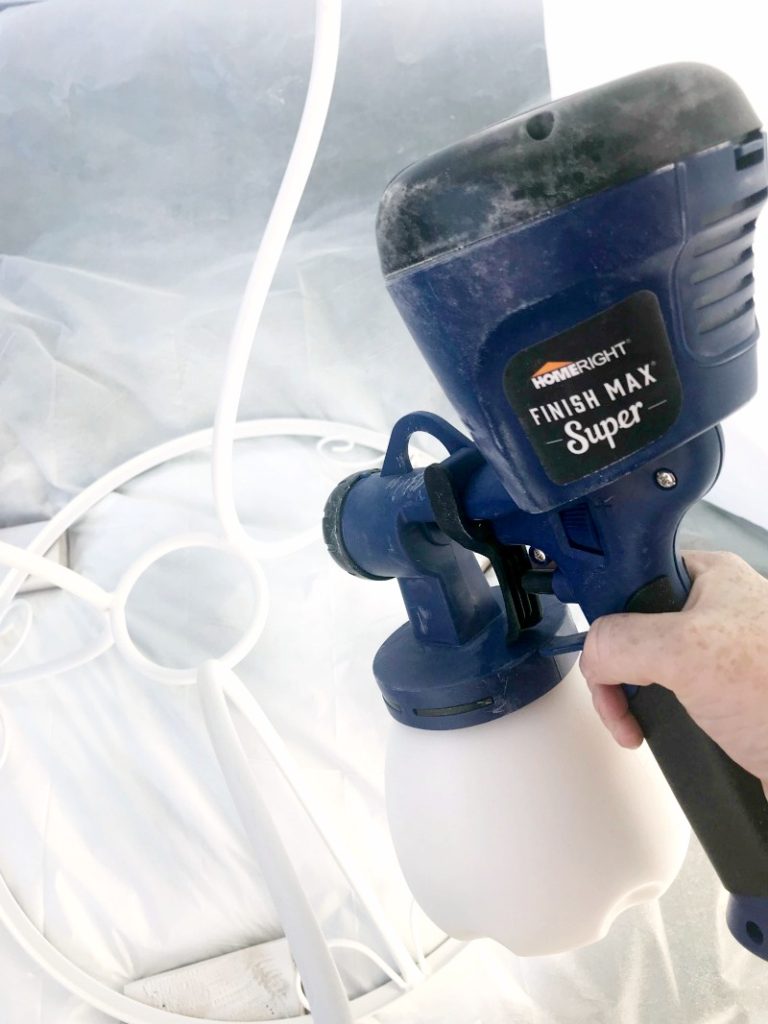
It only took a couple hours, thanks to my new favorite tool(s). The Home Right Finish Max Paint Sprayer and Spray Shelter are a must have for competing projects. The sprayer is adaptable to your needs and gives you a smooth powder coat finish. Use low-VOC paint and you can ditch the awful fumes that spray paint gives off for a fraction of the cost with a noticeably better finish.
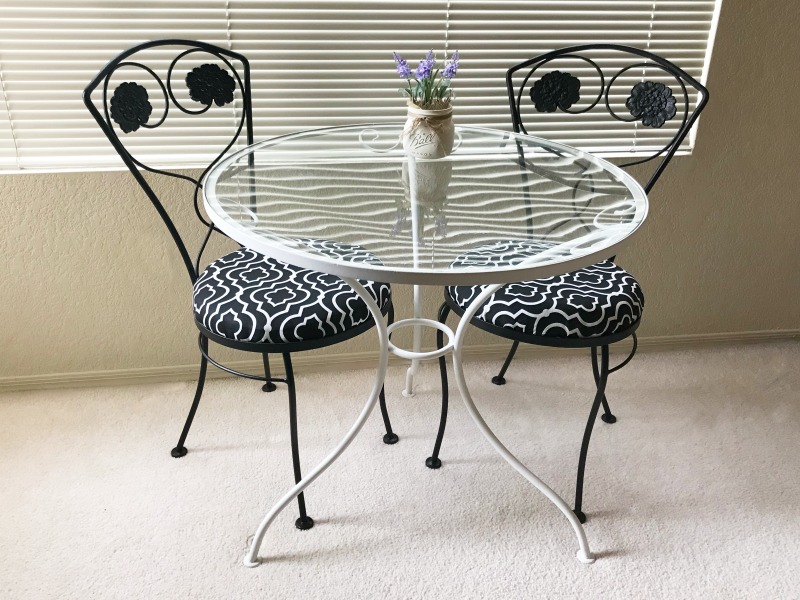
Freshen up the Finish!
The first step is setting up the Spray Shelter, this is a must and I was so thankful to have it. It’s monsoon season in Arizona, which doesn’t always equate to rain, but we tend to have lots of heavy wind in the afternoon. The spray shelter helped protect my freshly painted furniture AND keep overspray and the wind from making a mess of my mother-in-laws backyard.
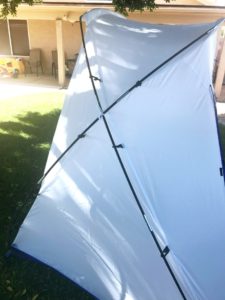
Thin your paint according to the guidelines in the Finish Max instruction booklet. Make sure to also refer to you paint for thinning ratios. You want it thin but not watery to get a good coat and ensure your paint will last.
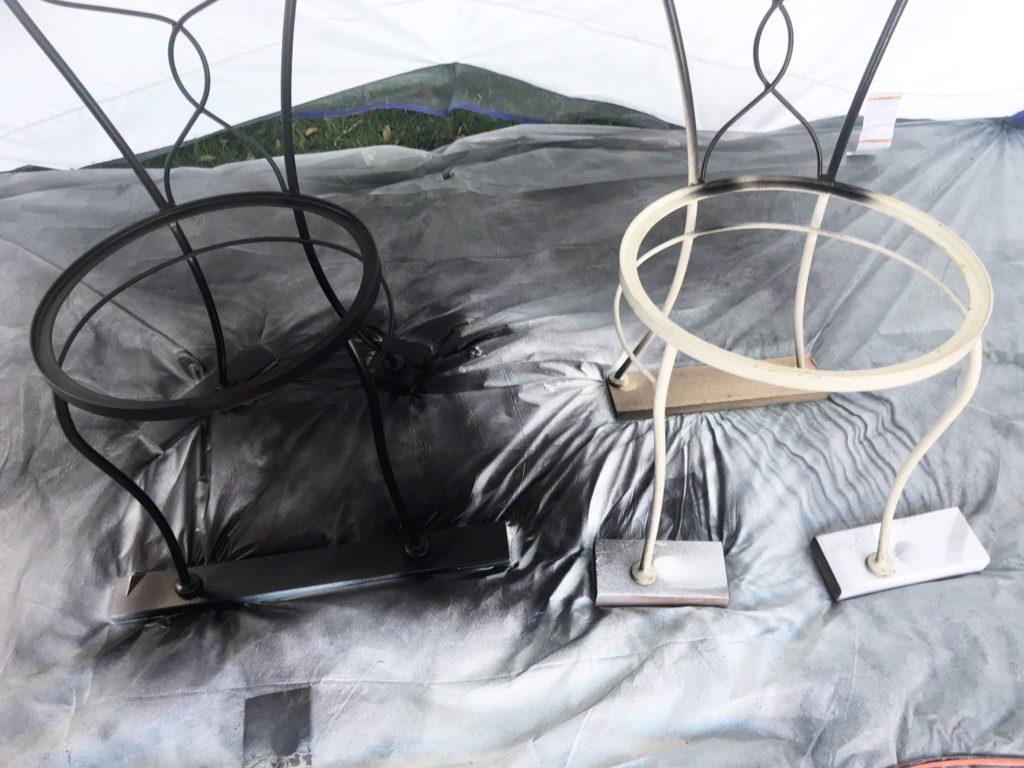
Spray back and forth in even strokes. If needed the Finish Max has an adjustable nozzle so you can turn the spray pattern, as well as increase and decrease the flow. To much flow and you’re left with drips, too little and you’ll be forever doing second coats. I did go back for an overlapping second coat.
I flipped the furniture over to ensure the underside got the same finish without having to perform gymnastics.
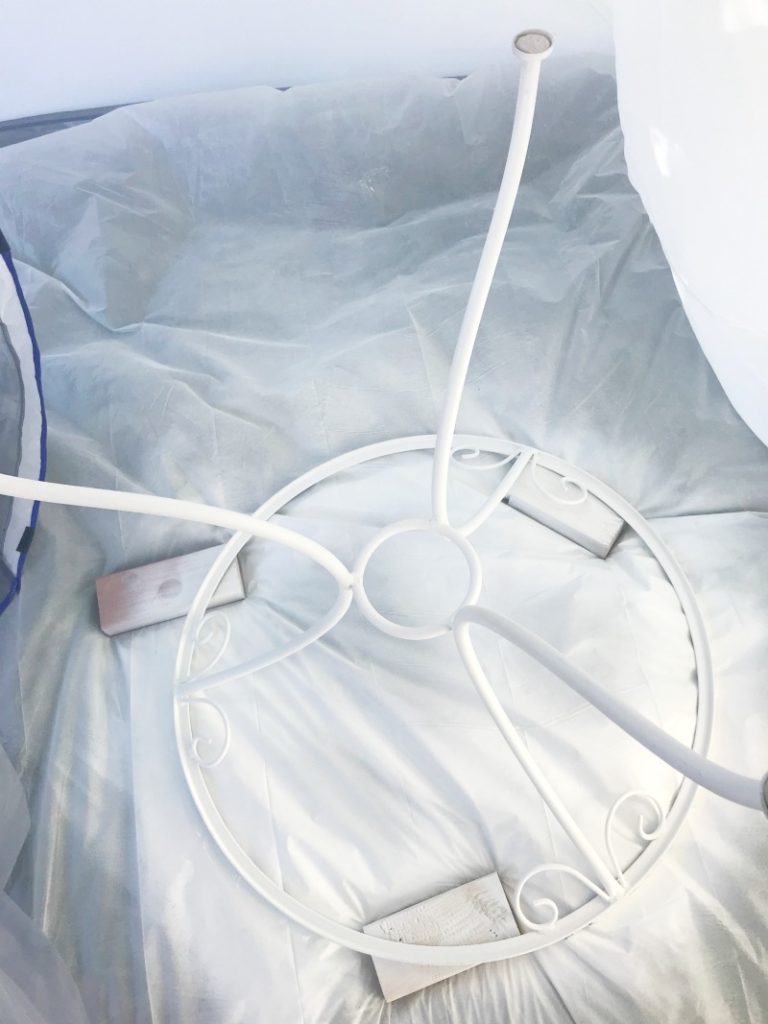
Recover Cushions
While your furniture dries you can start working on re-covering the seat cushions. First you’ll need to remove the old cover. Employ the help of a medium flat head screwdriver and some pliers to remove all the staples.
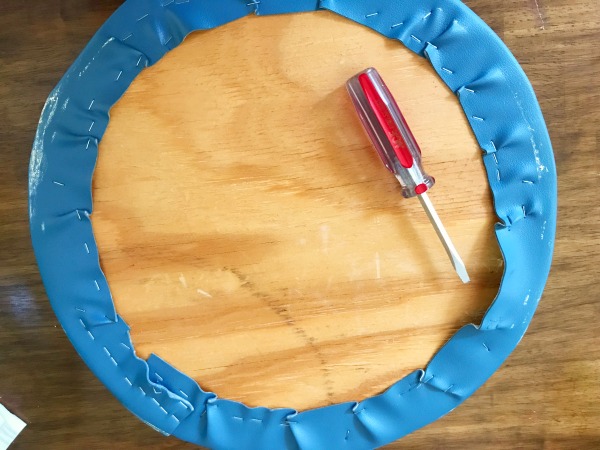
Get rid of the old foam and replace with new high density foam. We picked ours up at the craft store by the yard. Use the wood disk to mark an outline with marker on the foam.
I normally use an electric carving or bread knife to cut my foam, but couldn’t find ours, so heavy duty scissors did just fine. I didn’t worry to much about cleaning up the jagged edges, they smoothed out when I tightened the fabric on. I did cut a little outside the line to make sure we had extra foam to create a buffer on the edges, it left our finished product a nice smooth dome shape.
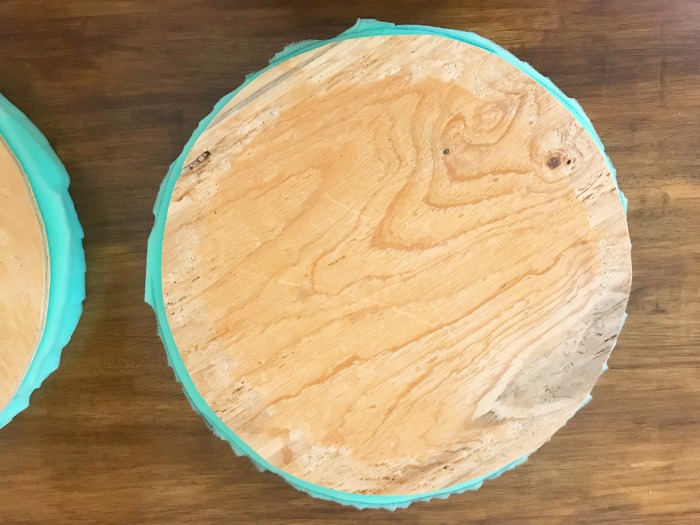
Cut out a piece of fabric approximately 2 inches bigger than your cushion. I started with a square and then trimmed it into a circle. On my first go I attempted attaching the full square, but it was too bulky for a nice clean finish. Make sure you pre-wash and dry your fabric. We used an outdoor fabric in case my MIL wants to use it outside again one day, and treated with a waterproof scotch guard to give it extra durability.
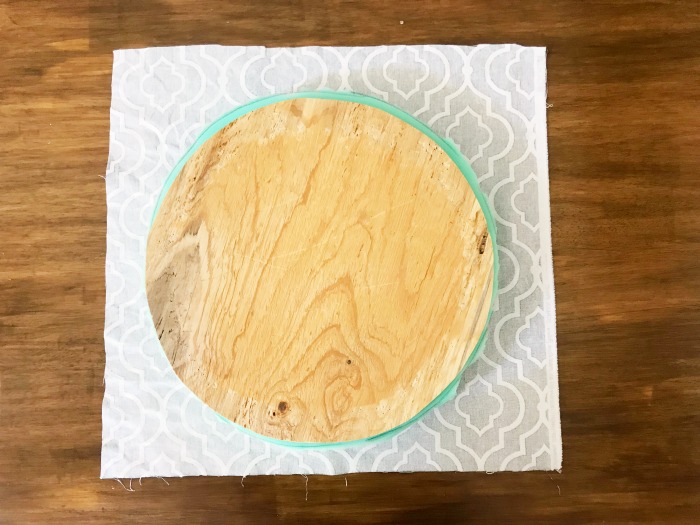
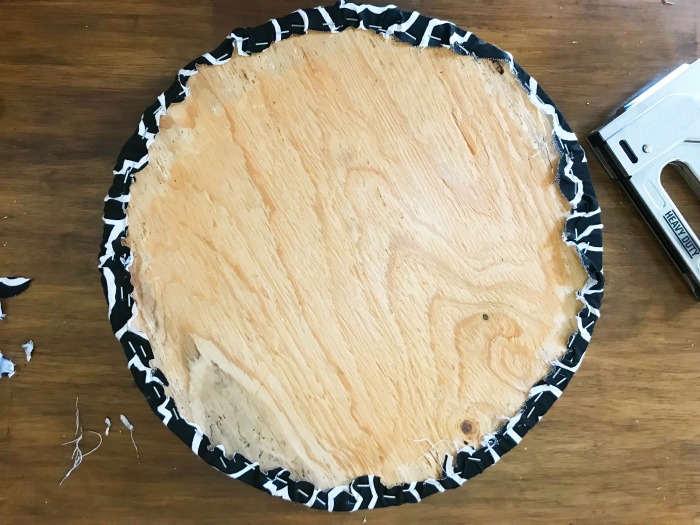
Start by stapling one end of fabric on the underside of the board.
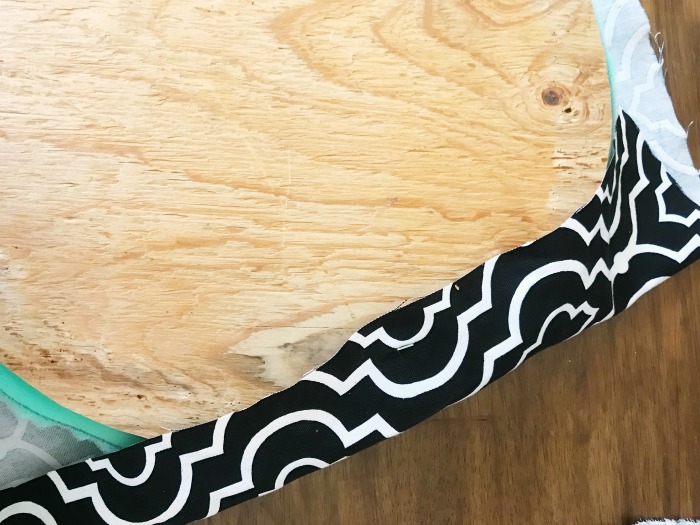
Continue by attaching the opposite end of the fabric. Pull the fabric taut ever so slightly. You don’t want to tear the other side of the fabric on the staple. Next staple in the middle of both staples on either side. Continue stapling between these new sets of staples. You should have 8 staples spots now.
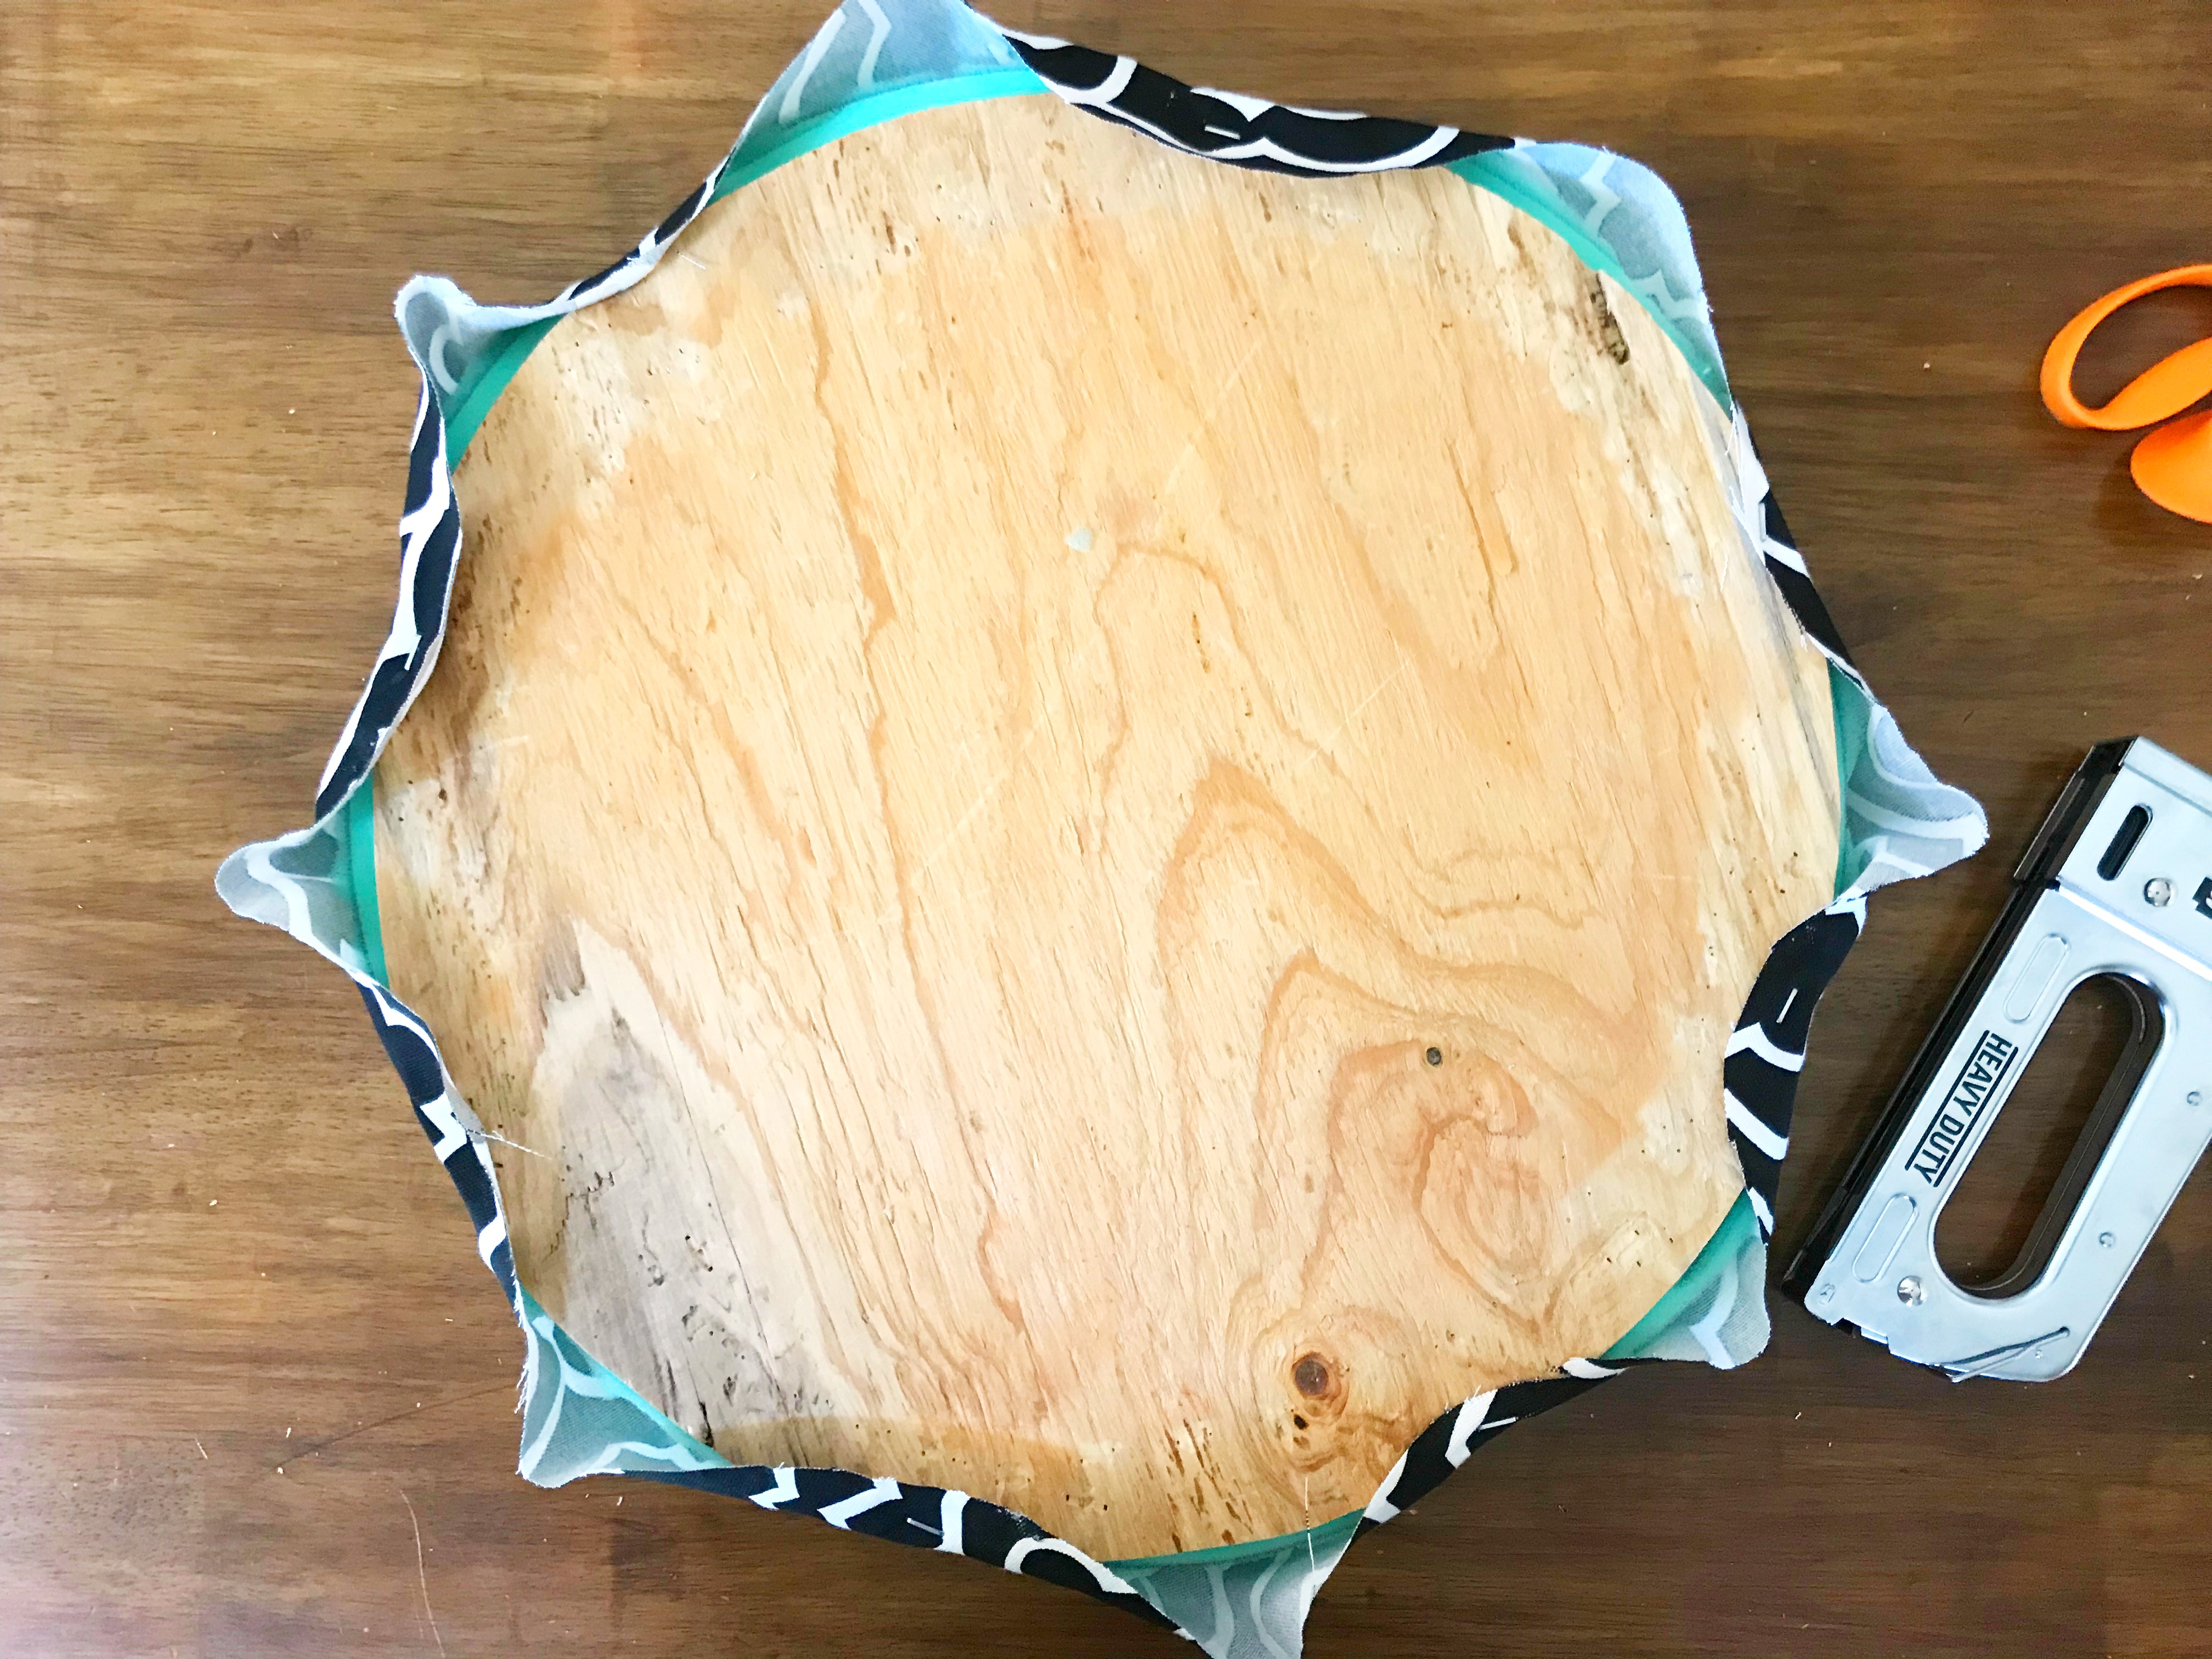
Continue stapling in the same pattern. In the middle on one side, then the opposite side until you have no fabric left to staple. Return to any areas that need a little extra tightness, pull taut, and staple. Finally trim any extra fabric so you have a clean finish.
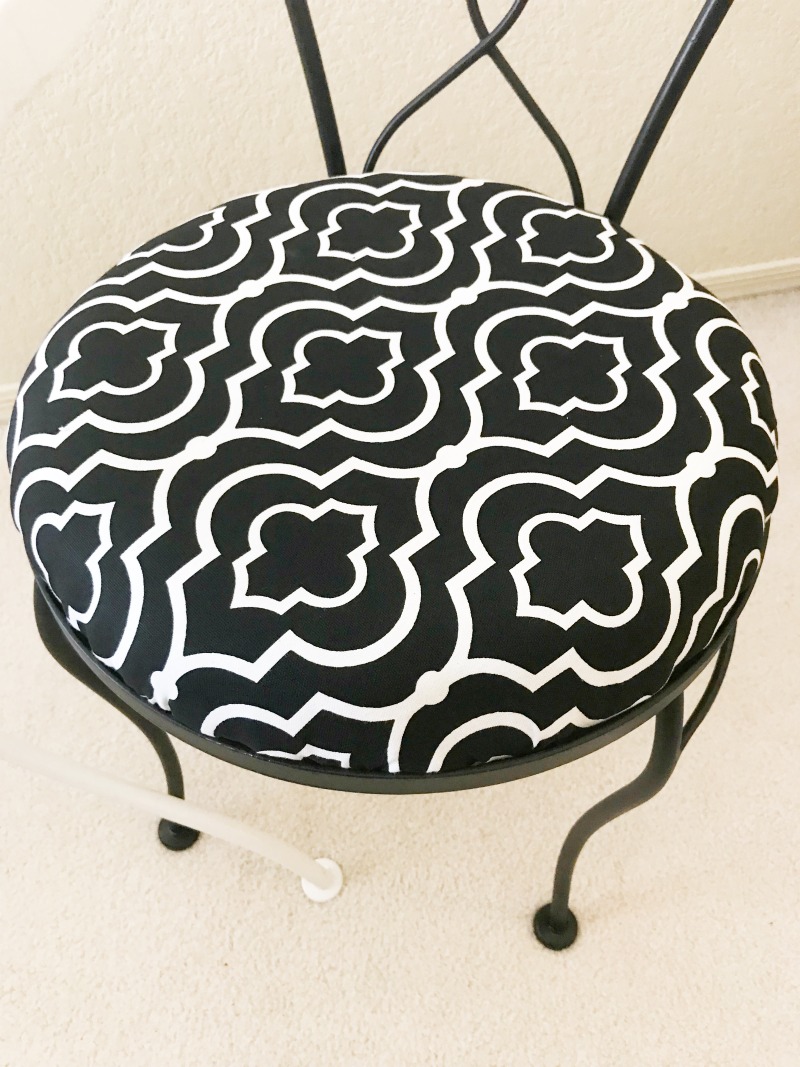
Once you’re finished place the seat on your freshened furniture and enjoy. I love how easy the Home Right paint sprayer products make freshening up furniture and tackling other home decor projects. I’m never using spray paint again.
Have you done any furniture makeovers recently? I’d love to hear about them in the comments!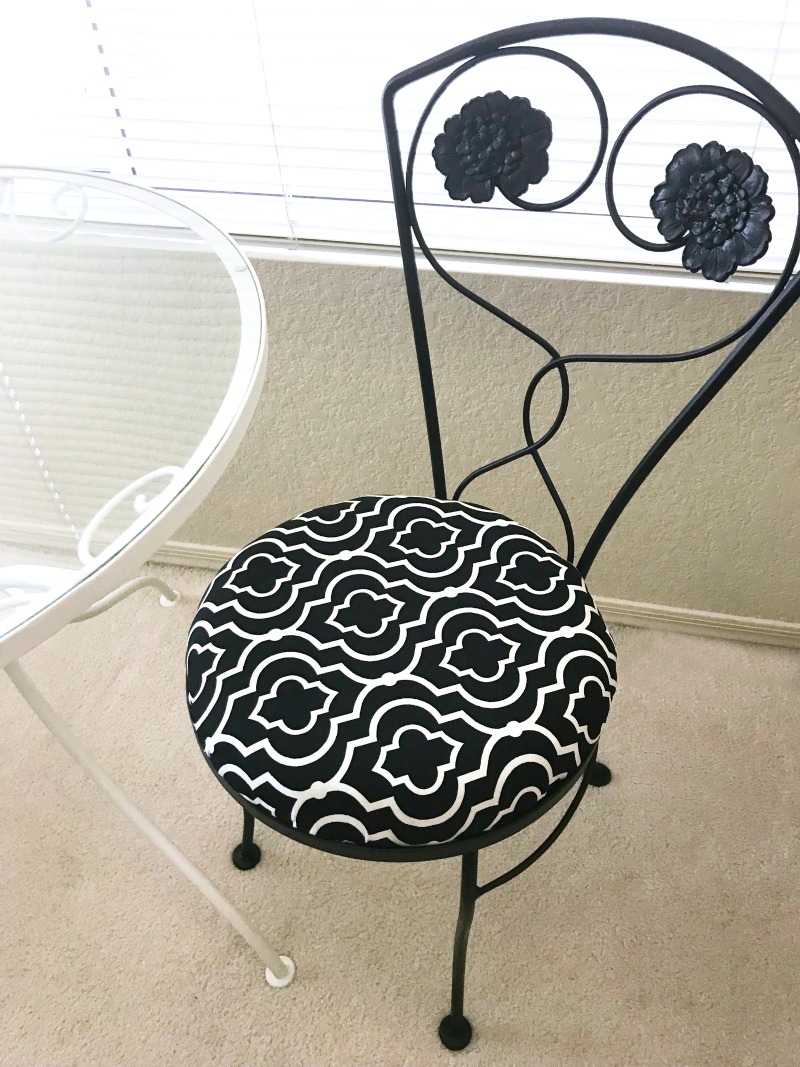
Pin it for Later!
I love how this turned out! Thankful for the tent since the wind did pick up. Thank you!
Fantastic furniture makeover.