These matching family pajamas are part of a 2-part sponsored conversation with Cricut. All thoughts and opinions are my own. #CricutCreated
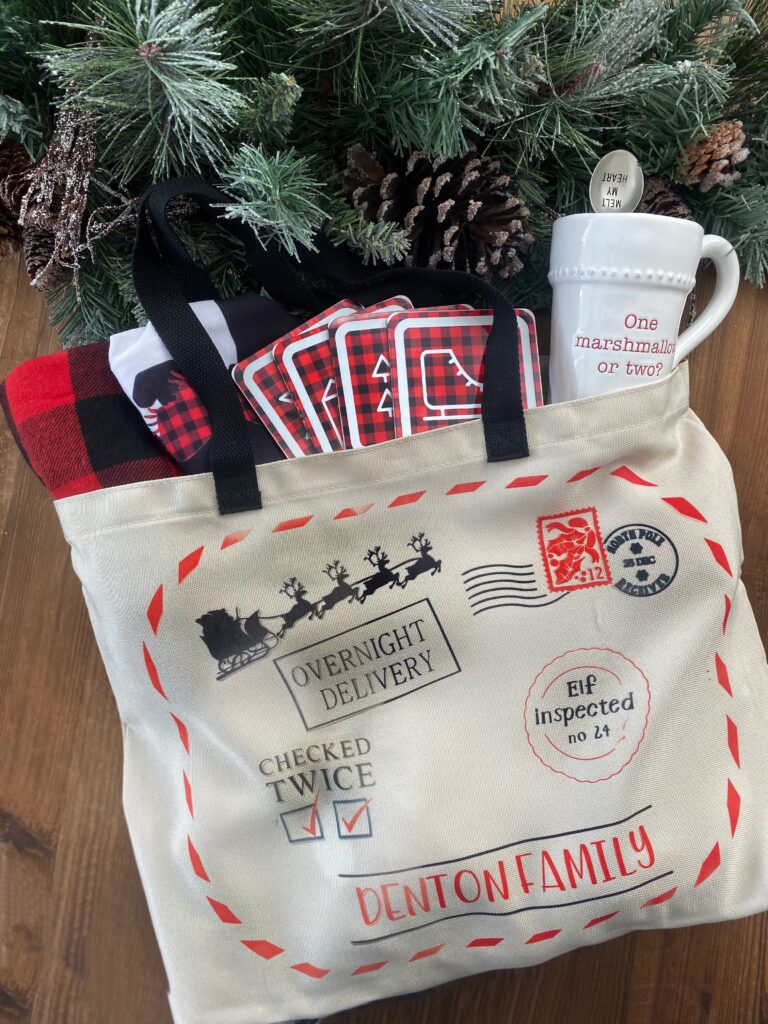
The holidays are almost upon us, and I’m getting a jumpstart on my shopping and crafting this year. Every year Black Friday rolls around and I feel vastly underprepared, and before you know it holiday parties and Christmas Day is here. With the help of my trusty Cricut Maker, I’ve got our family’s traditional Christmas Eve gifts ready to go! Anyone else do new matching family pajamas on the Eve of Christmas? The Cricut Maker is the ultimate workhorse, cutting hundreds of materials so you can tackle all your projects from cards to sewing, decor to apparel, and gifts for any occasion.
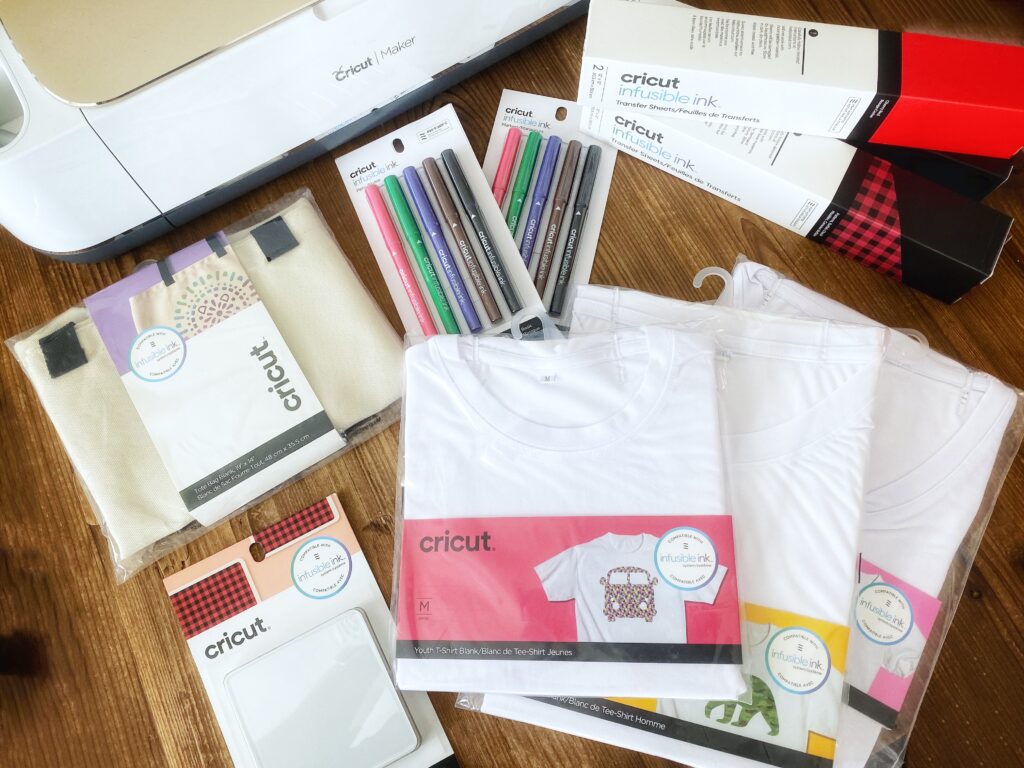
Along with new infusible ink sheets and pens Cricut also released a variety of Cricut blanks to help you tackle a range of projects. They are perfectly built to work with the infusible ink process. I couldn’t resist putting together a whole gift set to go with the matching pajamas; coasters for our hot cocoa mugs and a tote to package it all up. I just love a functional or reusable gift bag! Pair it with these Cricut made ornament gift tags for the ultimate family gift.
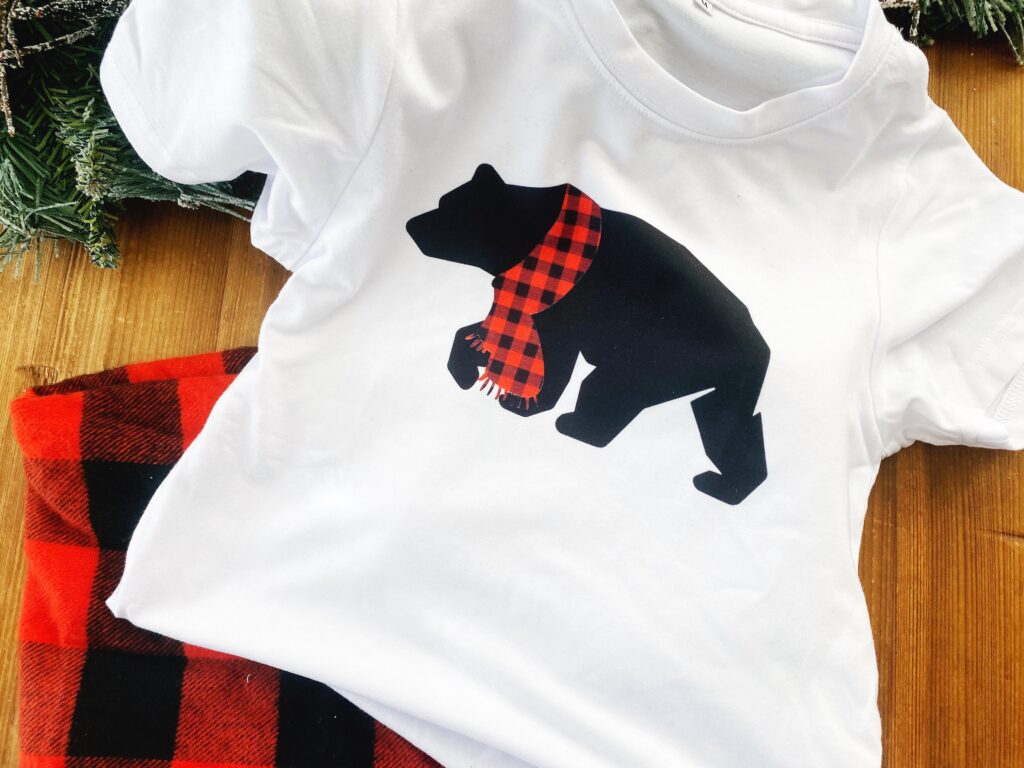
Matching Family Pajamas
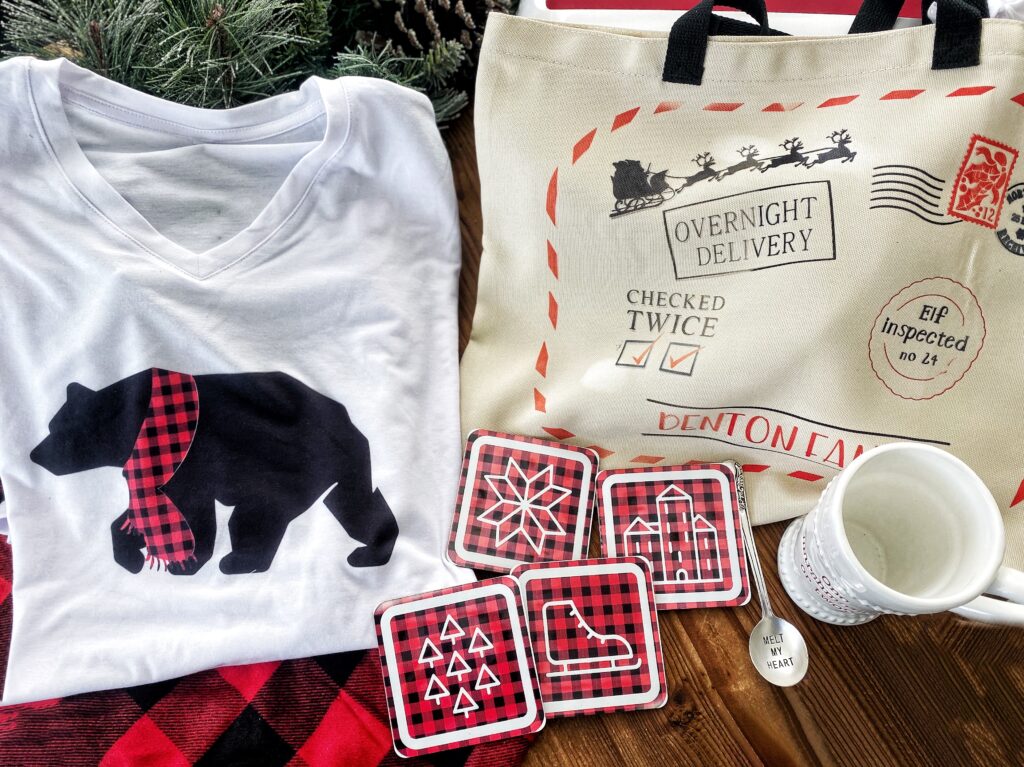
In this post I’m going to show you how to make the shirts! Project details to come for the coasters and tote bag. Make sure to keep on scrolling past the tutorial for some useful tips. If you’ve never worked with infusible ink (or sublimation transfers) there is a small learning curve. Don’t worry I made and tested all the mistakes so you don’t have to. ?
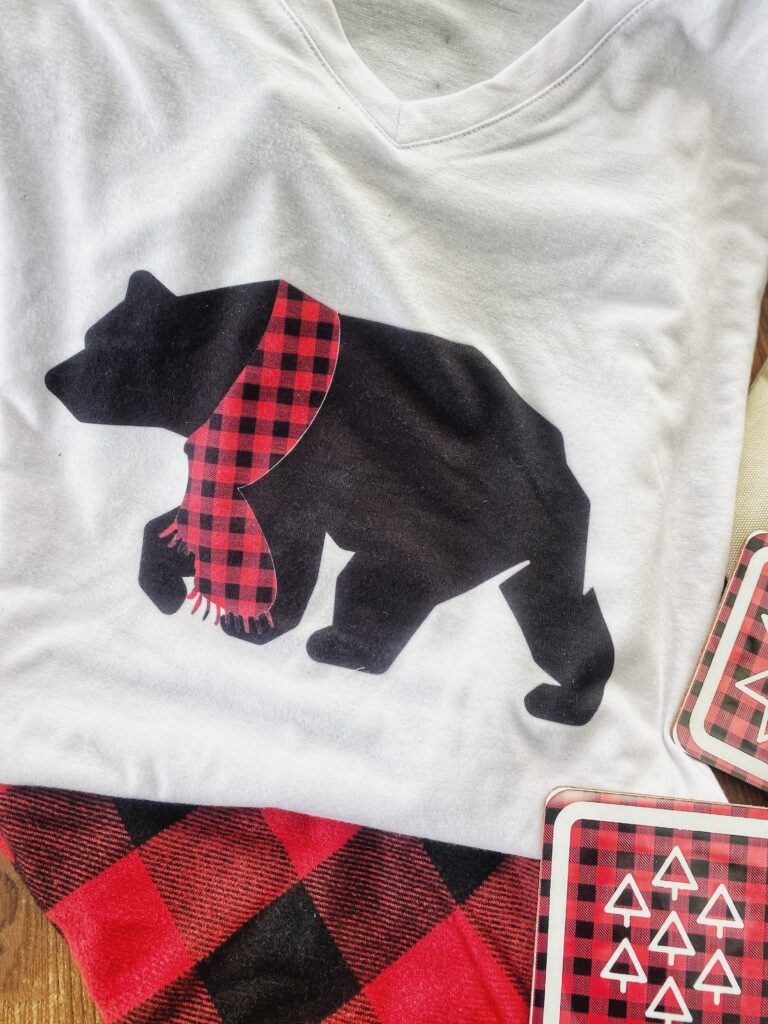
Supplies:
- Cricut Maker
- EasyPress 2
- Infusible Ink- black/buffalo plaid (1 box will make 2 shirts)
- Cricut infusible ink shirt
- Shirt cut file
Directions:
- Open the shirt Design Space project. It’s perfectly sized for adult and children’s shirts. Unless you plan to personalize them more, click “make-it”.
- Cut and weed your infusible design.
- You’ll be combining the buffalo scarf with the black bear to create one piece to transfer. Carefully remove the scarf and insert face up in the sliced space on the bear. You should have 1 piece to infuse now.
- Place a piece of cardstock inside your shirt. Place the shirt on top of the heat press mat.
- Heat your EasyPress 2 to the desired temperature.
- Use a lint roller to remove any stray fibers.
- Place your infusible design on to the shirt face down. Use a braying tool to roll the design on to the surface.
- Place the provided tissue sheet on top of the transfer.
- Once your heat press is to temperature apply firm pressure ensuring you don’t move the Easy Press. Start your timer.
- When the timer completes, lift your Press and place on the base.
- Allow your transfer to cool to the touch, remove Transfer tape and infusible design from your matching family pajamas shirt.
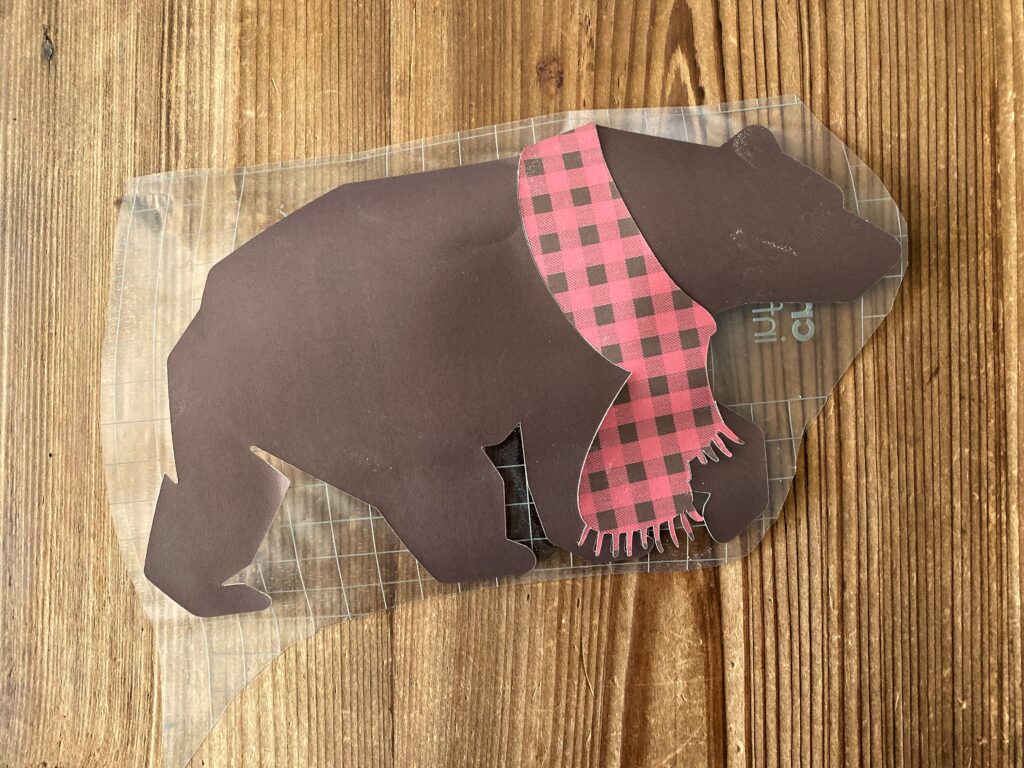
Combine black and buffalo plaid pieces to create one transfer piece. 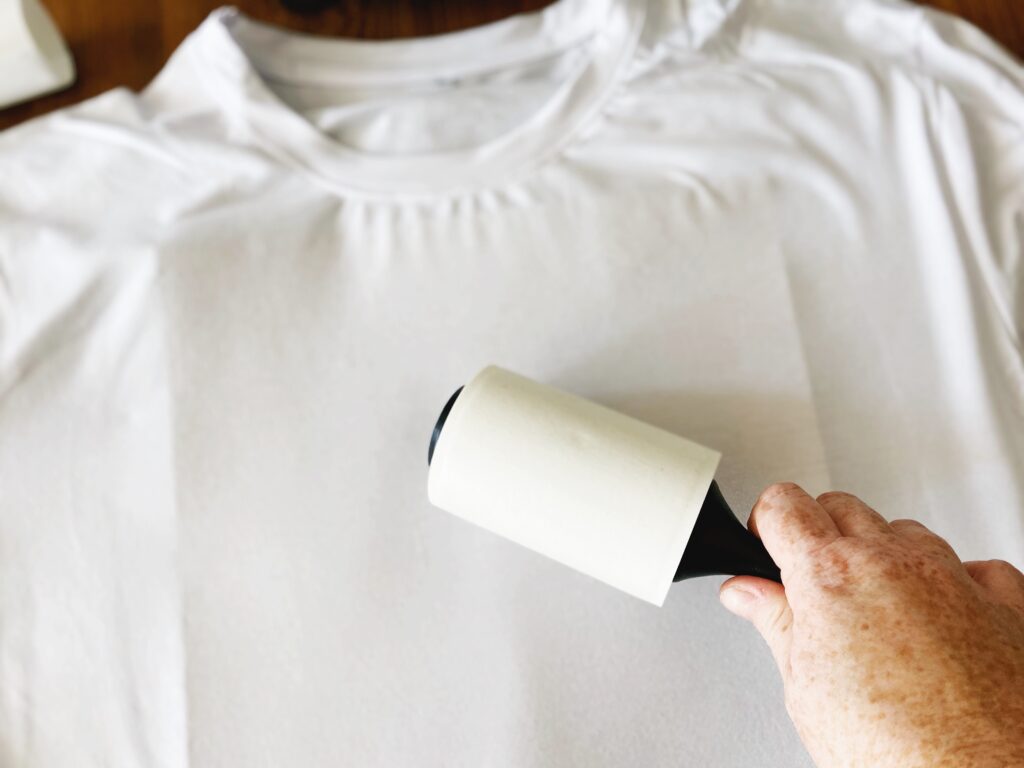
Use a lint roller to remove any stray fibers 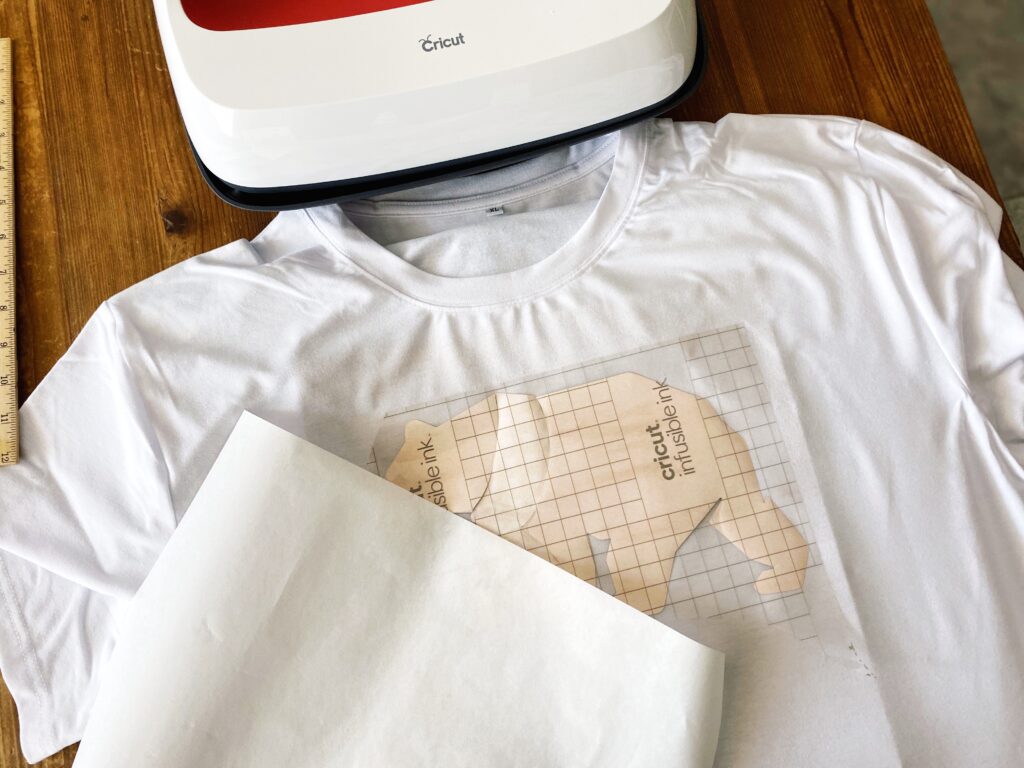
Place cardstock inside the shirt. Place infusible ink design face down. Place protective tissue on top. 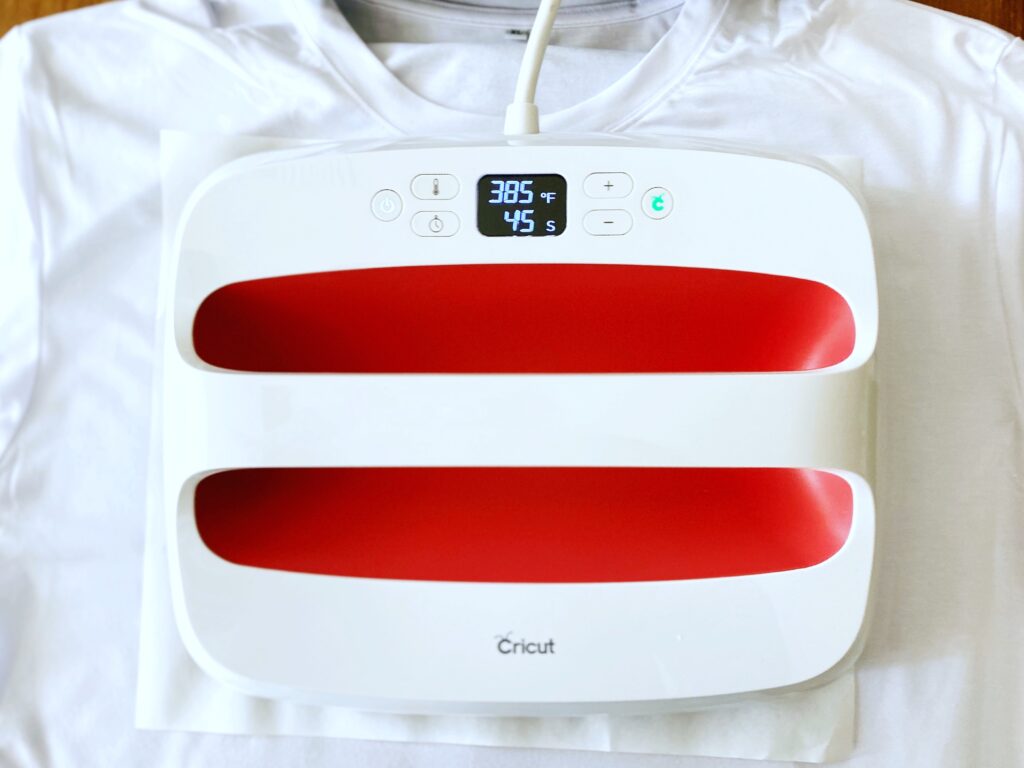
Visit cricut.com/heatguide for Easy Press 2 settings. 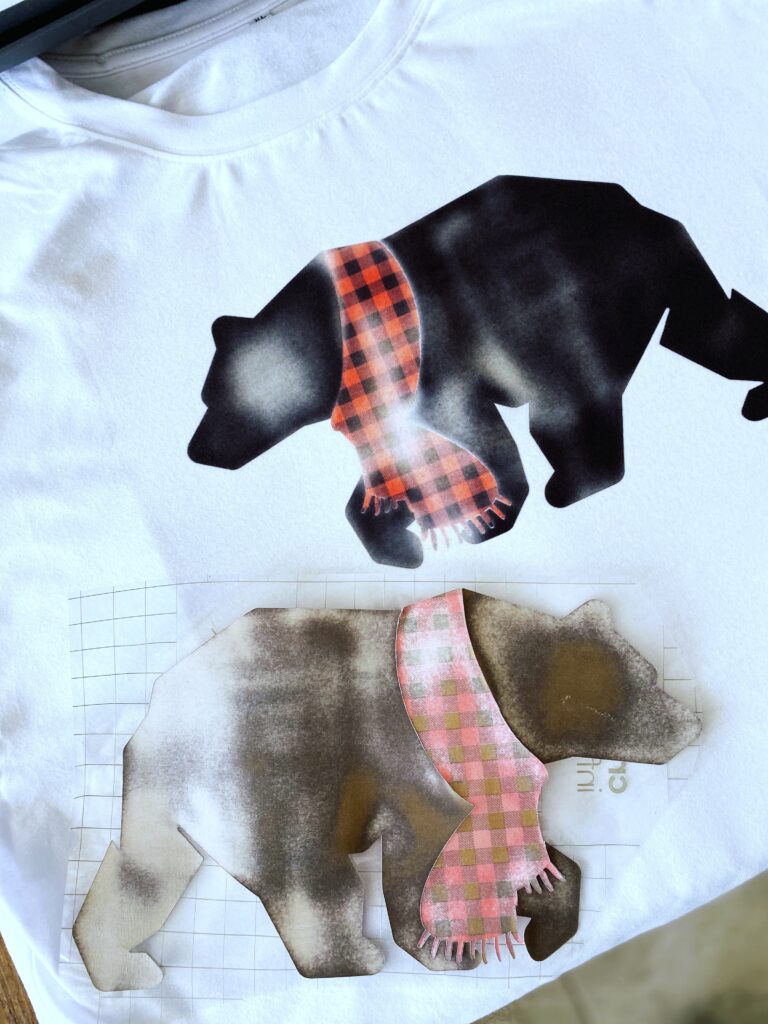
Cool transfer to the touch, remove.
Infusible Ink Tips:
- I highly suggest wearing plastic gloves when handling the sheet or at the very least ensure you don’t touch the ink side. The sheets are sensitive to temperature changes and warm hands can leave fingerprints; removing some ink.
- Only use the provided protective sheets or parchment paper for on top of your design. Card-stock is too thick and will impact the intensity of your final colors.
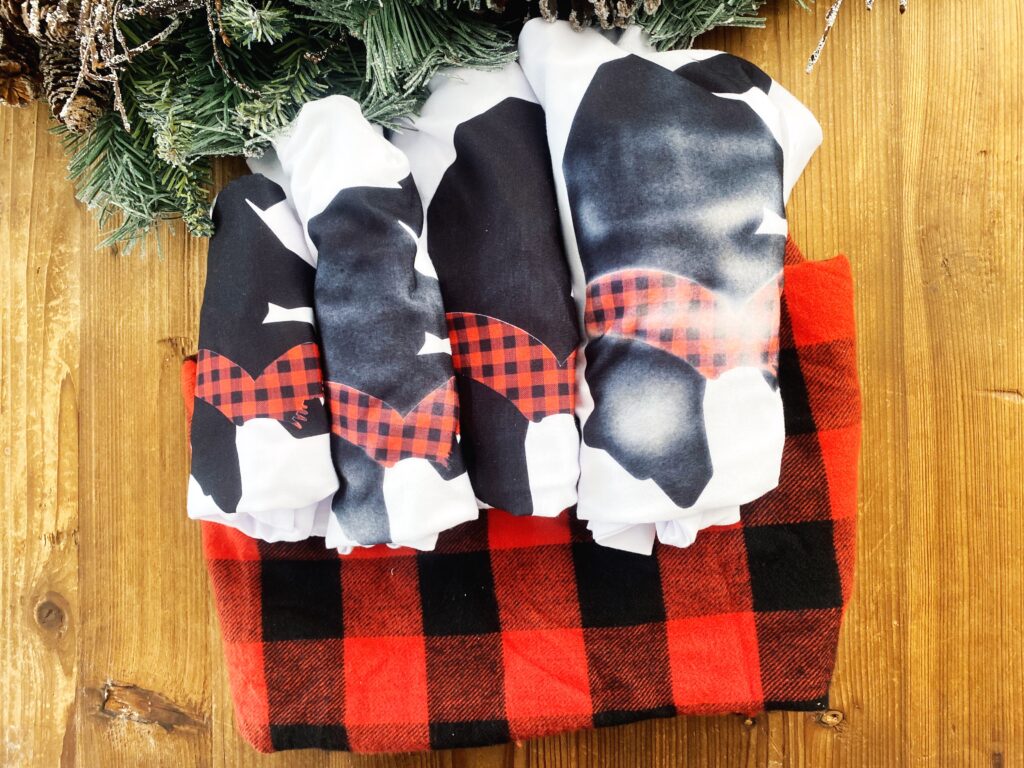
- Use pressure- I’ve read some reviews and instructions that say NOT to apply pressure. This is so you don’t get any sliding with the design. However, I tested it with both no pressure and pressure. I got horrible ghosting without any pressure. The ink didn’t transfer in some areas and merely kissed the surface with color.
- Bray, bray, bray. DO NOT skip this step. If you don’t have a braying tool yet, use your hands, rolling pin, cup, anything to make sure the design is flat with no gaps. I skipped this step on my first project, and while it was a neat rustic look to my design (see image above), it didn’t transfer the ink fully.
- Use the infusible pens when doing intricate designs, small text, etc. The infusible ink sheets are best suited for thicker designs and bold lettering.
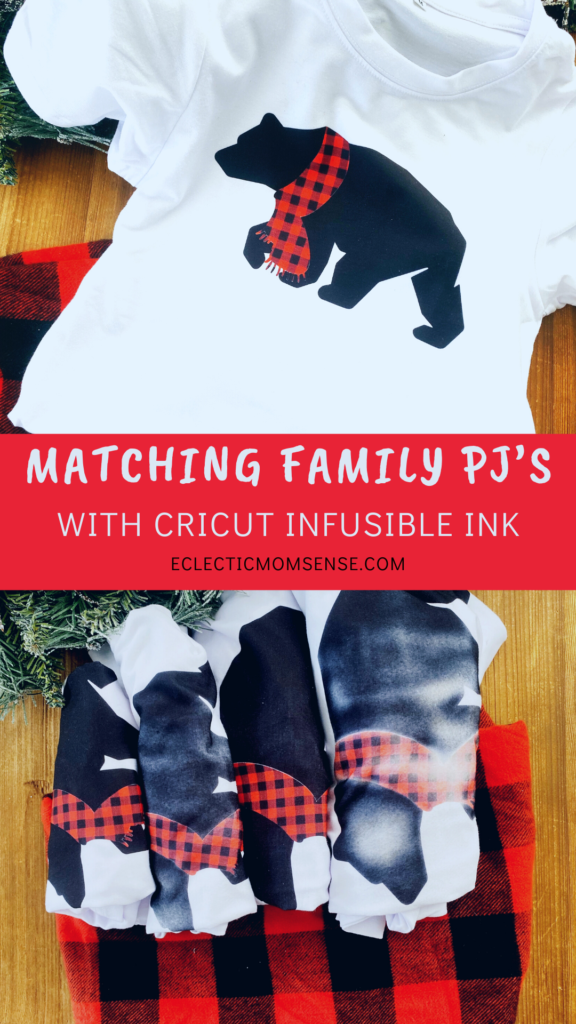
Pin for Later!
[…] people are crafty and love to create matching pajamas for the whole family. Just pull out your Cricut and start creating some amazing […]