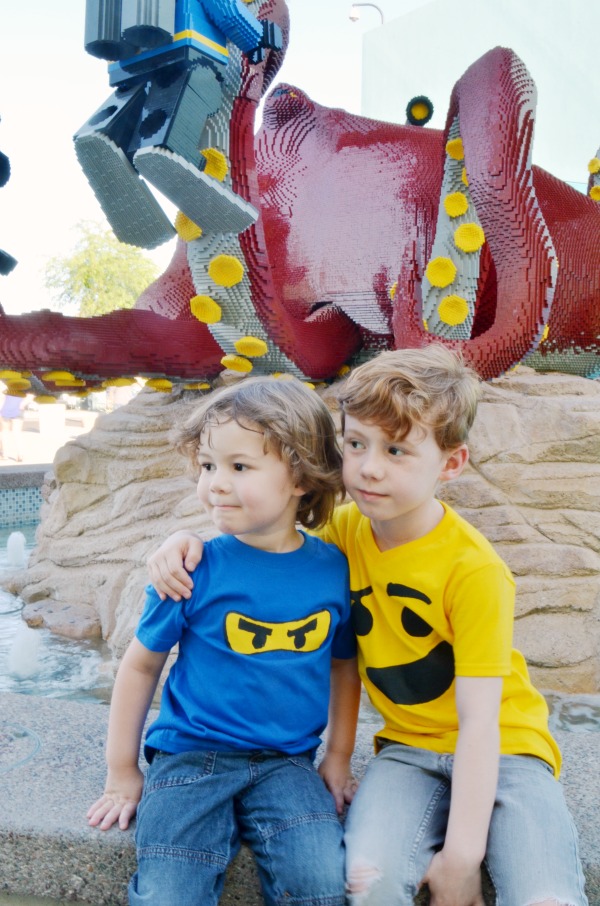
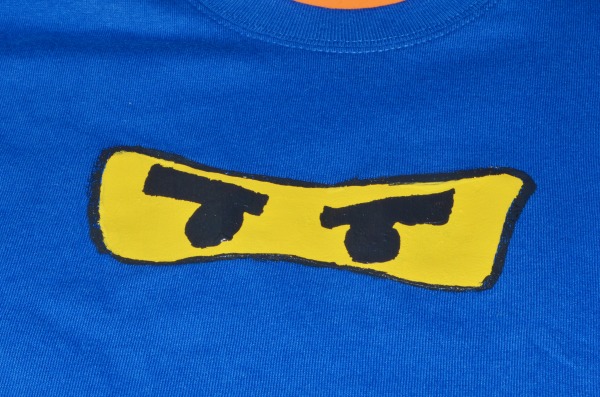
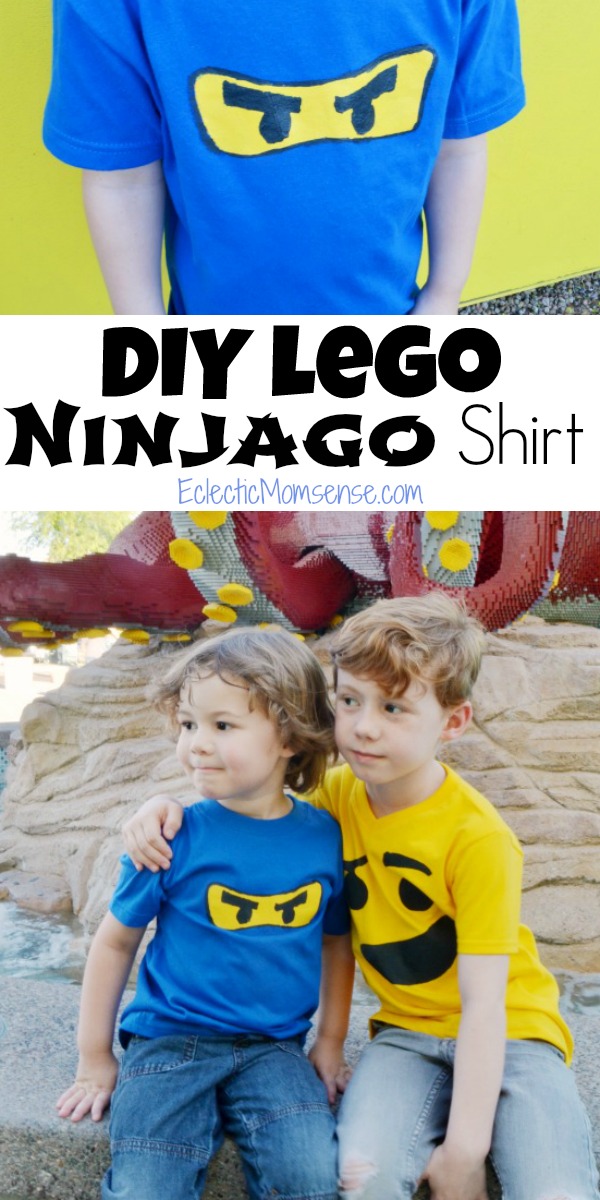
A couple of weeks ago we had a chance to explore the new LEGOLAND Discovery Center in Arizona. On the eve of our trip I got big ideas in my head to make the boys shirts. With only a couple of hours that night to get it done, I landed on a simple freezer paper stencil shirt. Brother got a LEGO Emmet shirt, but for little brother I went with a DIY LEGO Ninjago Shirt.
Supplies:
blue shirt
freezer paper
black fabric paint
yellow fabric paint
paint brush
Cricut
Directions: (Can be done with or without an electronic cutting machine. See step 1 directions in italics for print and cut method.)
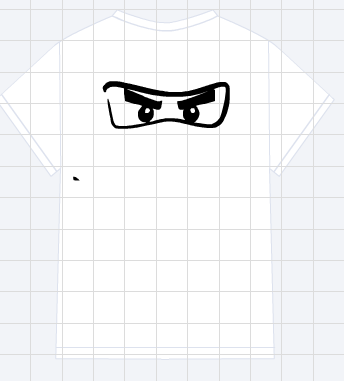
Upload and set your canvas to t-shirt. This will make it easy to determine the size of your stencil. I also measured the spot the print would go to make sure it would fit. Leave a border around the edge to be ironed for a crisp print.
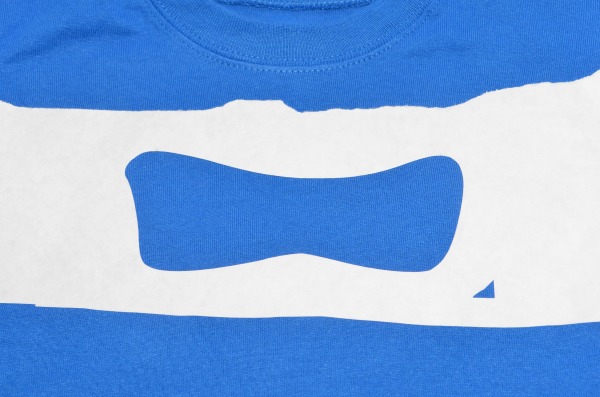
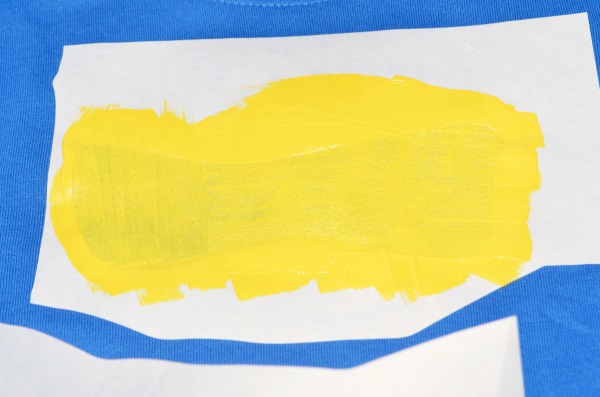
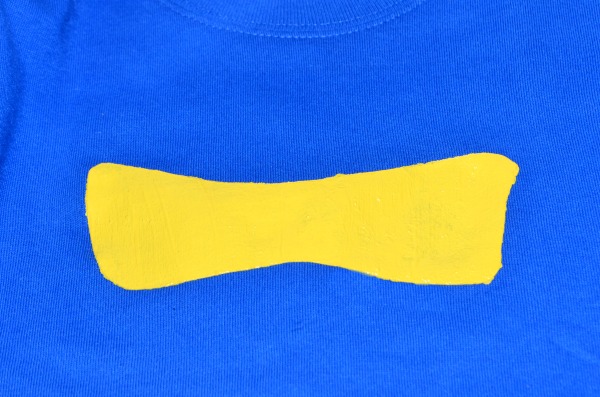
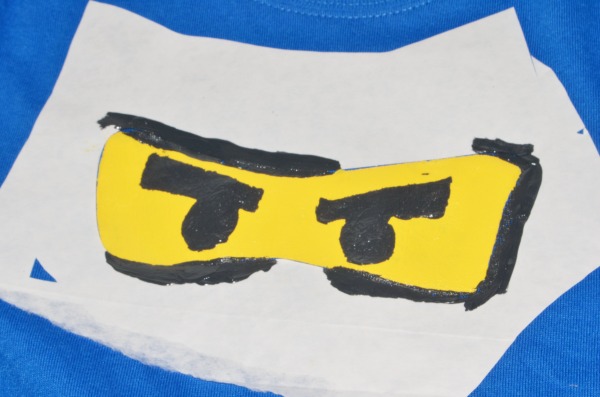
First place a piece of wax paper in between the shirt to prevent the paint from seeping through to the back of the shirt. There are two parts to this stencil, the black and yellow paint. Place the exterior stencil on your t-shirt shiny side down. Iron stencil onto the shirt with a medium setting.
[…] Eclectic Momsense whipped up LEGO-themed t-shirts. […]