• Skip to primary navigation
  • Skip to main content
  • Skip to primary sidebar
  • Skip to footer

Eclectic Momsense

Phoenix Area Creative Lifestyle Influencer

  • Email
  • Facebook
  • Instagram
  • Pinterest
  • Twitter
  • YouTube
  • Home
  • About Me
    • Privacy Policy
  • Recipes
  • Crafts
  • Disney
  • Travel
  • Parties
  • Contact Me
This site contains affiliate links. Please see Policies for more information.

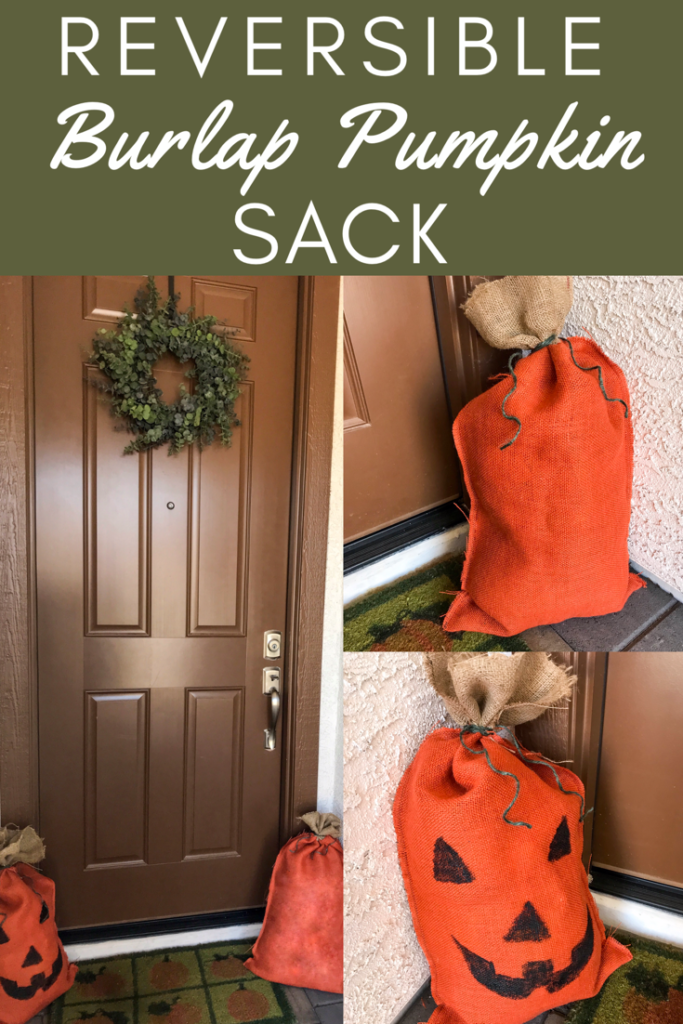
Burlap Pumpkin Sack (reversible)

09/01/2019

If you're new here, you may want to subscribe to my RSS feed. Thanks for visiting!

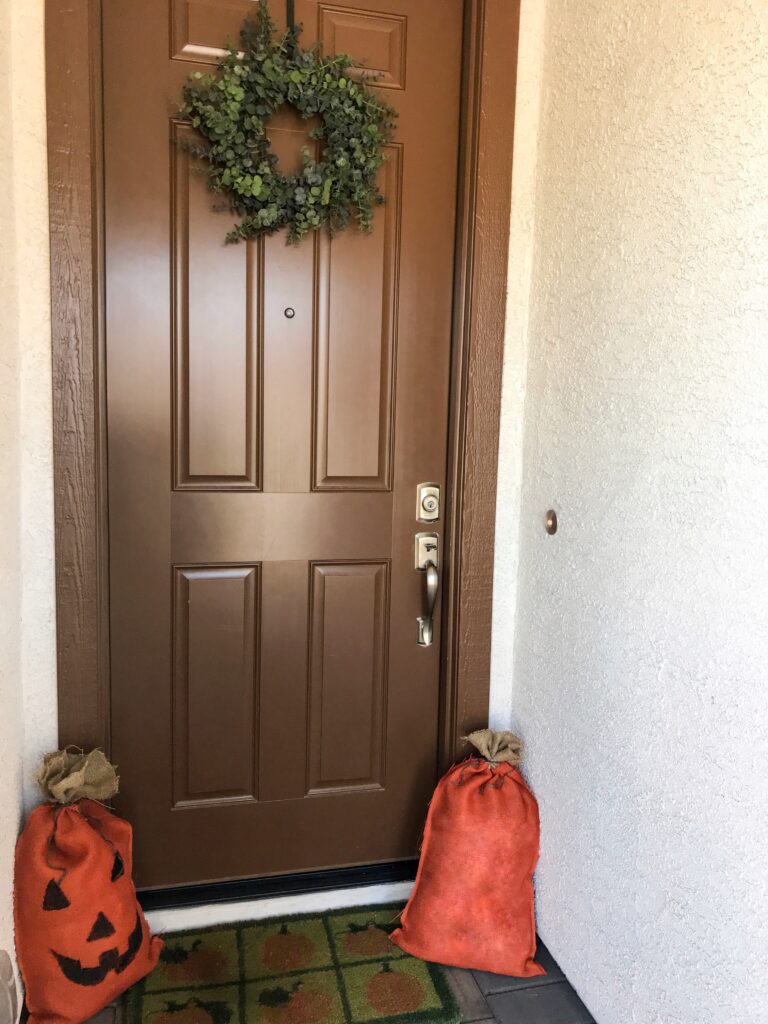
I know it’s only the start of September, but I’m having some major fall feelings this past week. I’m craving the cooler weather, warmer tones, and pumpkin pastries. I’m ready to welcome in the harvest season with some rustic decor. First up this year is this fun reversible burlap pumpkin sack.
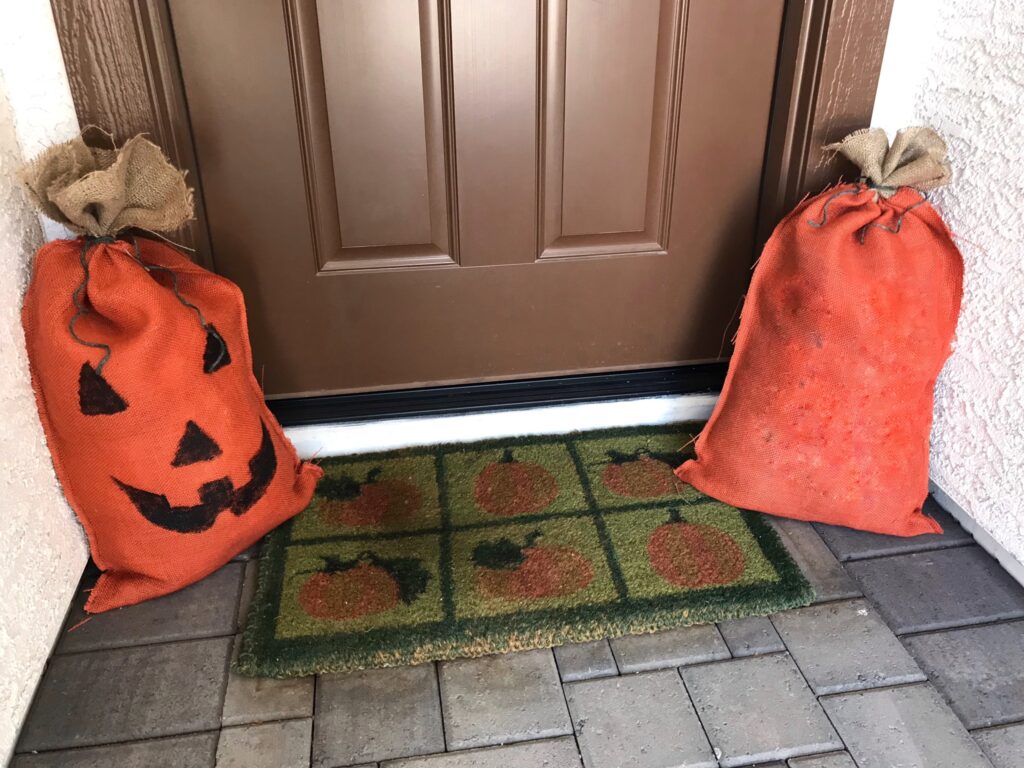
Reversible burlap pumpkin

With just a little paint, burlap, and jute you’ll have a rustic piece to take you from September to November. Alter the sizing and make a whole burlap pumpkin patch to adorn your porch.
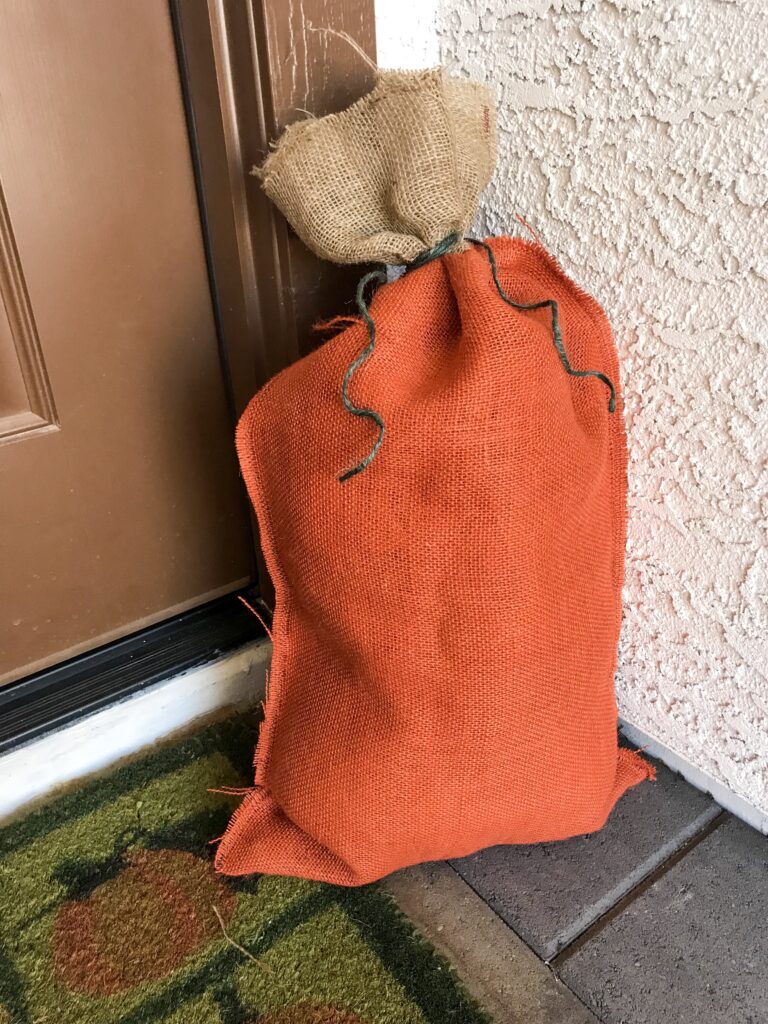
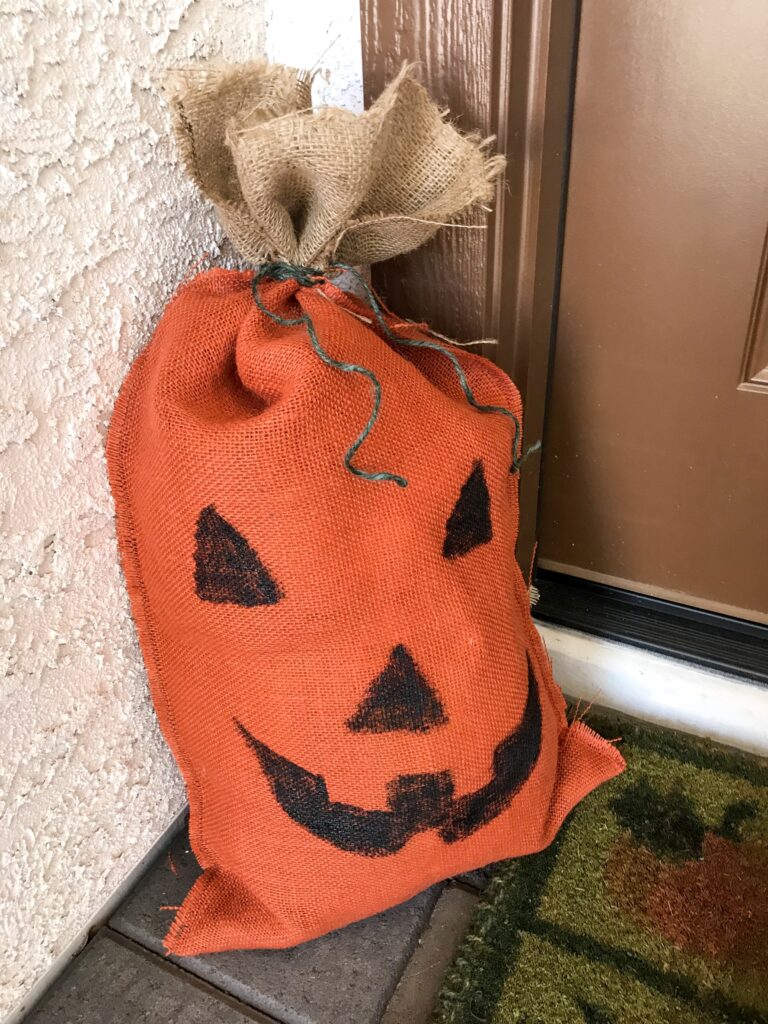
Burlap Pumpkin bag
Burlap jack o’lantern sack

Supplies:

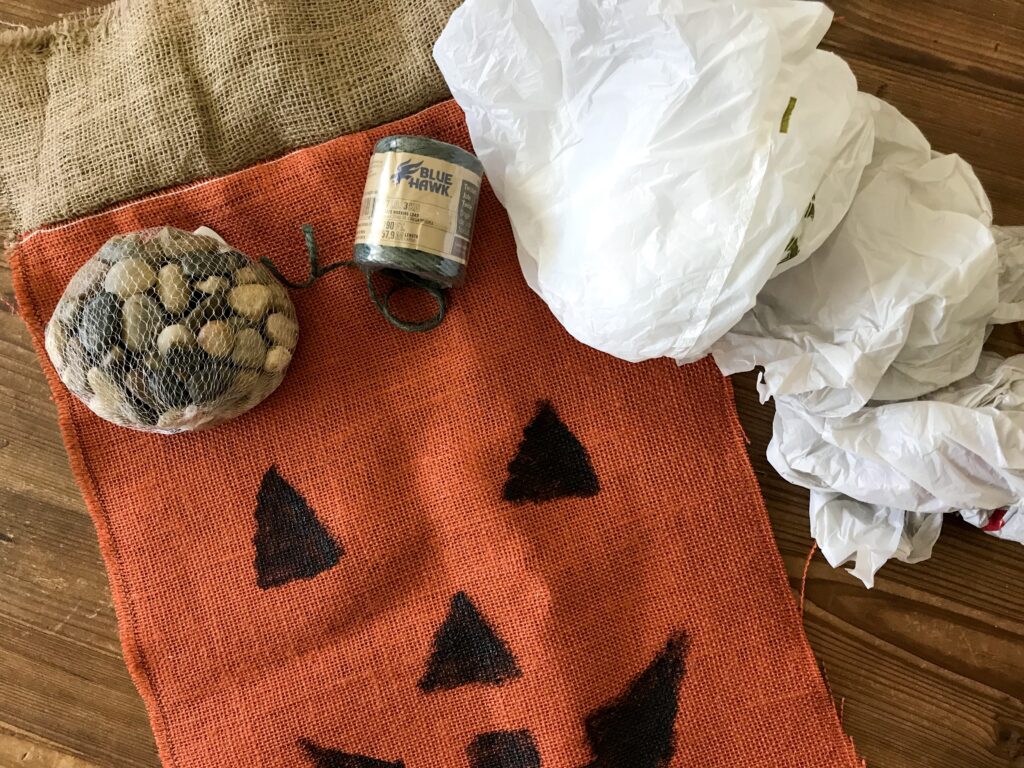
  • orange burlap
  • natural burlap
  • black paint
  • freezer paper
  • rocks
  • plastic grocery bags (for filler)
  • green jute twine
burlap fall craft

Directions:

  1. Cut the orange burlap to double your desired final size. (pumpkin pictured measures 16”x20”)
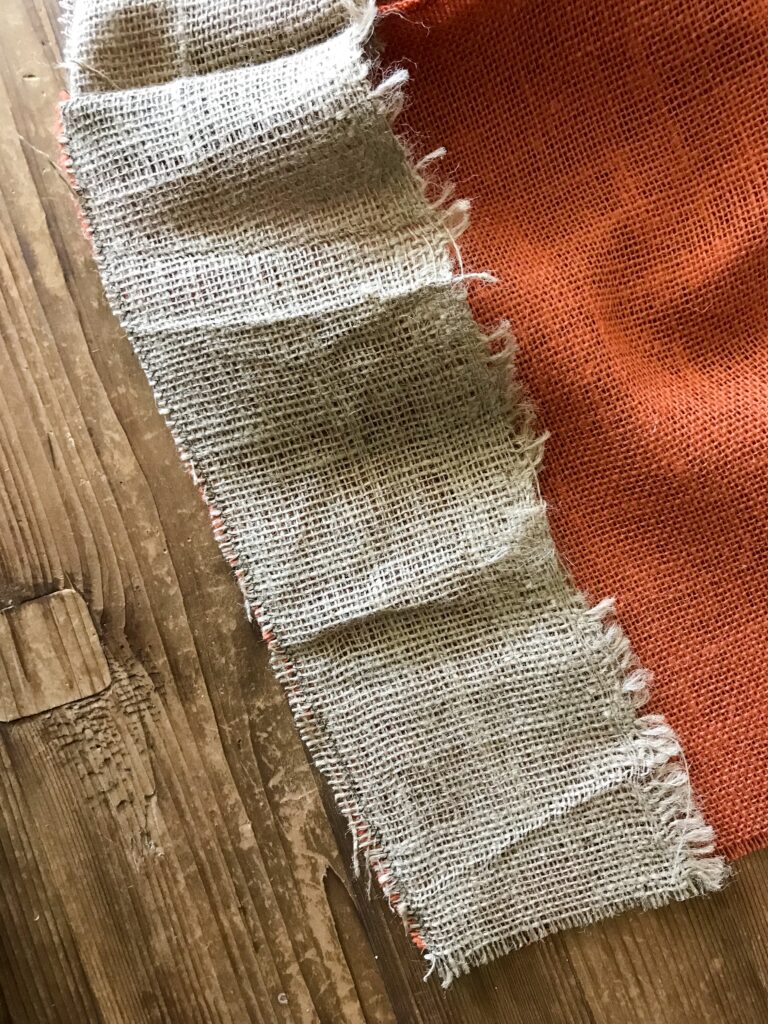
  2. Cut 2 pieces of natural burlap to the same width as your pumpkin and your chosen height for the stem. (mine measures 16”x4”)
  3. Place the right side of the stem piece to the right side of the pumpkin. Sew a zig zag seam across, attaching the stem to the pumpkin. Repeat this on the other edge of the orange burlap.DIY burlap pumpkin
  4. Fold your burlap in half wrong side to wrong side. Sew a zig zag stitch down each side of the pumpkin leaving the top open. burlap pumpkin craft
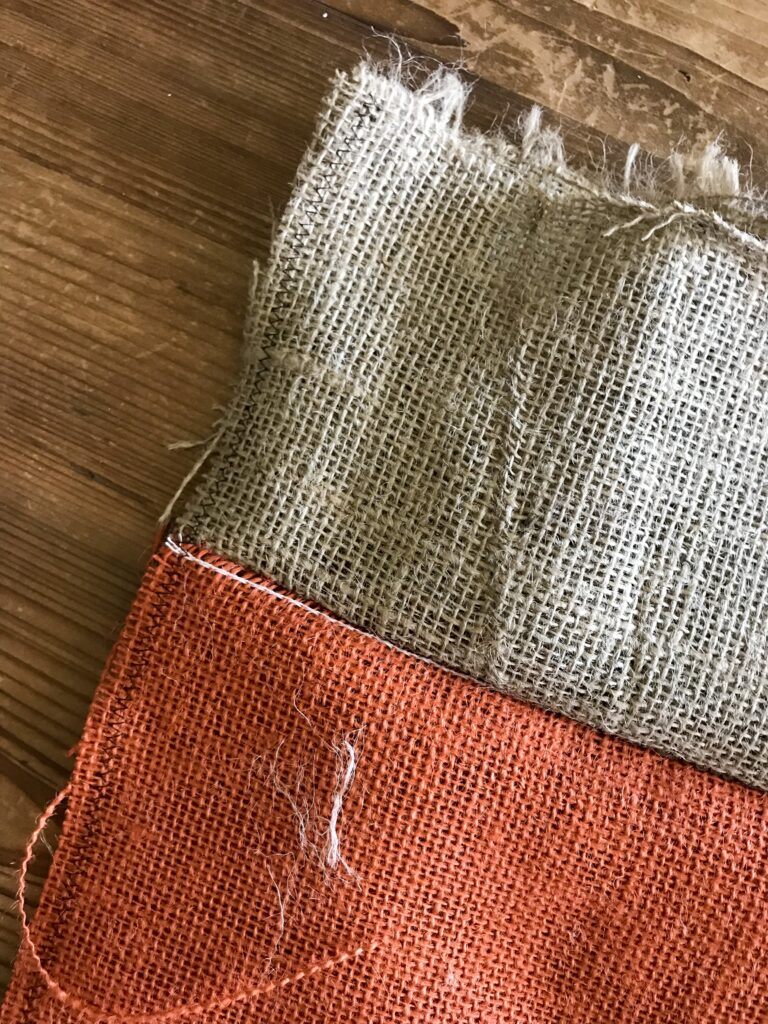
  5. Insert a piece of freezer paper between the layers of your pumpkin.
  6. On one side paint a jack o’lantern face with black paint, allow the paint to dry. Burlap jack o’lantern
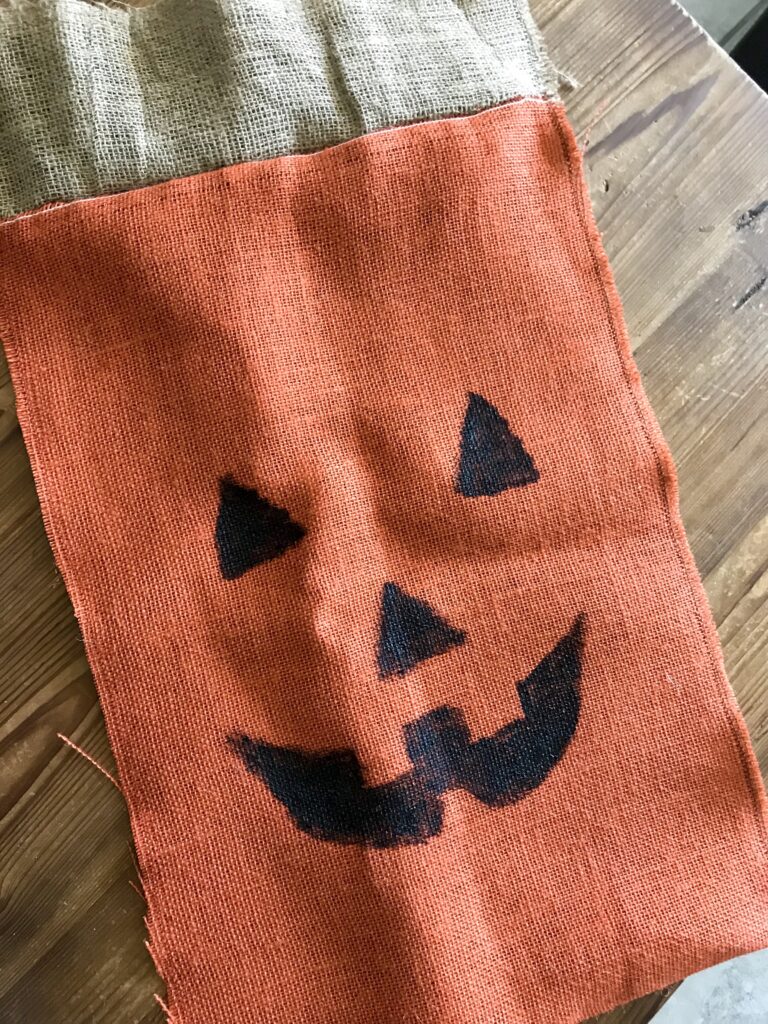
  7. Remove the freezer paper and place at least one bag of rocks in the base of your pumpkin.
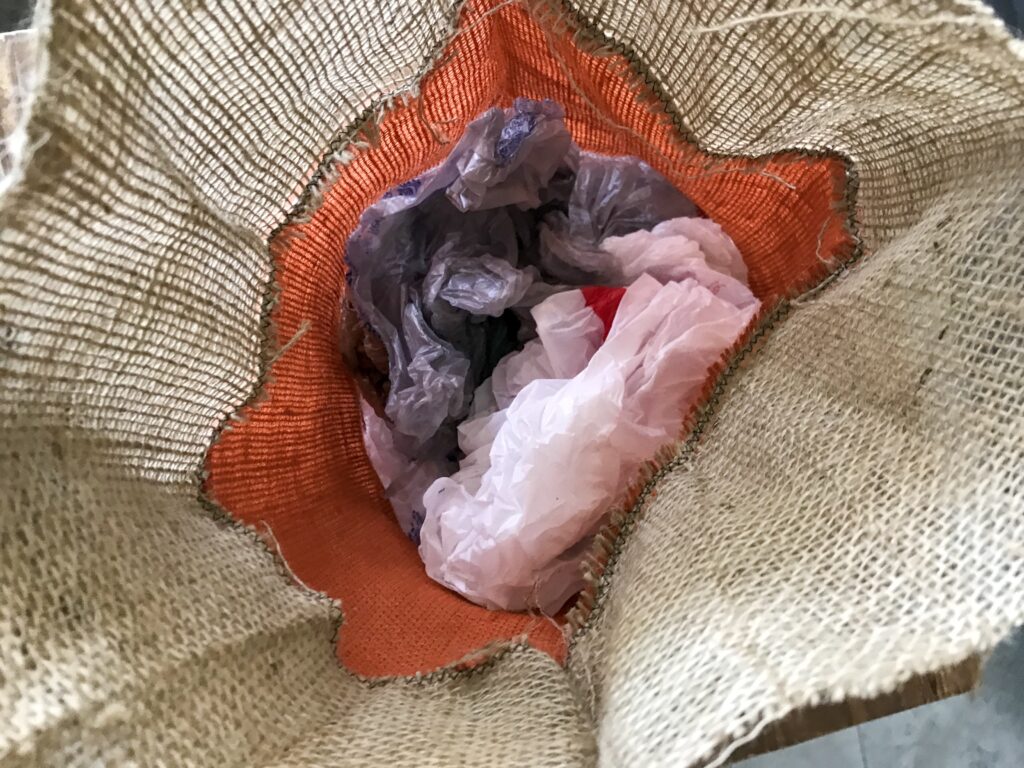
  8. Begin stuffing plastic grocery bags into your pumpkin until the desired fullness is reached. Do not fill past the orange fabric as you’ll be tying off the top to create the stem. Burlap pumpkin craft
  9. Cut a piece of green just eat least twice the width of your pumpkin.
  10. Gather the burlap at the seam where the pumpkin and stem meet.
  11. Wrap the jute around where you’ve gathered and knot it off.
  12. Continue wrapping the jute around the seam to cover it then knot off one final time.
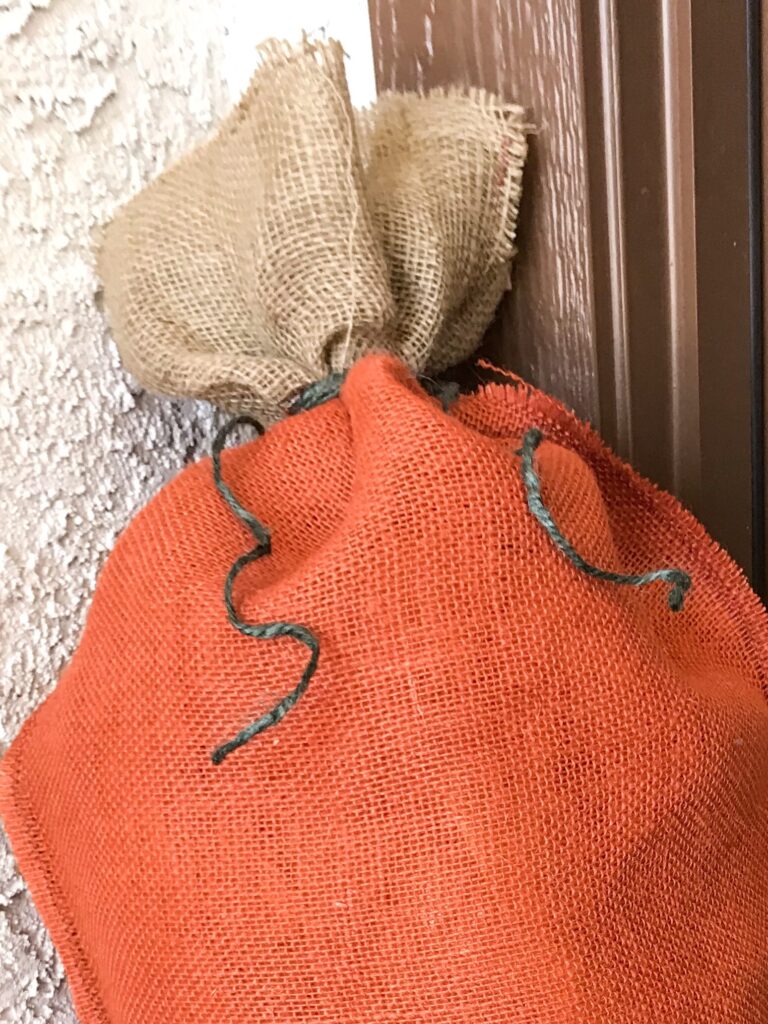
  13. Allow the jute to hang natural in curls. It gives it the look of pumpkin vines.
Why do you think? Would you like a couple of these rustic pumpkins in your patch this fall? Checkout these other DIY fall decor ideas: BOO letters | Poison Bottles | Mason Jar lid Pumpkin
reversible burlap pumpkin bag

Pin for later!

burlap pumpkin sack
Tweet
Pin162
Share
162 Shares

Filed Under: Crafts, Halloween, Holidays Tagged With: decor, fall, Halloween

Previous Post: « No Bake Cookies
Next Post: Engraved Artist Clipboard »

Primary Sidebar

Hello!

Hi, I'm Kelly. A wife, mom, and jane of all trades. Just a little bit crafty, a smidgen of all things green, and a huge helping of everything mom! To learn more about Kelly, the mom behind the creativity, click here...

recipes
crafts
parties
disney
travel

What's Poplular?

  • Chase Field ballpark tips for families
    Ballpark Tips for Families | Arizona Diamondbacks Chase Field
  • LeapFrog Touch Magic Playdate {review}
  • Lady and the Tramp
    Disney’s LADY AND THE TRAMP (Walt Disney Signature Collection)
  • DIY Captain America shirt
    DIY Captain America Shirt
  • outdoor entertaining
    Outdoor Entertaining | How to Hang Cafe Lights
  • Crayon Removal
    Cleaning Hack: Remove Crayon From Almost Any Surface
  • table and chair makeover
    Furniture Makeover
  • Buffalo Seasoning
    Buffalo Seasoning


Footer

Hi, I'm Kelly. A wife, mom, and jane of all trades. Just a little bit crafty, a smidgen of all things green, and a huge helping of everything mom! To learn more about Kelly, the mom behind the creativity, click here…

Categories

Eclectic Momsense

  • About Me
  • Contact Me
  • Policies & Diclosures
  • Copyright Info
  • Sponsored

Copyright © 2023 Eclectic Momsense· Site Designed on Foodie Pro. All Rights Reserved.