The tools featured in this post were provided by Cricut. All thoughts and opinions are my own. #CricutCreated
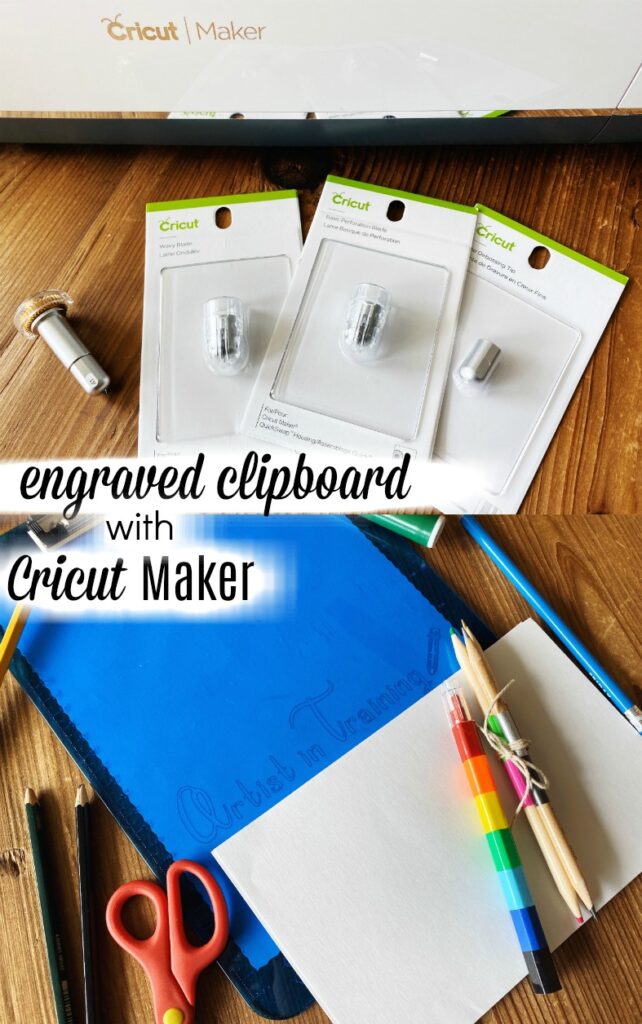
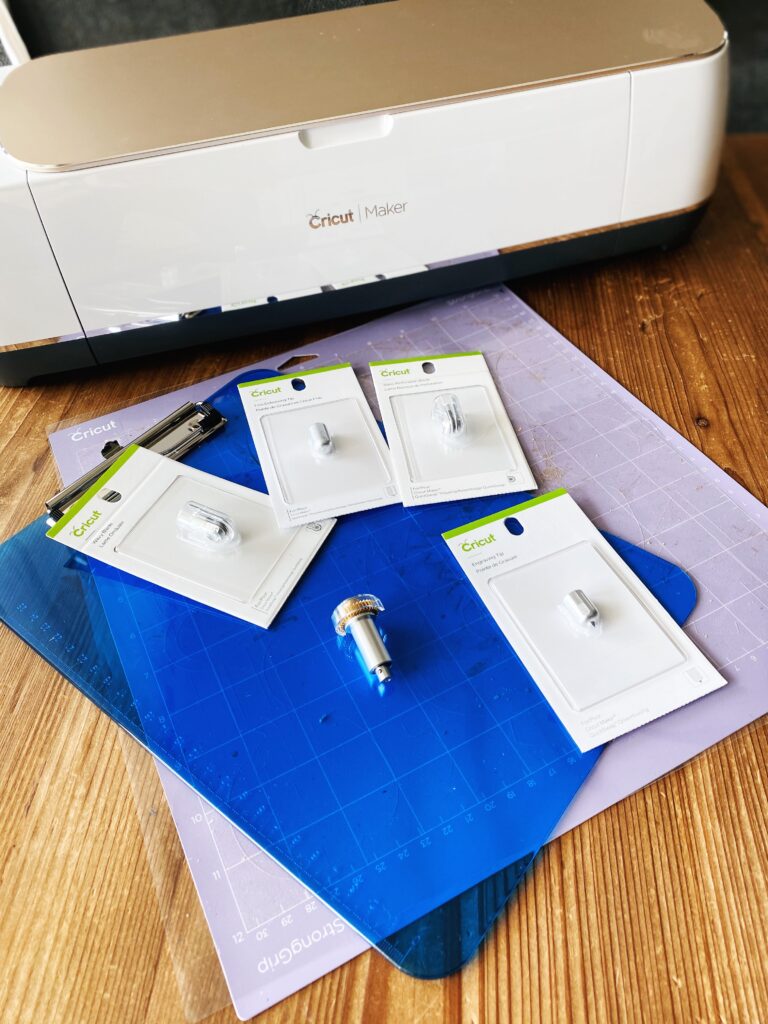
Cricut Maker just got even better with all new tools. Now you can engrave, de-boss, perforate, and make decorative cuts with one tool housing and 4 new tips. Each of the tools are part of the Maker’s QuickSwap Toolset, so you can easily move between tools while completing projects.
The sky’s just about the limit with capability to personalize on aluminum, acetate, copper, acrylic, and more. The Cricut Maker is meeting its expectations by growing in it’s capabilities providing creators with a variety of tools to create a range of crafts.
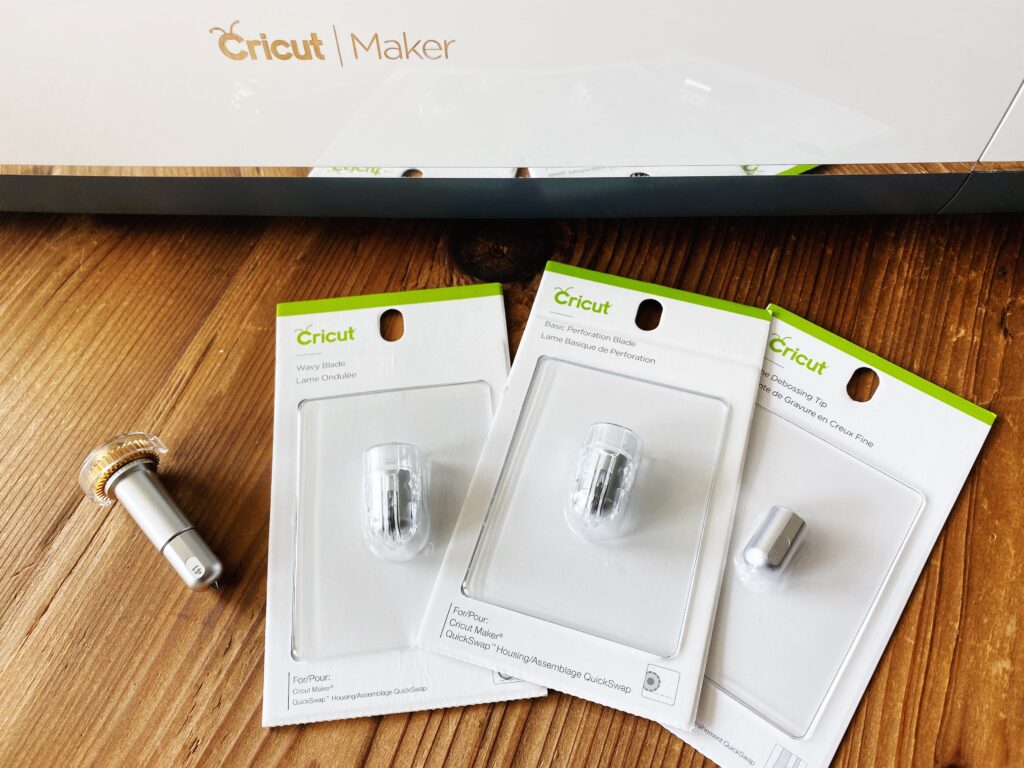
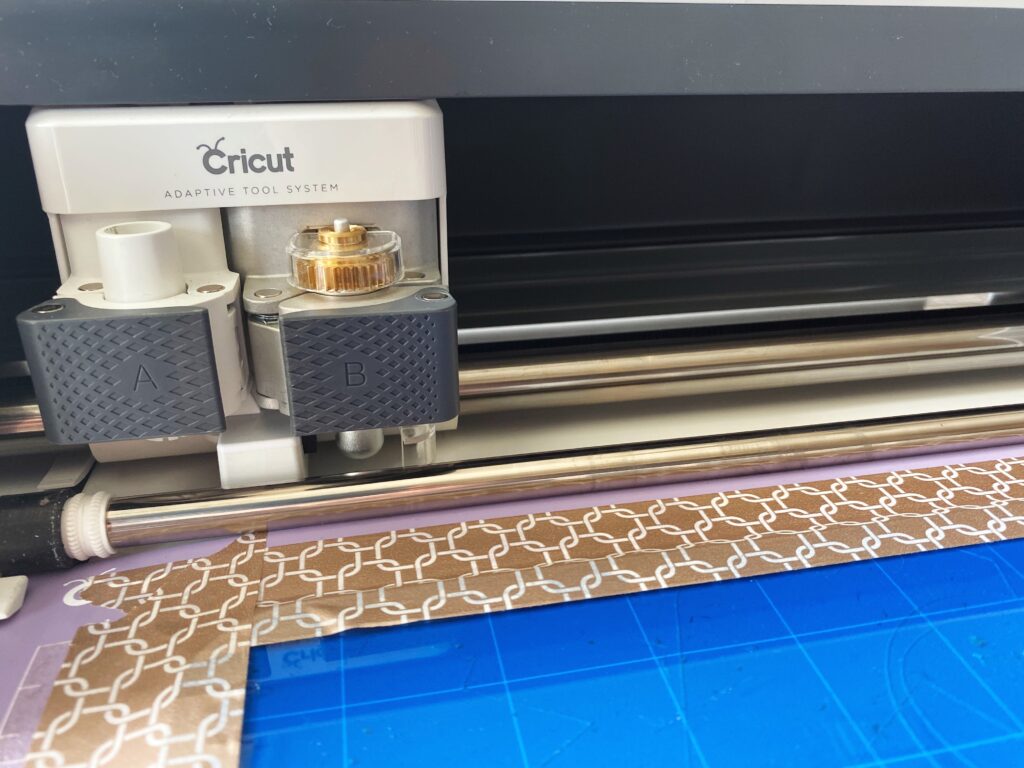
With just the press of a button you can quickly swap out the different tool tips for engraving, wavy cuts, perforation, and debossing.
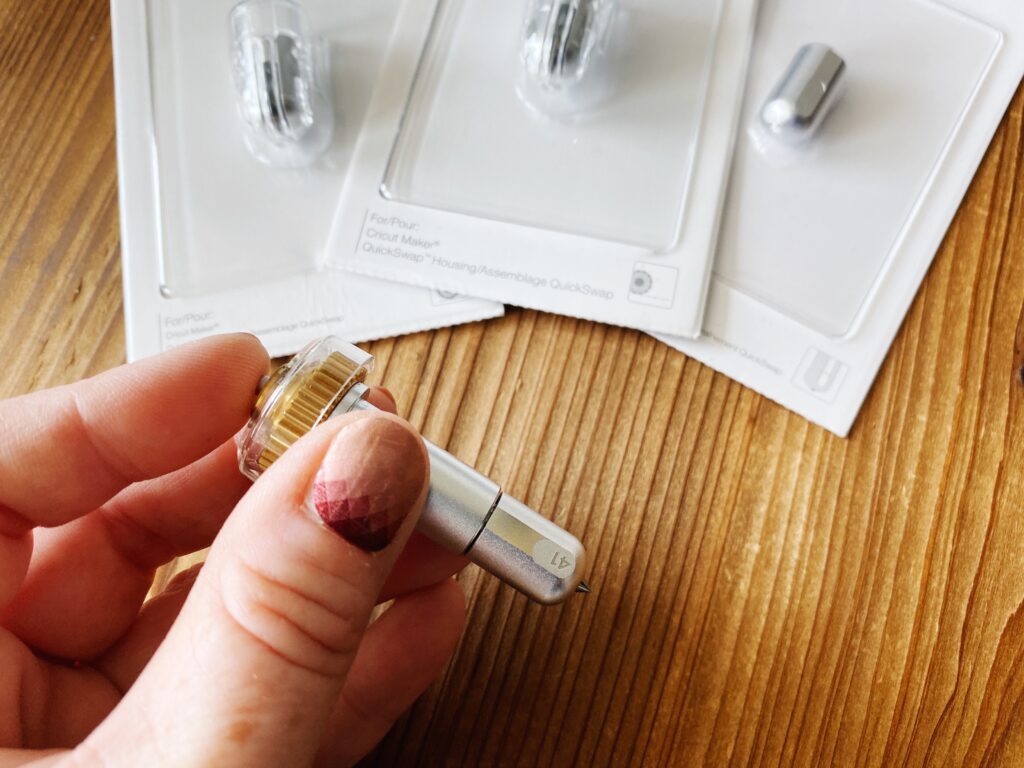
Engraving Tip:
The engraving tip provides professional-looking results with just a click of a button. The QuickSwap Housing makes it simple to use all the tools in the adaptive toolset line. The engraving tip opens up a whole new world of personalization with the ability to etch on metal, acetate, acrylic, and more!
Wavy Blade:
The wavy blade is here to rescue you from boring straight lines. Pop on the wavy blade to the QuickSwap Housing and you’ll be cutting perfectly sculpted waves on vinyl, iron-on, cards, tags, etc. Add a fabulous finished wavy edge to all your projects with ease!
Basic Perforation Blade:
There is so much more to the perforation blade than just evenly spaced perforation lines for tear-out pages. The blades finely perforated lines elevate so many designs from gifts, to cards, raffle tickets and more. Snap the perforation blade on the QuickSwap Housing, press Go!, and you’re set.
Fine Debossing Tip:
The debossing tip gives wide range of motion to create polished and elegant paper crafts. Unlike folders that are locked into a specific design the rolling debossing ball gives you flexibility to create intricate designs!
Cricut Maker is very strongly not just for paper crafters anymore! With features like: a sophisticated steering system for precise movement and smart check prior to beginning the project to verify the loaded tool Cricut Maker is for intro level crafters to expert level makers.
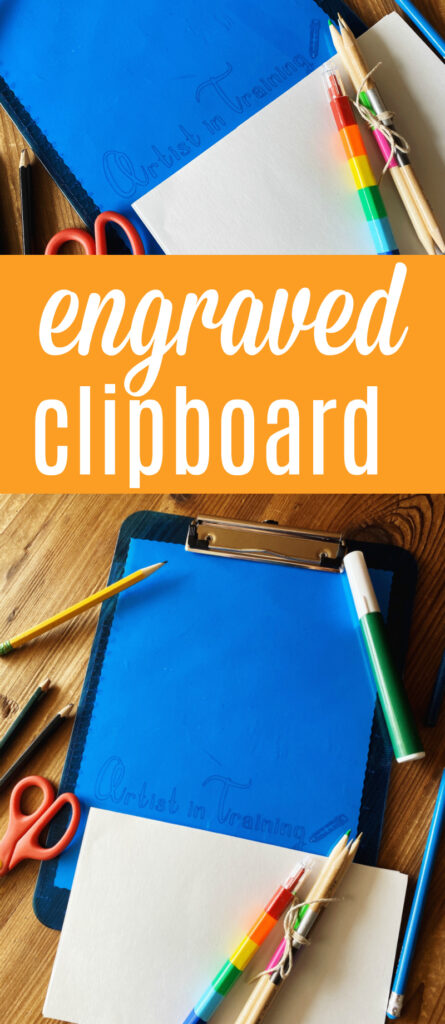
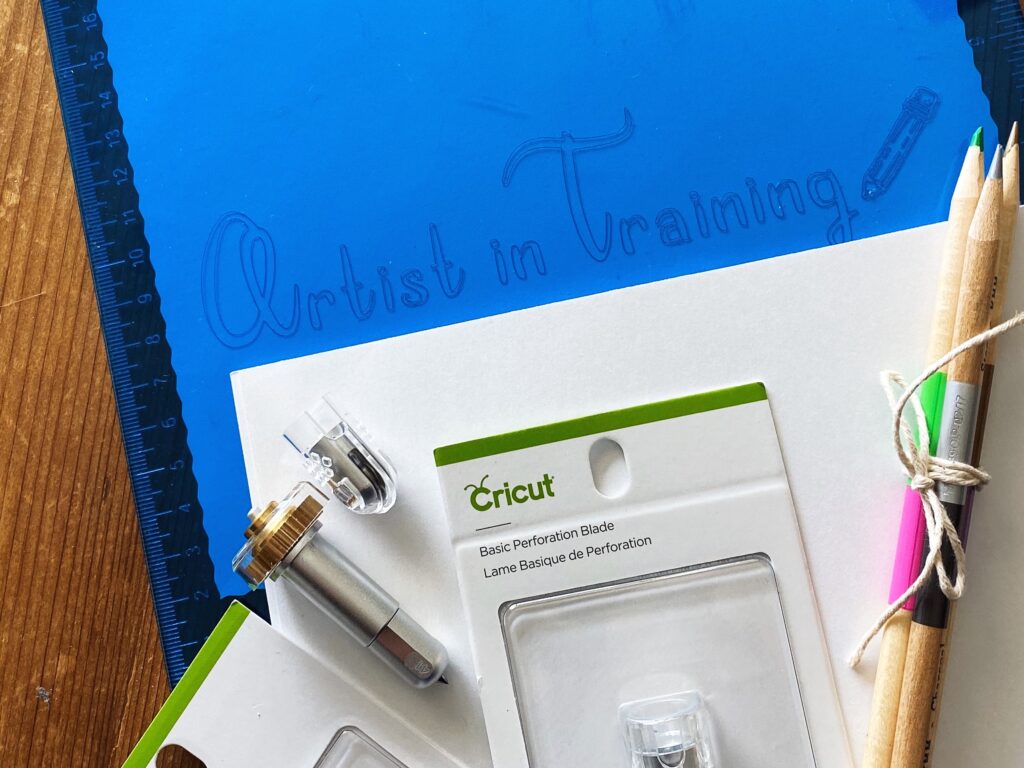
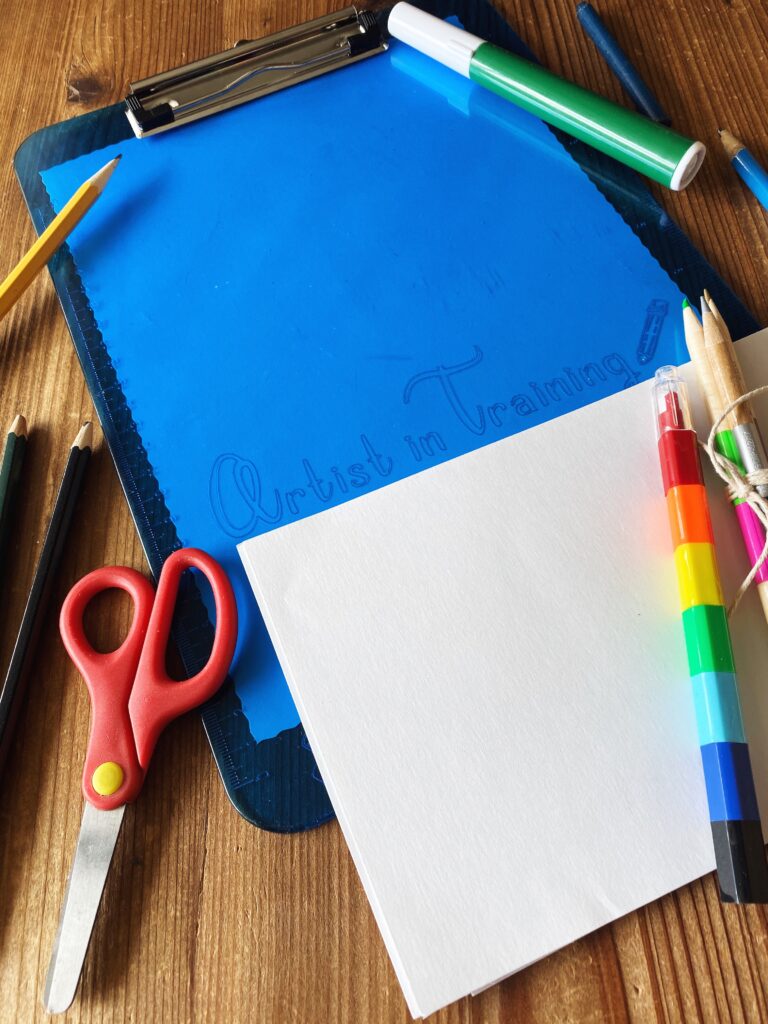
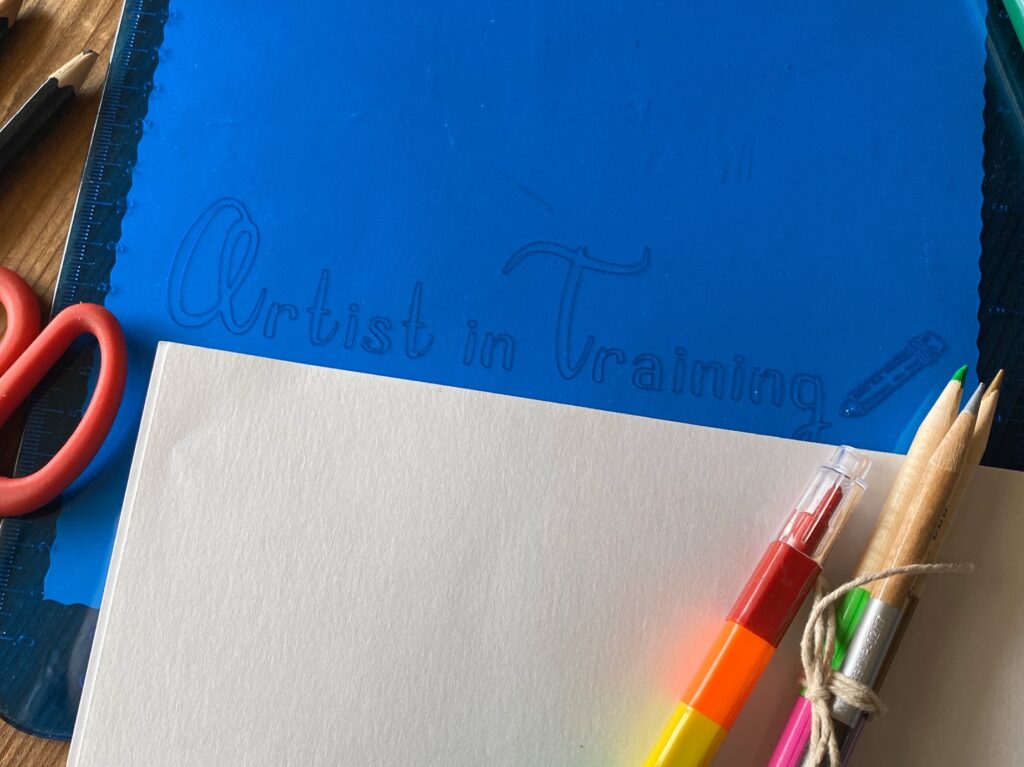
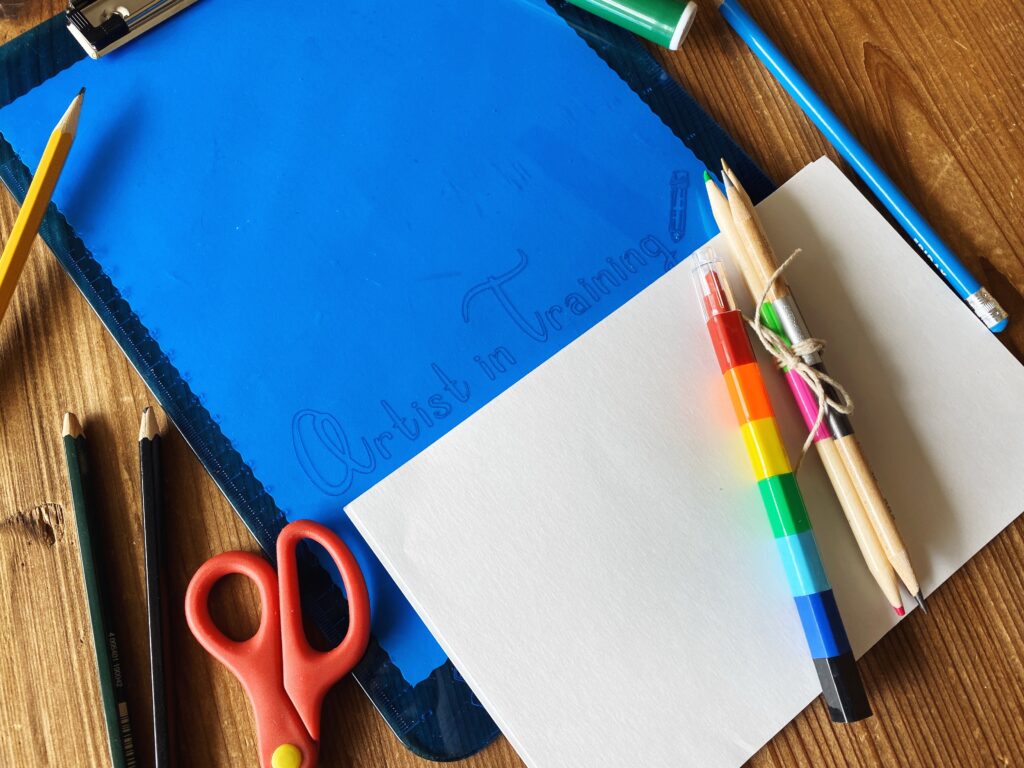
For this project we’re taking a plain acrylic clipboard and giving it a makeover. It’s a fun way to add personalization to gifts and decor!
Supplies:
- low profile acrylic clipboard
- engraving blade
- tool housing
- strong grip mat
- Artist in Training artwork
Directions:
- Grab the “artist in training” artwork above and load into your design space canvas. It’s perfectly sized for a standard sized clipboard and oriented for engraving on the back of the clipboard.
- While the artwork loads, prep your project on the strong grip mat. Place the clipboard upside down with the bottom of the clipboard aligned to the top of the mat. Using painters, masking, or wide washi tape; secure your clipboard onto the mat to avoid shifting. I taped around the base, sides, and towards the middle of the clipboard.
- Load the engraving tip into slot b of the adaptive tool system on your Maker.
- Feed your mat into the Cricut Maker. Select acrylic 2mm when choosing your material.
- Press Go! and let the magic happen. Just as quick (maybe quicker) than your machine can make the cut you’ll have a personalized engraved clipboard.
If I were to create again I would place the design at the bottom of the board. On my first try it started to cut off the board (might be time to re-calibrate), so I shifted the design up so I would get a full engraved design.
This design fixes a problem other personalized clipboards have, a flat surface. By engraving on the back of the clipboard it leaves the writing surface flat with no grooves. The engraving tip is precise and gives a clean etch on so many surfaces.
I packaged my clipboard up with some art paper and fresh pencils for my own little artist in training. Clip on a simple printable for a complete gift! I elevated mine with a backing paper so the design would pop when my gift was opened. The wavy blade was perfect for the job and quickly turned a piece of craft paper into an accent piece for my gift.
Pin for Later!