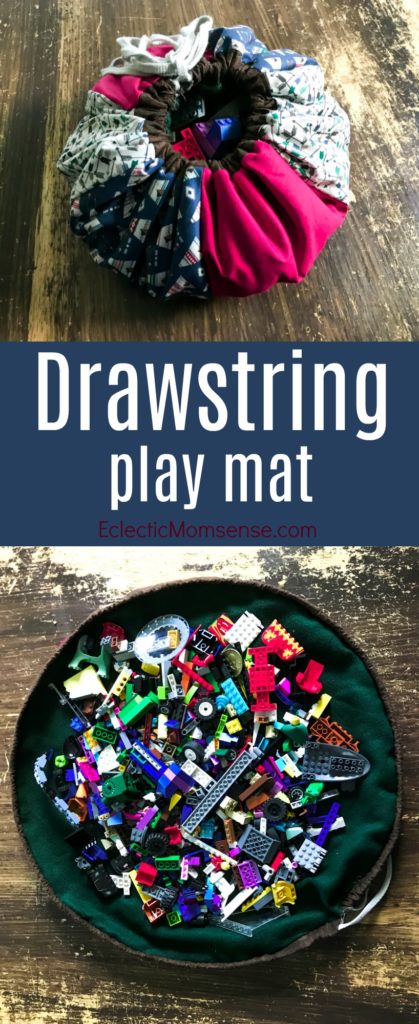
I received product in exchange for sharing this Cricut sewing tutorial. With the help of my Cricut Maker and some coordinating Cricut fabric, I whipped up a quick toy organization system both mom and kids can get behind!
Fabric cutting is a close second to my first favorite Cricut Maker use (cutting iron-on) and makes completing projects so much simpler. I absolutely hate cutting, it’s a step in sewing that has always been a thorn in my side. Perhaps it’s the lefty in me that sees this as a chore or it might be that it’s so tedious. If you’re like me, you’ll be happy to hear the Cricut Maker can help with all your favorite sewing projects. It makes precise cuts with the touch of a button!
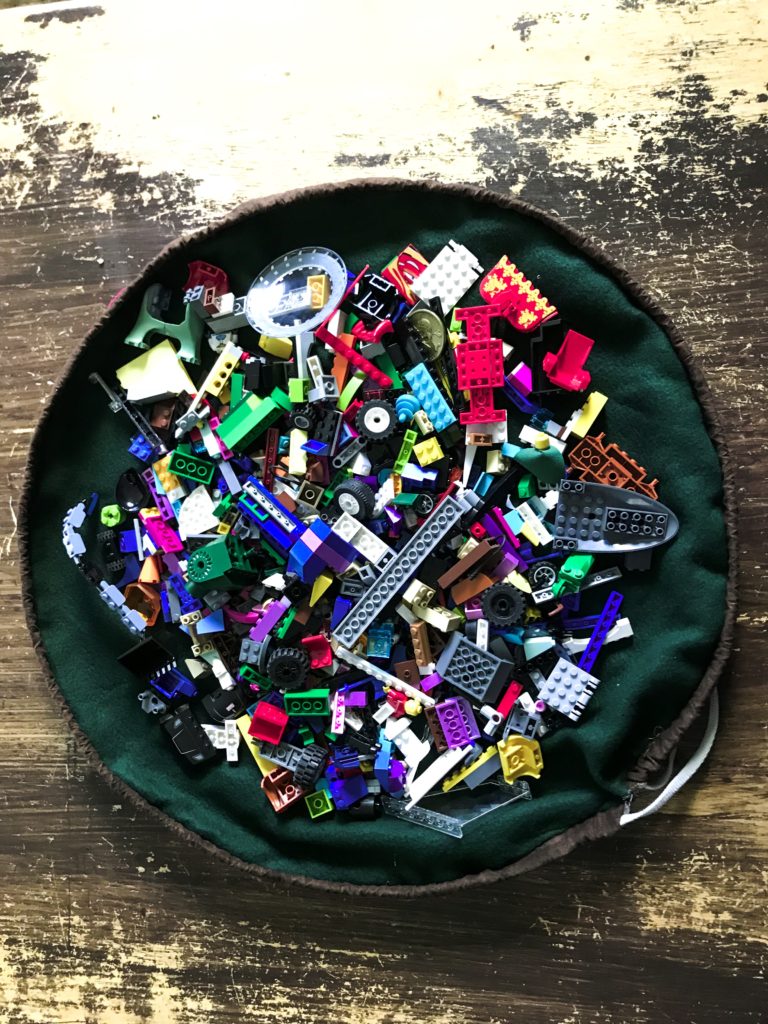
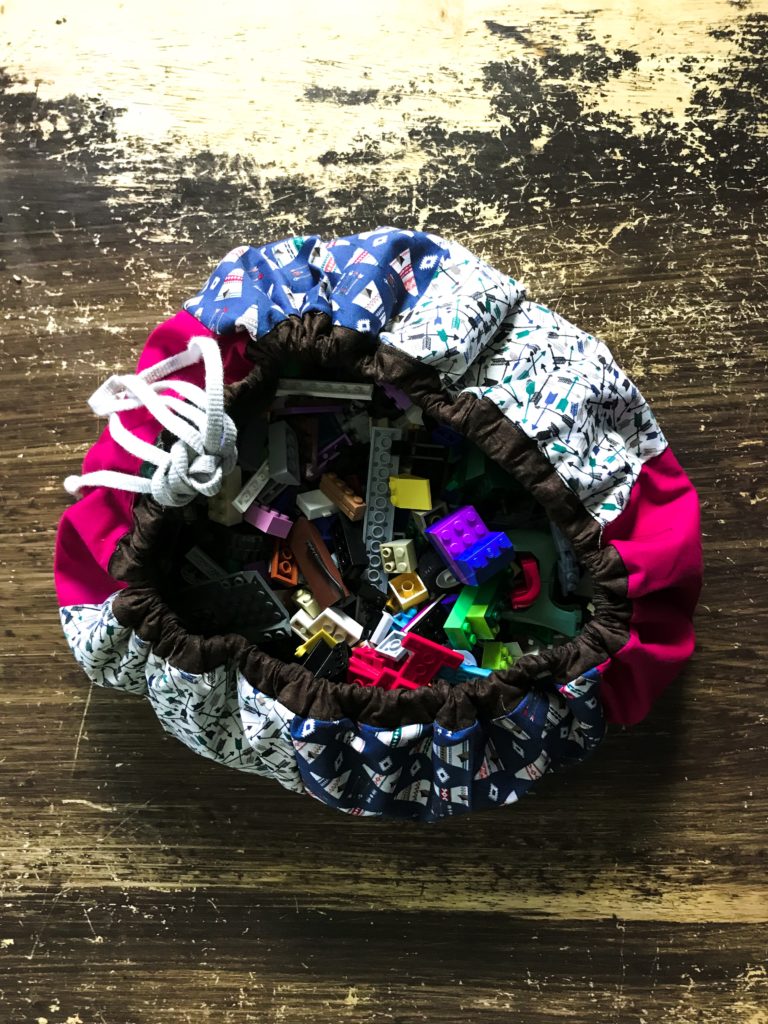
I’ve created clothing before and now this simple drawstring play mat. This simple project is easy to adapt to any size and helps keep things contained with style. I made one for my boys to help them contain their LEGO mess, help with cleanup, and store ongoing building projects.
You could switch up the fabric and make it mini to house your everyday makeup supplies or even small sewing projects and tools.
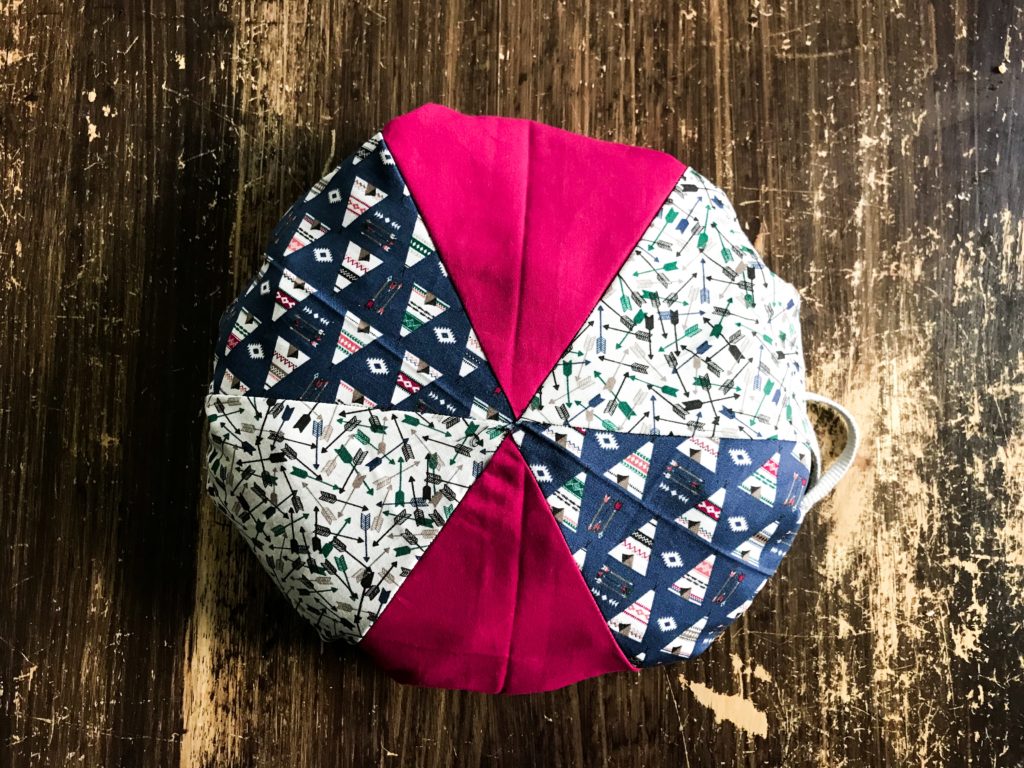
Cinch Play Mat Supplies:
- Coordinating fabric
- 3 pieces 12″x24″
- 1 piece 24″x24″
- 2″ wide strips sewn to about 76″ long
- 24″x24″ backer fabric
- Sewing machine
- paracord or thin rope
- Cricut Maker
- rotary blade
- fabric mat
- cutting mat and rotary cutter
- circle mat cut file
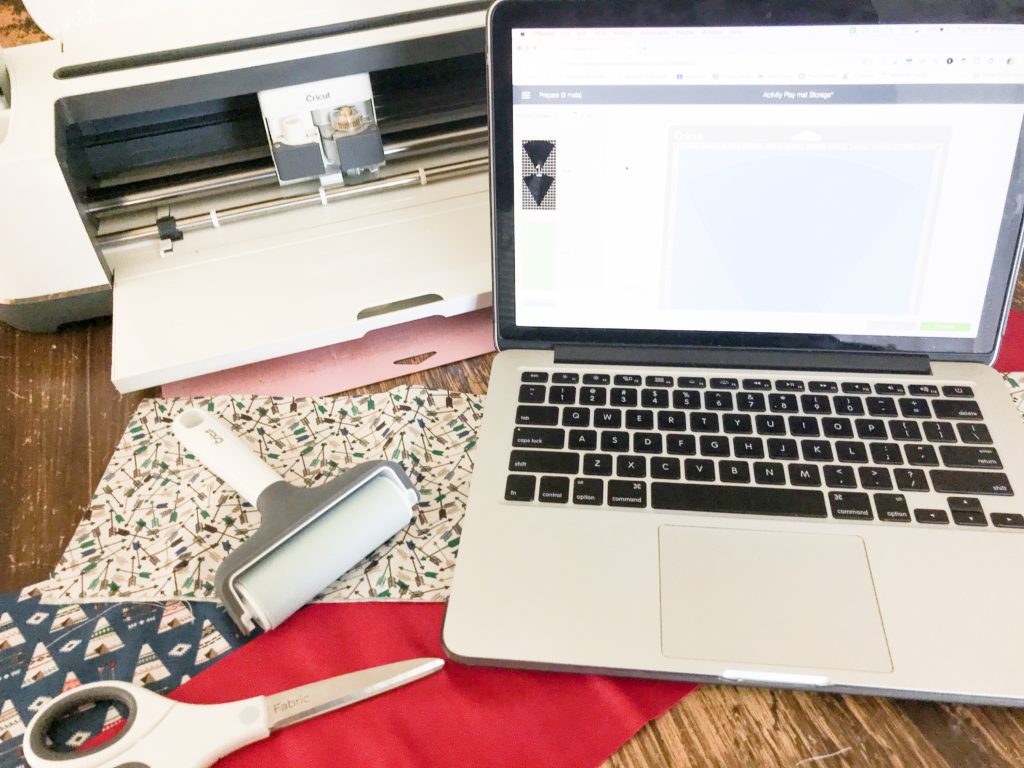
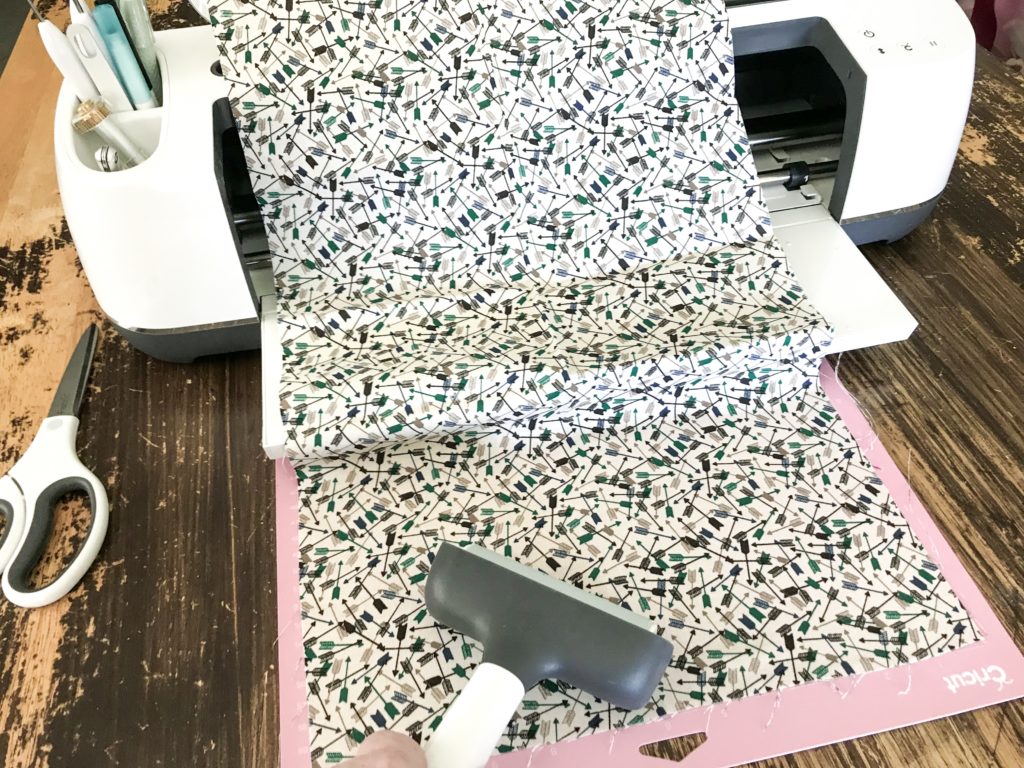
Grab your pink 12″x24″ fabric mat. Lay it under your Cricut Maker so just the first inch of tacky surface is visible. Line up your edges at the top of the mat (right side up). Slowly, pull your mat out, as you use the brayer to remove any air bubbles and set to the mat. Continue until you reach the end. The Cricut fabric is just a couple inches longer than the mat so you will have some overhang.
Load the circle mat project into Design Space, size to your desired finished bag (currently it’s set to the maximum, which yields about a 24″ mat). Select your material type, then cut.
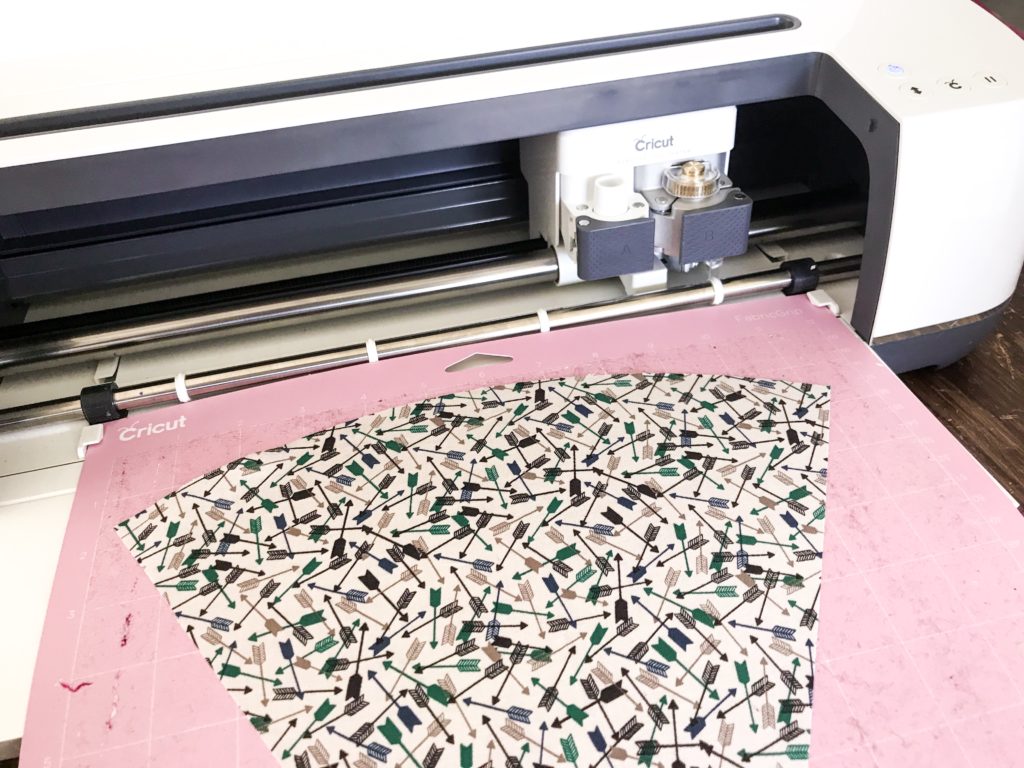
For this design you’ll need 2 pizza shaped slices for each fabric.
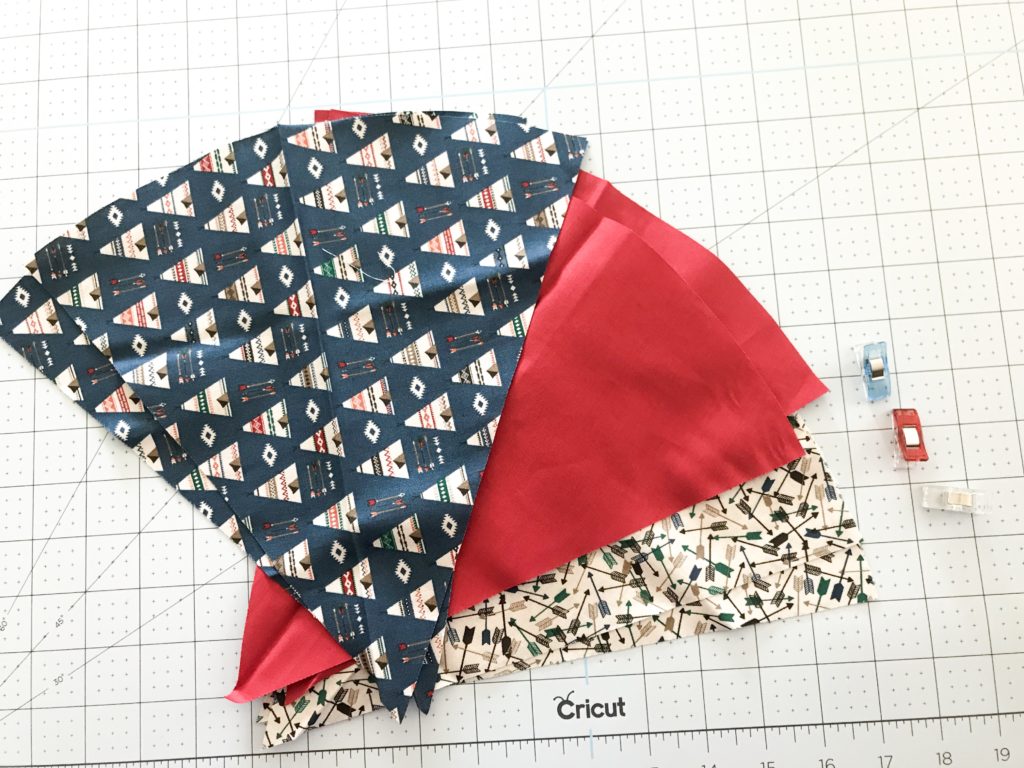
How to Sew a Cinch Play Mat
Lay your first 2 pieces right sides together. Pin or clip down one side. You’ll be sewing with a 1/4″ seam.
If you don’t have these clips yet, invest! For around $11 you’ll get 110 clips. This was my first project using them and I’m never going back to pins, except for more intricate projects.
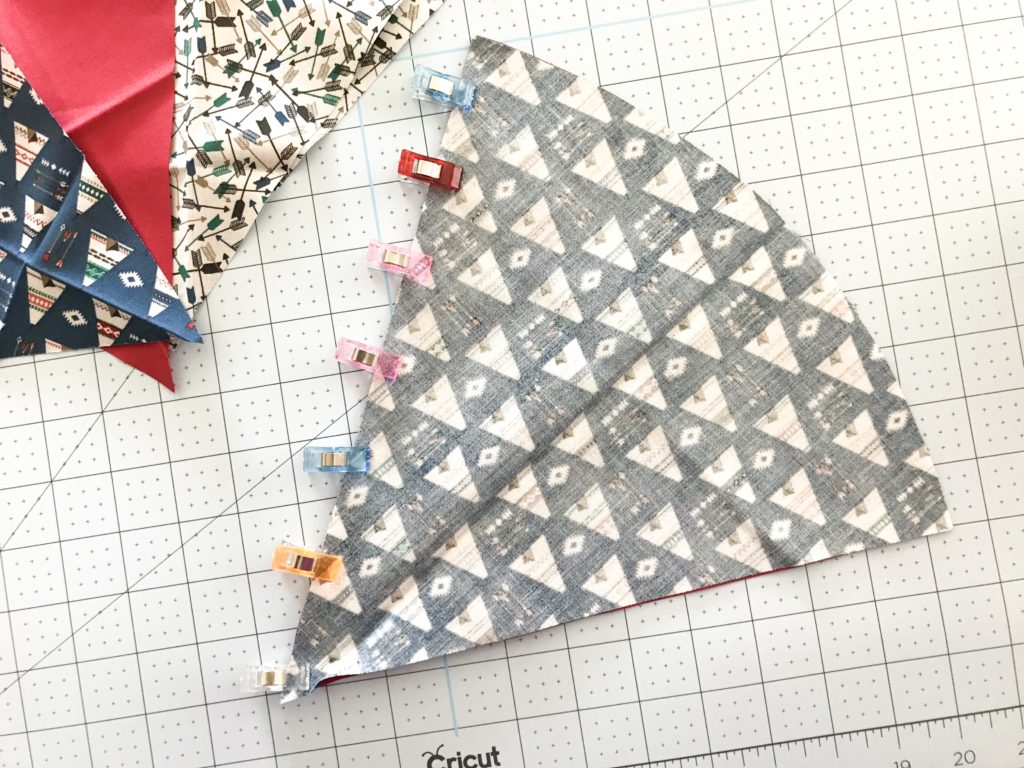
Once you’ve sewn 2 pieces together unfold and lay a third piece, right sides together, on top of what will become the middle piece. Clip, and sew a 1/4″ seam.
Repeat with the remaining 3 pieces, alternating in the same order.
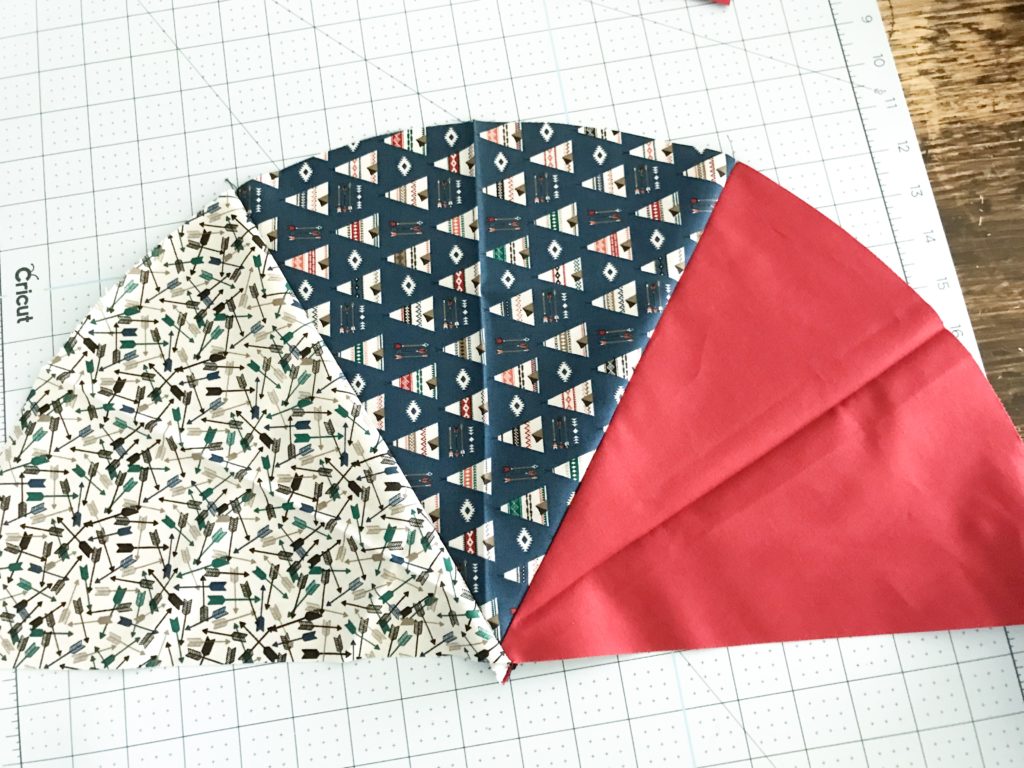
Next, take the 2 half circles and lay right sides together. Clip the middle together. You will be sewing a straight stitch down the middle to connect the 2 halves.
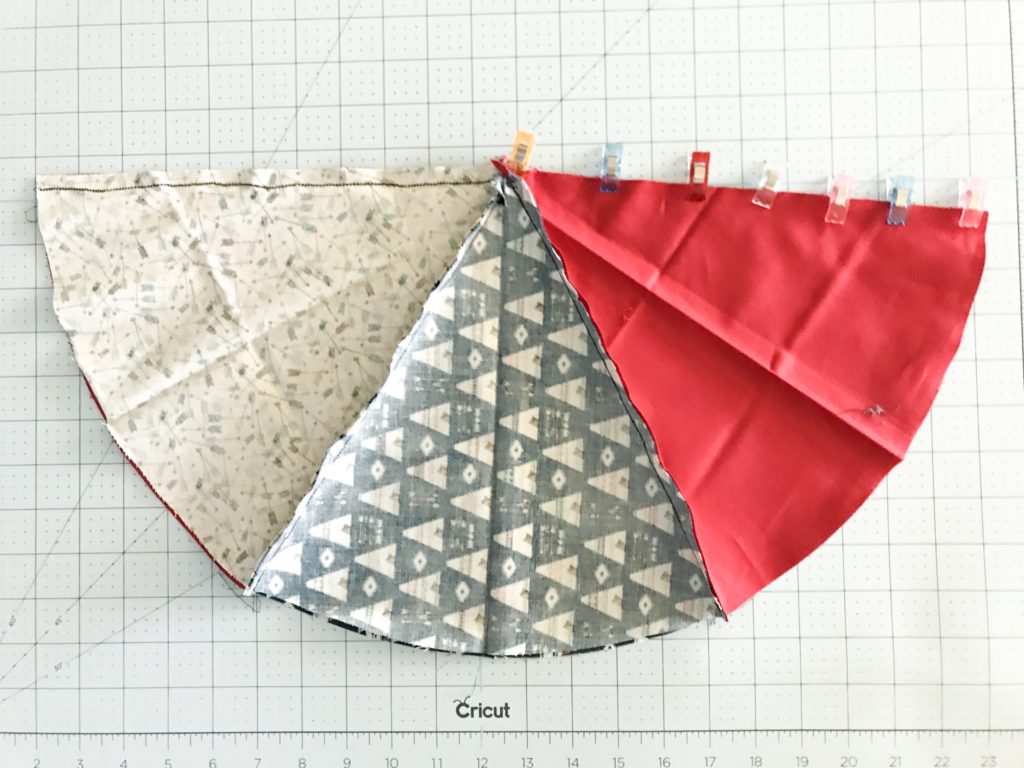
Next you’ll be cutting your second layer. Fold the finished circle into quarters. Lay on top of the square piece of fabric folded into quarters. I used fleece, but you could use a solid piece of cotton, or jean would even be nice.
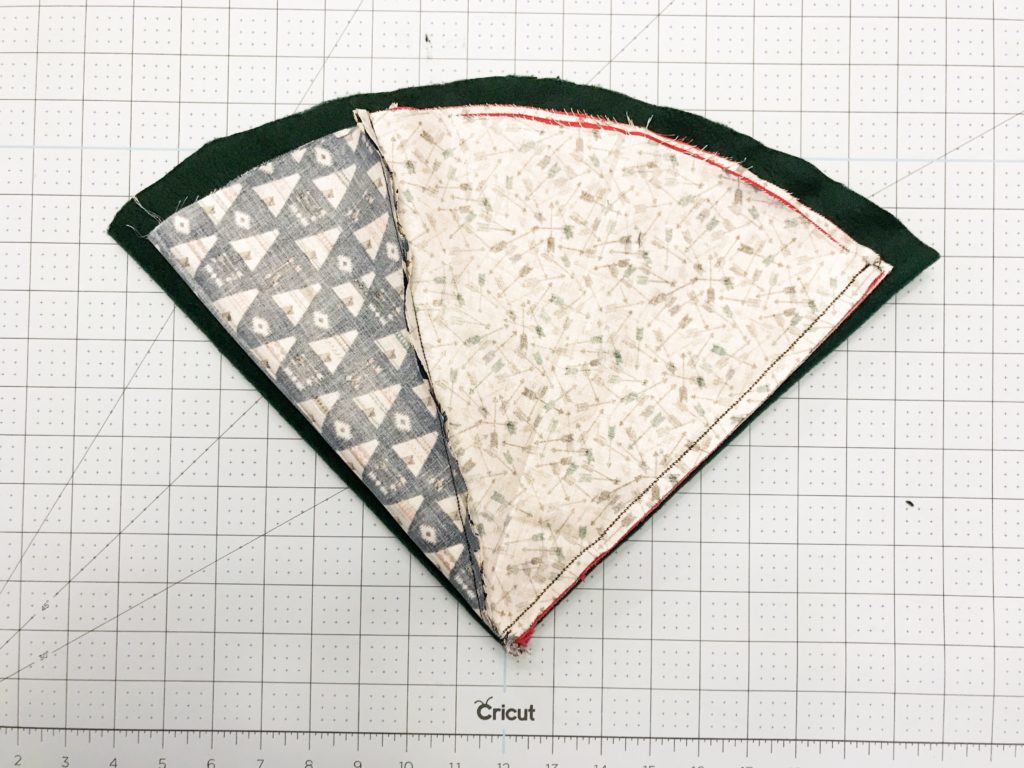
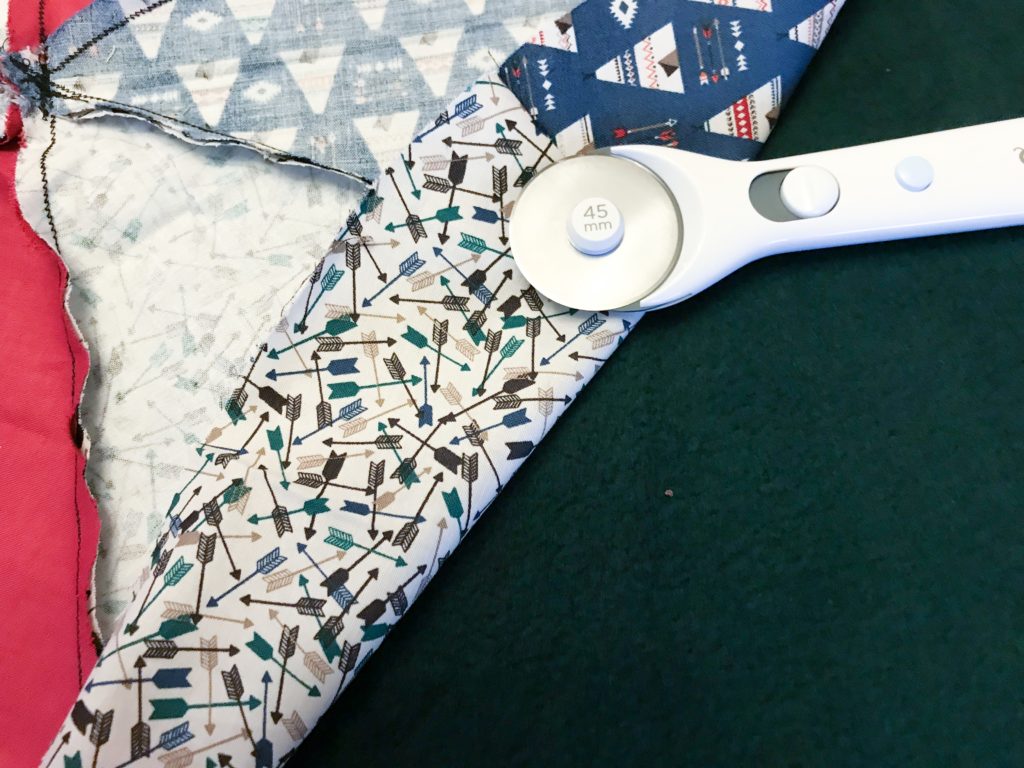
Use the rotary cutter to cut the backer fabric along the curved side, so you create a duplicate circle of fabric.
Next you’ll be creating your drawstring casing. I do my casing different than most people. It’s time saving and doesn’t require the tedious task of threading a rope through a thin casing.
You’ll use your rotary cutter and mat to cut 3- 2″ strips from another piece of coordinating fabric. Then, sew the 2 strips together to create one long strip.
tter and mat to cut 3- 2″ strips from another piece of coordinating fabric. Then, sew the 2 strips together to create one long strip.
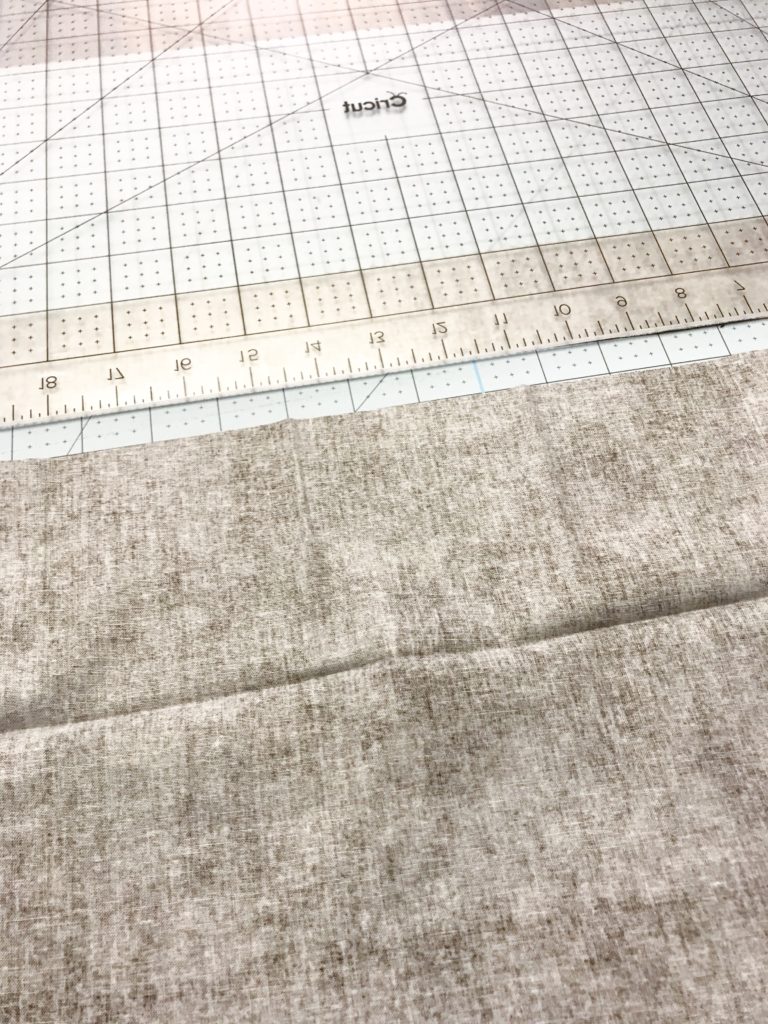
Next, measure a piece of rope or string around your finished circle. Cut a length that is about 4″ longer than the circumference of your circle so you have some overhang.
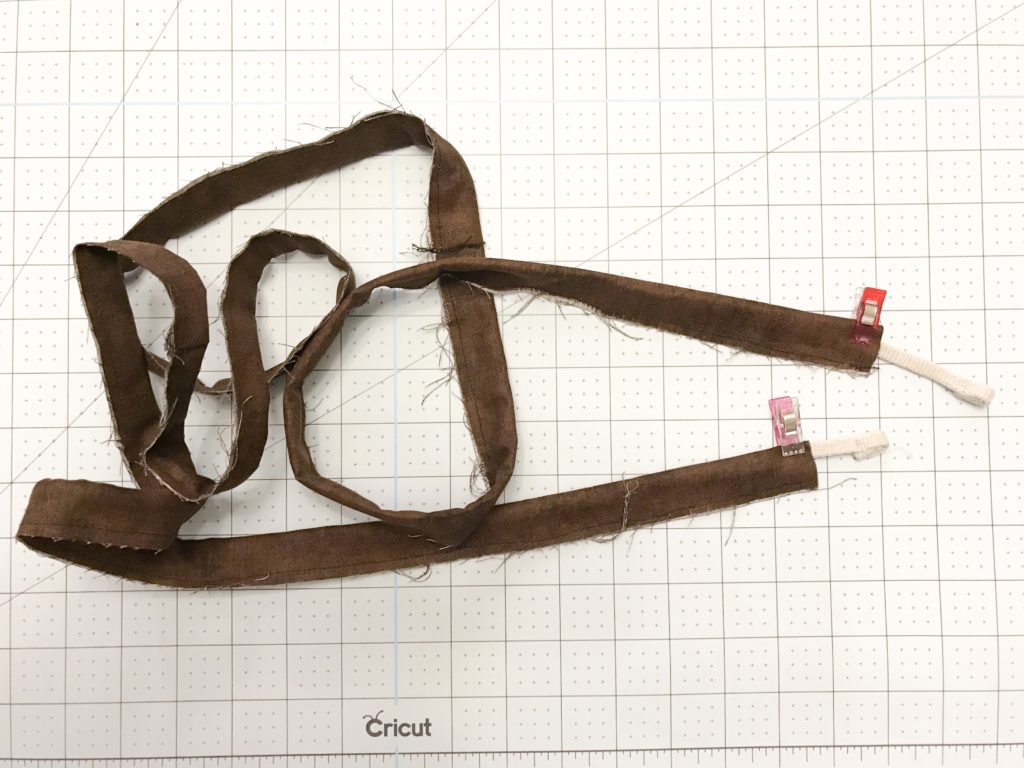
Next lay your strip of fabric wrong side up. Lay the string you just cut inside just below the middle (trim any excess fabric so you have about 6″ of string longer than the fabric strip. Begin folding the strip of fabric in half securing the edges with your clips. Make sure as you clip you don’t clip the string. This ensures it’s up next to the fold and out of the way when you go to sew your seam.
Sew along the edge with a 1/4″ seam creating your drawstring casing, with string already inside!
Assemble Play Mat Pieces
Now lay out one of your pieces of fabric right side up. Lay the casing with the sewn edge towards the outside. You should have about 1″ of spacing between the 2 ends. Clip the casing in place around the entirety of your circle. The casing portion should be towards the inside of your circle. Start sewing with a 1/4″ along the entire circle.
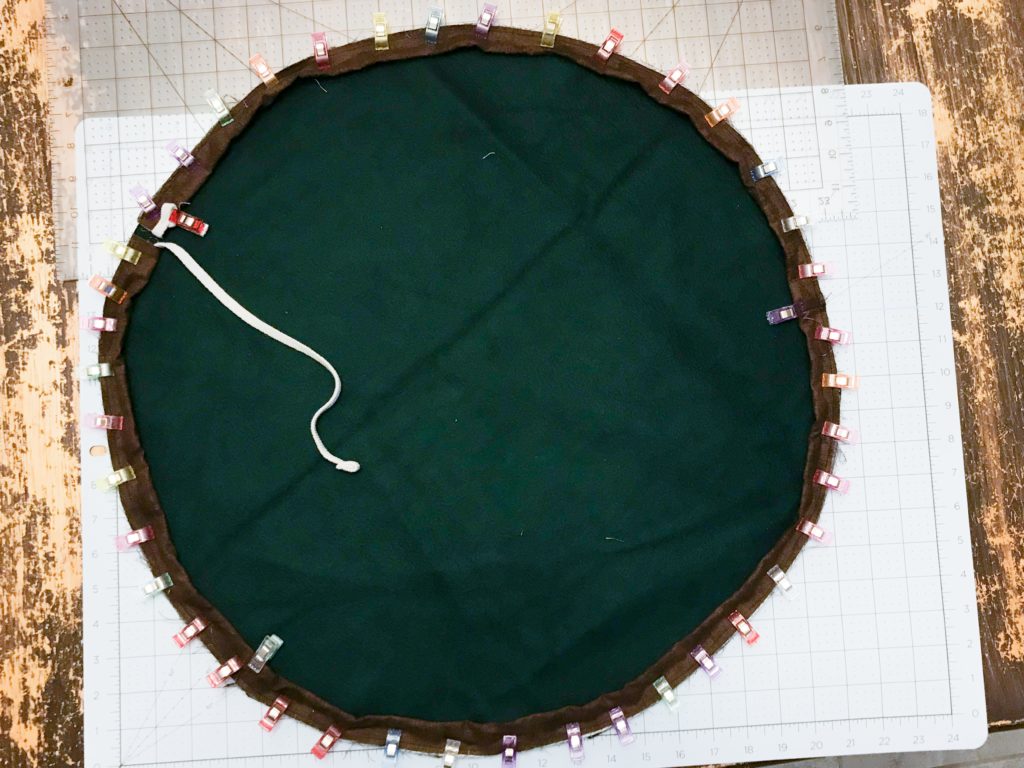
Finally lay the last circle right side down on top of the casing and circle you just completed. The casing should be sandwich between both pieces of fabric. Clip and secure around the full circle.
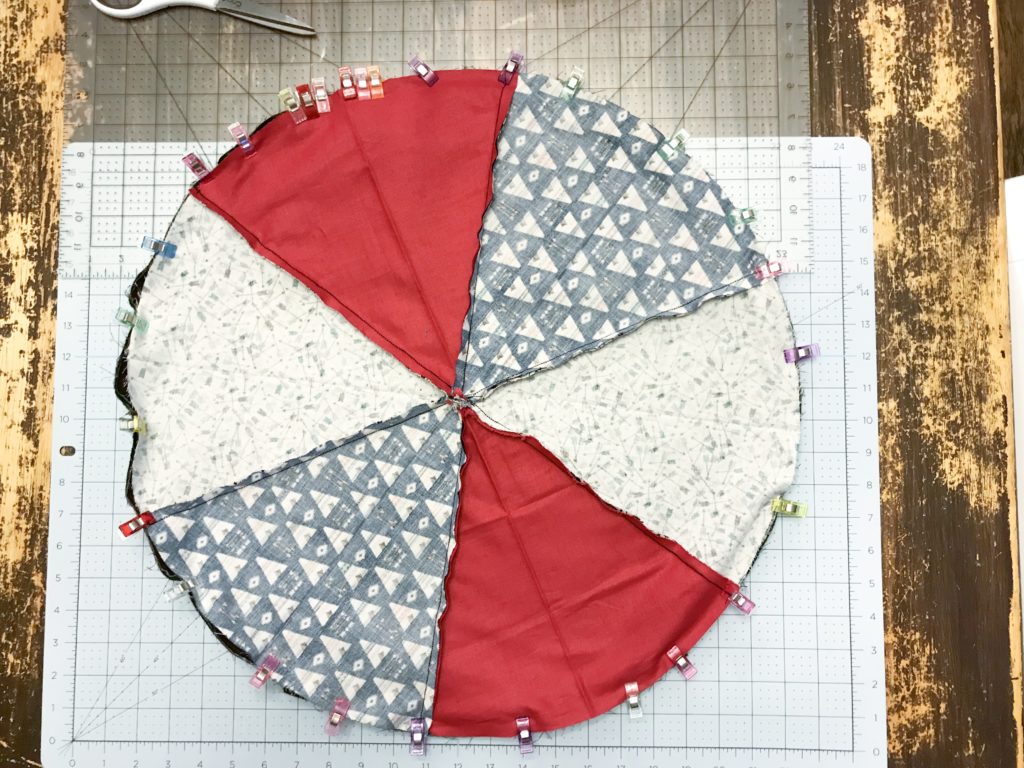
Sew around the the circle, leaving a 4-5 inch gap so you can turn your project.
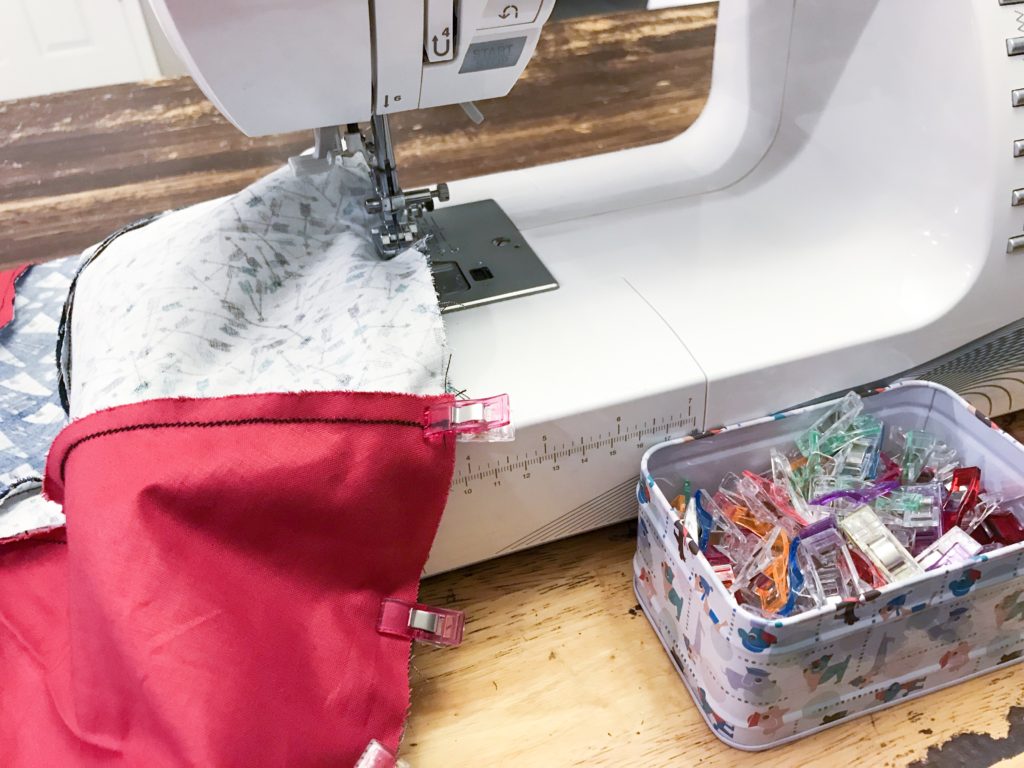
The last step is to turn your project right side, fold in the unfinished edge and sew closed, close to the edge.
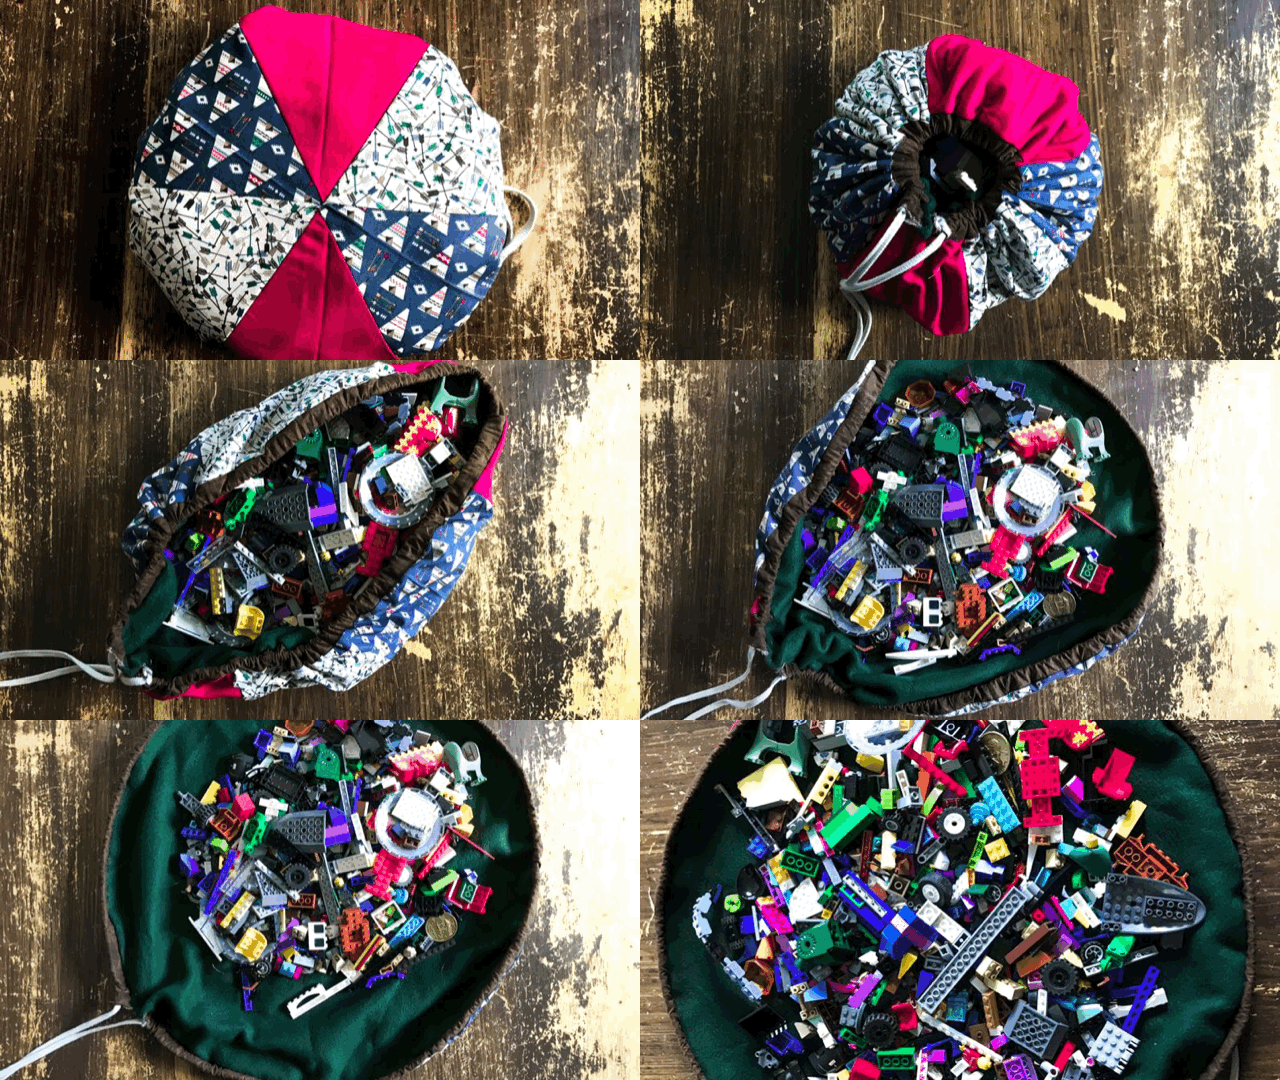
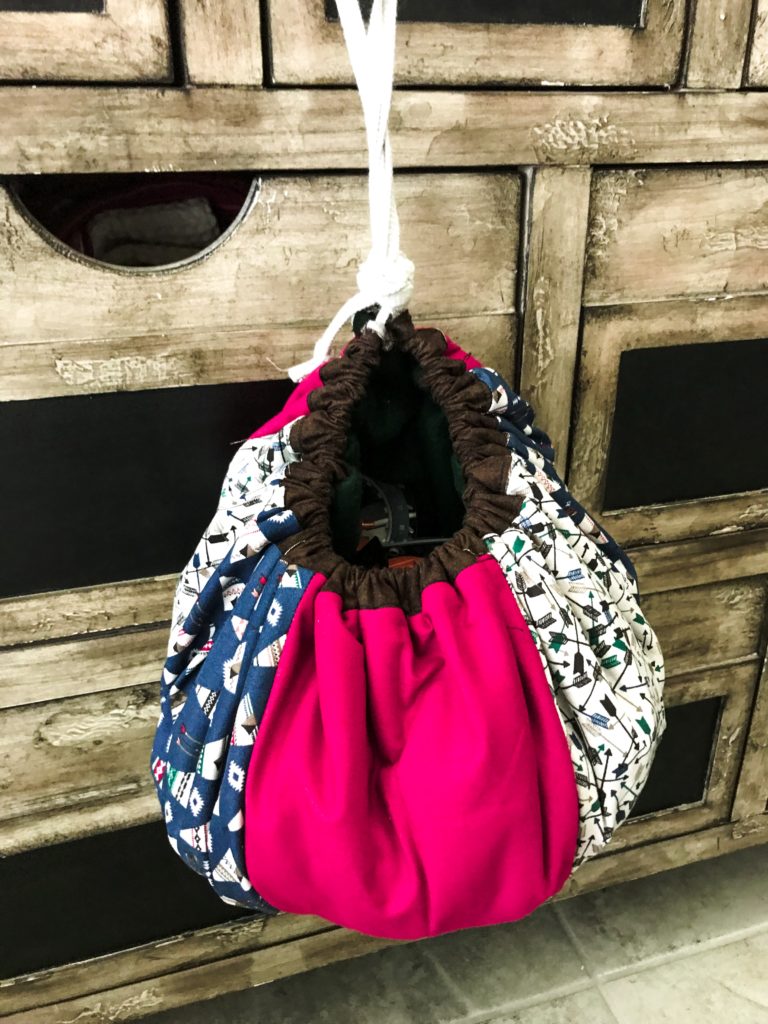
Pull the two strings, and cinch your bag up. Fill it with toys, carry it on the go, and be thankful for no more midnight fire walks on stray LEGOs.

Sewing with Circut is “sew” easy! What projects have you done with the help of your Cricut Maker?
Pin for Later!
