Cricut provided me supplies and the Simplicity pattern to complete this adorable boys bowtie for my son’s pre-k promotion.
Special occasions sometimes call for new clothes and just the right accessories. A new bowtie was just what my son needed for this special milestone. The Cricut Maker has partnered with Simplicity to make creating sewing projects super simple. I don’t know about you, but cutting patterns is my least favorite part of sewing, and this new partnership is cutting out steps and cutting down on time in the prep department. Simply place the fabric according to the directions and let your Cricut Maker do the rest.
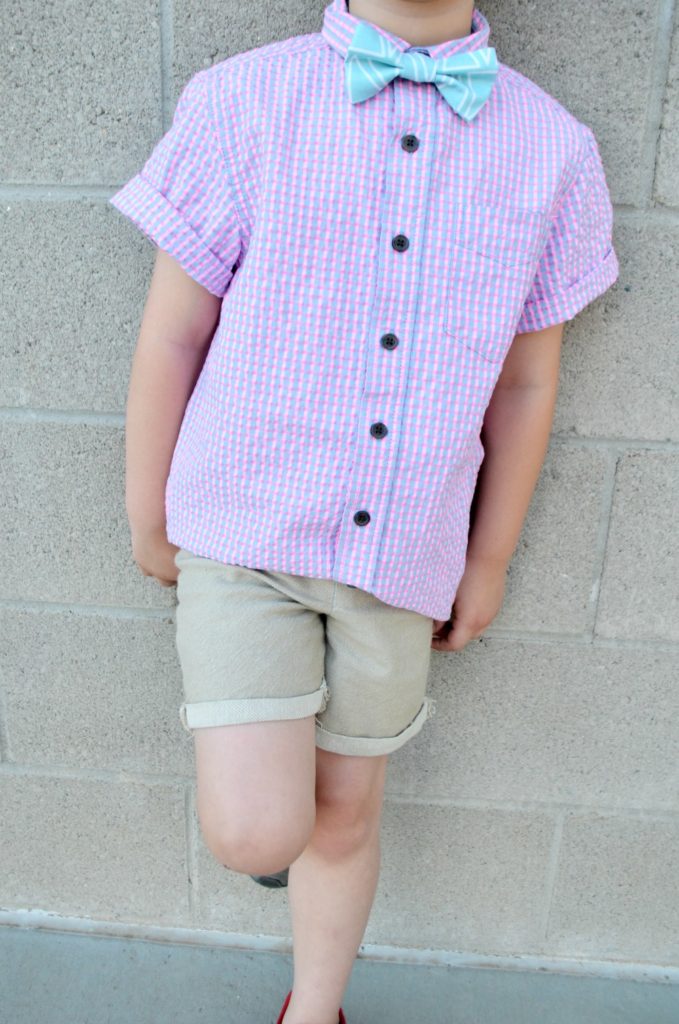
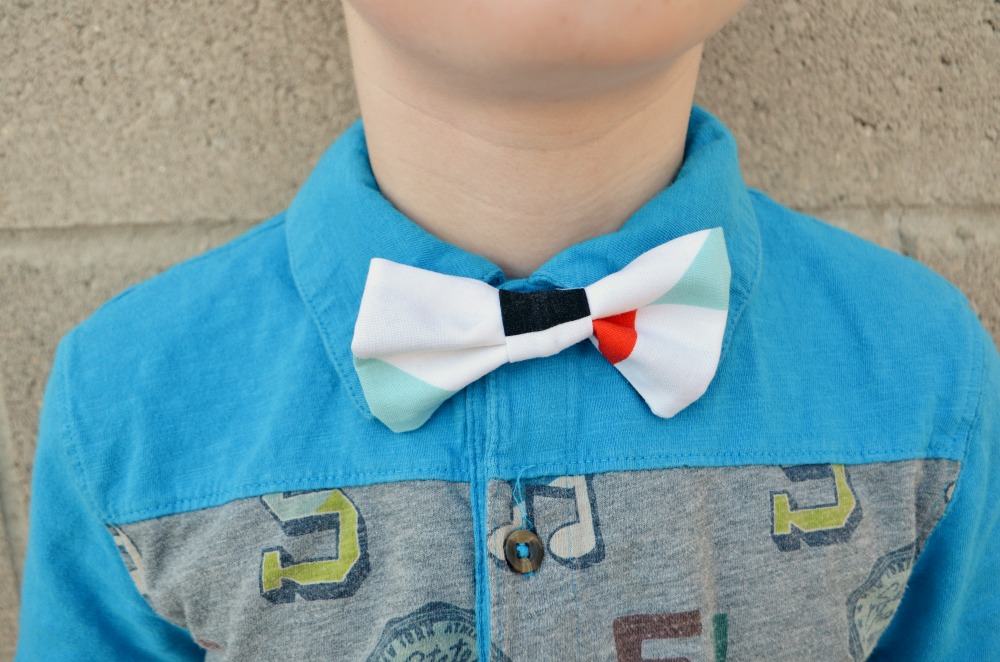
I picked out some Cricut fabric from the new line. I loved all the geometric patterns and coordinating neutrals in the rockstar pack. I whipped up the tie in under an hour and added on some neutral shorts, also with the Cricut Maker, for summer that pulled his whole promotion look together (tutorial coming soon).
 Supplies:
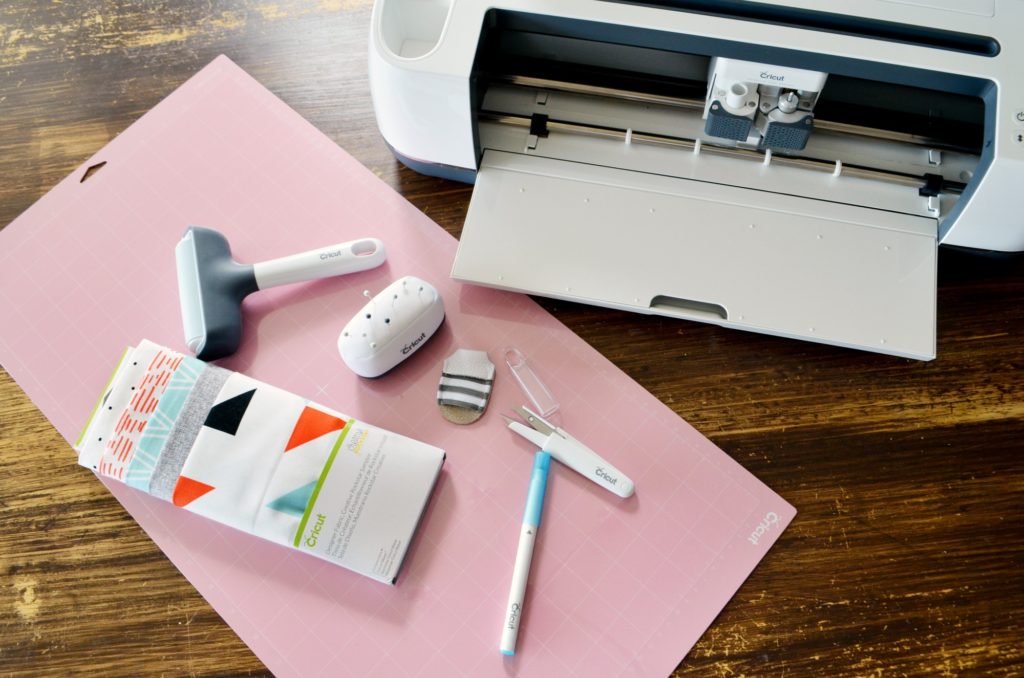
Cricut Maker
Fabric Mat
Rotary Blade
Washable Fabric Pen
Rockstar Fabric
Thread
Velcro
Simplicity Bow Tie Pattern
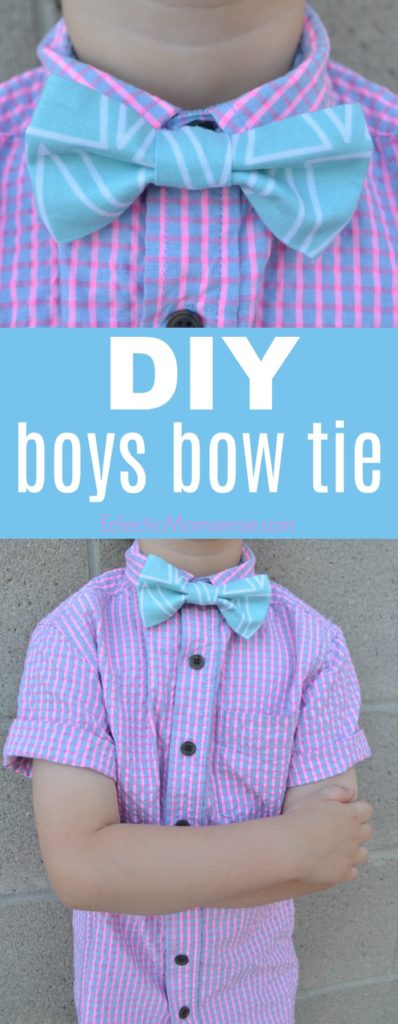
How to Make Simplicity Boys Bow Tie
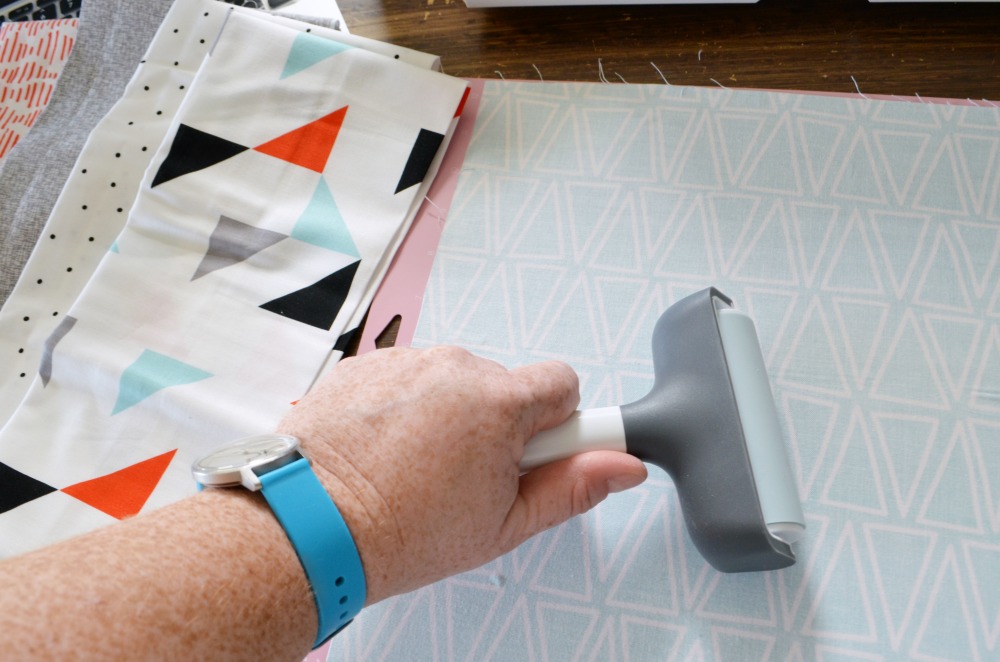
The best thing about using Cricut fabric is it’s already cut to size, no need to trim the width to fit on the fabric mat. Place the fabric face down onto the mat and use the brayer to remove any air bubbles.
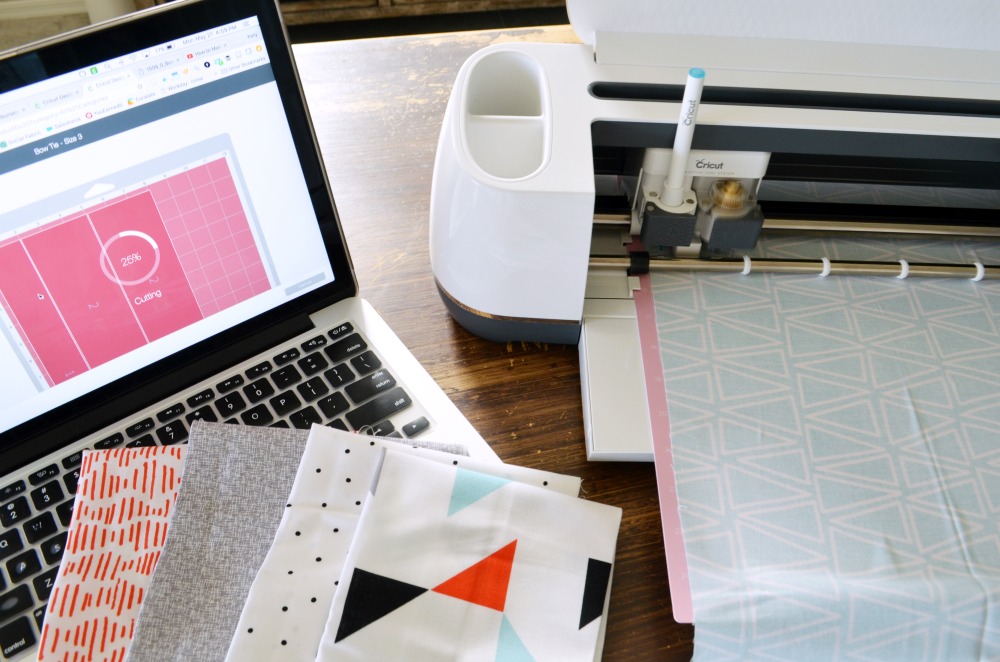
Setup your Cricut Maker with the washable fabric pen in slot 1 and the rotary blade in slot 2. Pull up the Simplicity Bow Tie Pattern and simply click “make it”. Set the fabric to medium, then cut. side note: if you forget to load your rotary blade the machine will detect it and prompt you to place it prior to cutting.
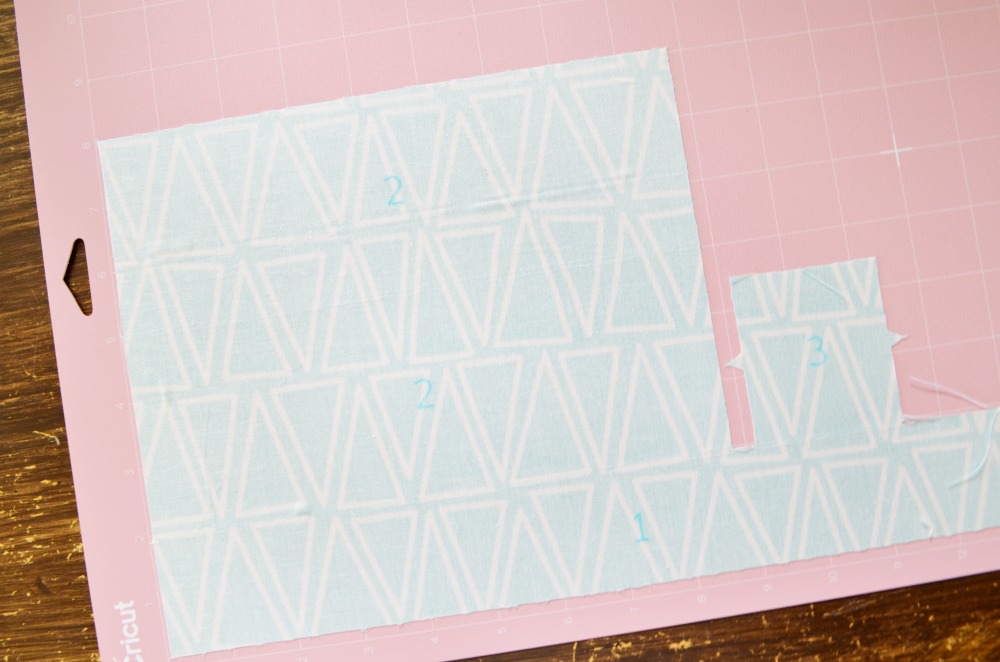
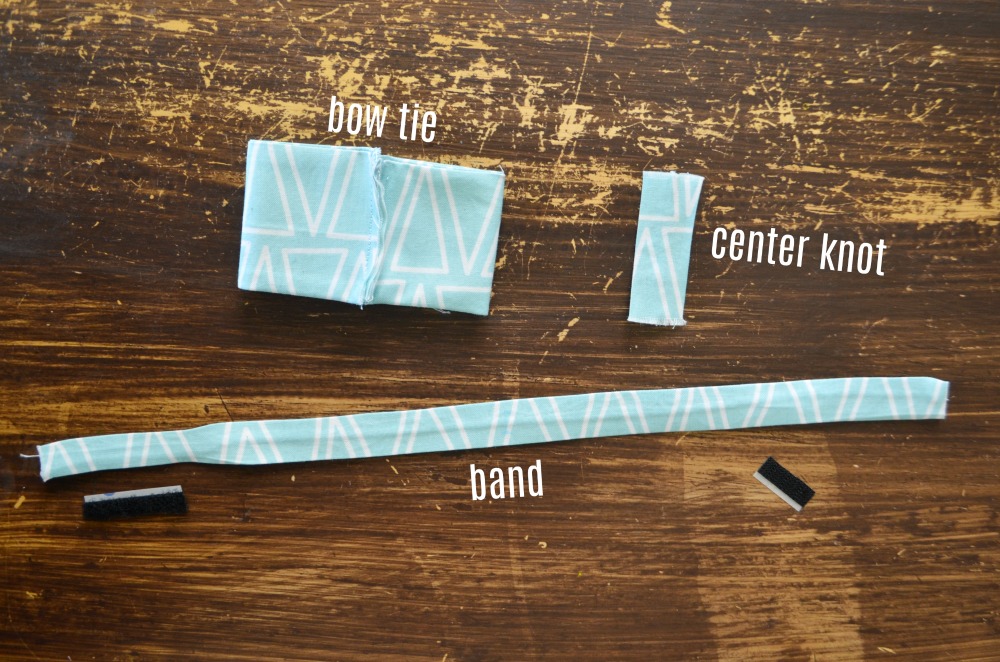
Remove scraps from the outside of your cut pattern, then carefully remove each piece. You’ll have 2 bow tie pieces, 1 for the band, and 1 for the center knot.
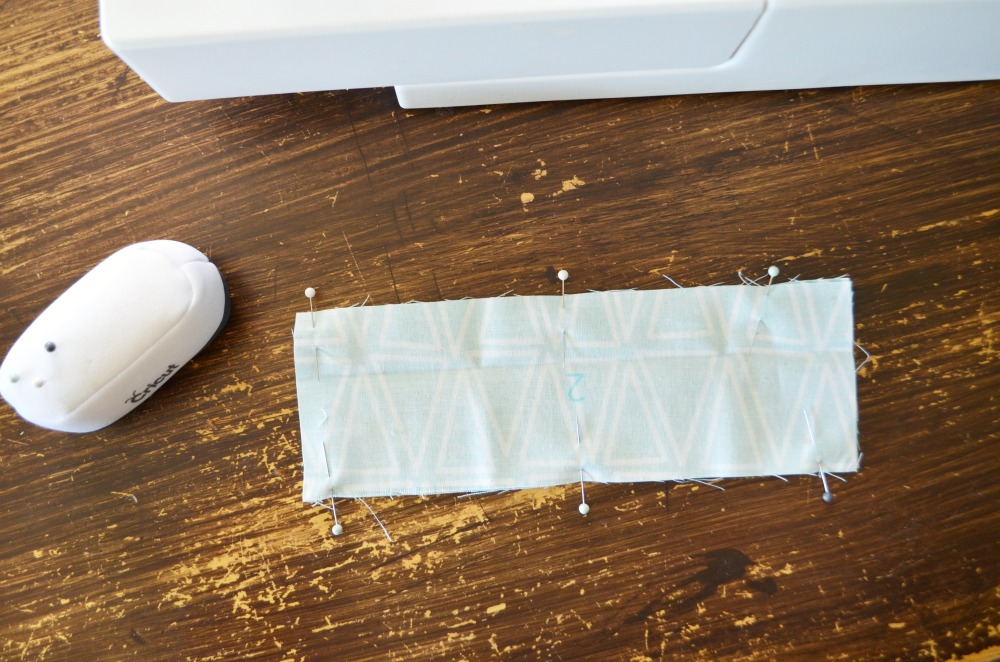
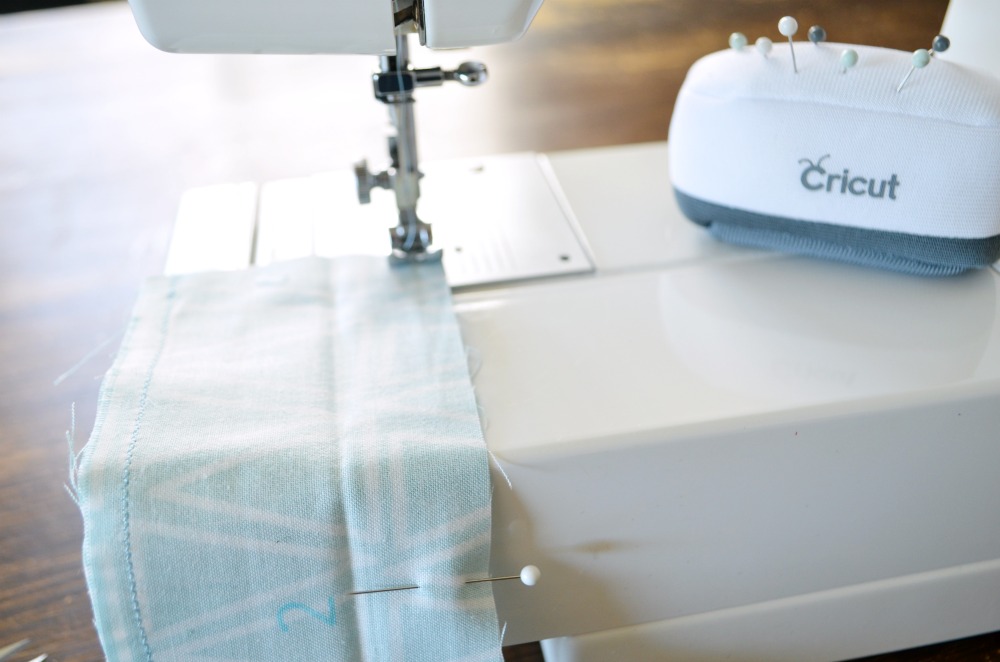
Place both bow tie pieces right sides together. They will be labeled with a #2. Pin along both long sides.
Sew down each long side with 3/8″ seams, leaving the ends open. Don’t forget to back stitch when you start and end your straight stitch.
With piece #3 folded in half right sides together, match up the notches and stitch down the long side. Keep the sewing kit handy for pins and clipping threads. The thread snippers are my favorite! I don’t know I’ve survived this long without them.
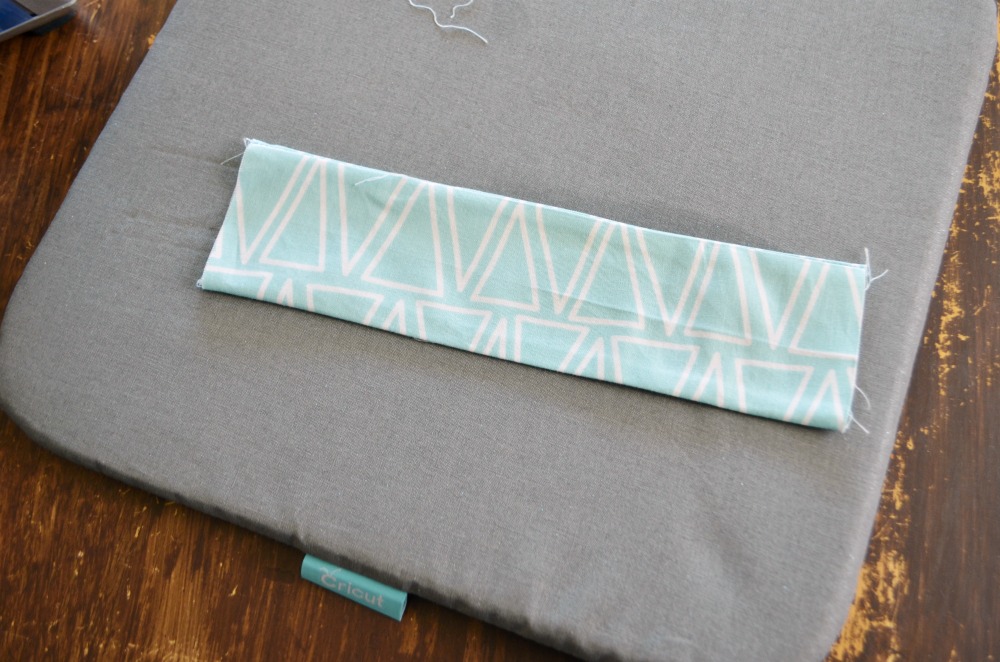
Turn the bow tie and knot right side out and press each seam open. Align the seam so it is down the center of each piece rather than on the edge. This way the seam is hidden when the bow tie is assembled.
Fold the bow tie in half and stitch the ends together, then bring seam to center.
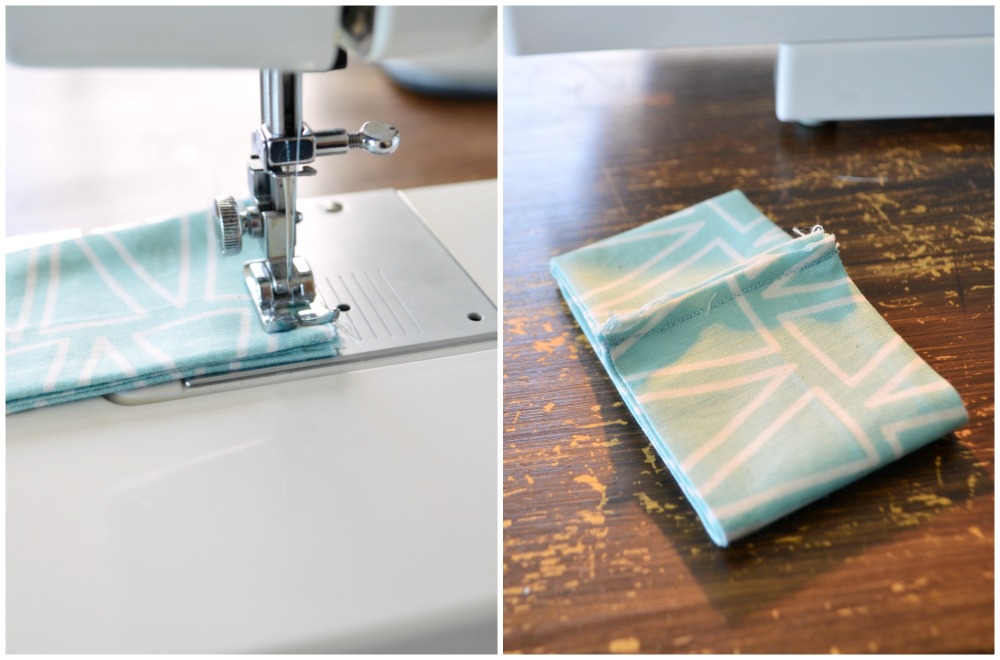
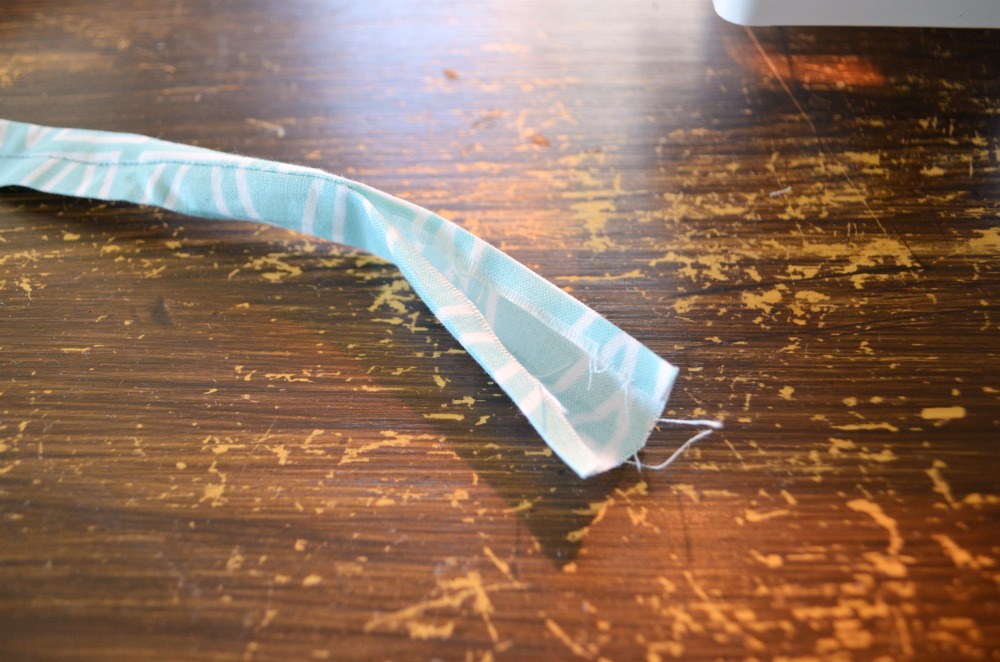
For the band, piece #1, place right sides together and run a straight stitch leaving about 1″ at the end to make it easier to turn right side. I find a chop stick works well with helping to turn thin objects right side.
Fold the open ends edges in and press. Stitch the open side closed with a tight stitch to the edge.
Grab all your complete bow tie pieces, including 1″ of loop and 1/2″ of hook velcro.
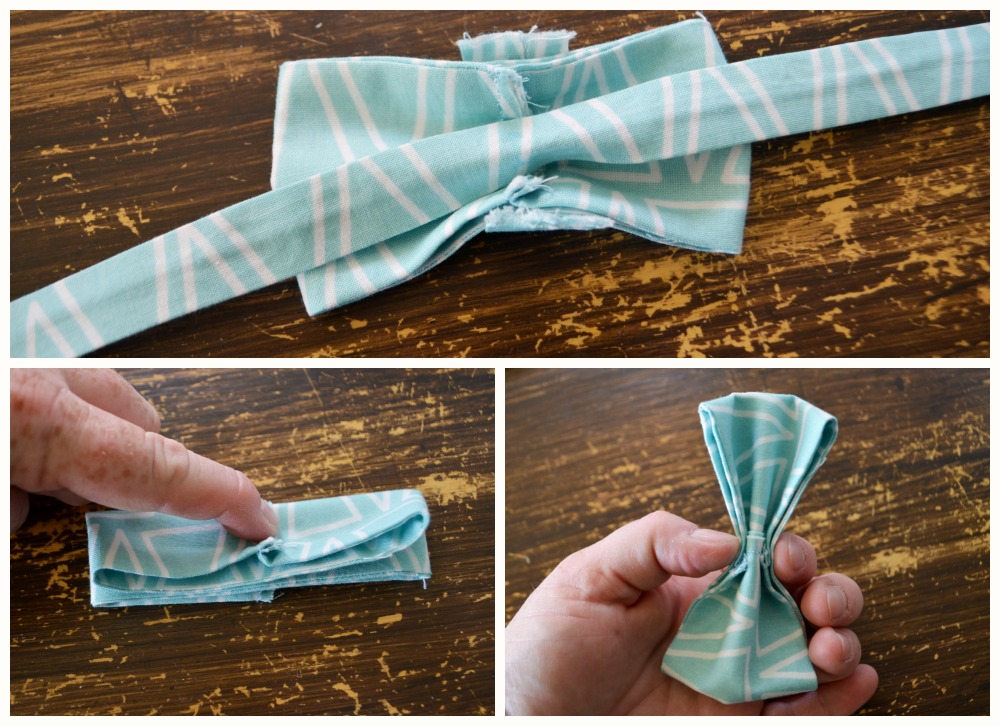
Fold the bow tie in half, hot dog style, then fold each end back towards the fold. Center the band along the back side of the bow tie.
Next grab your knot, center it along the front of the bow tie and wrap the edges back. Overlap the edges and pull tight. Use a slip stitch to connect the edges and secure the bow to the band.
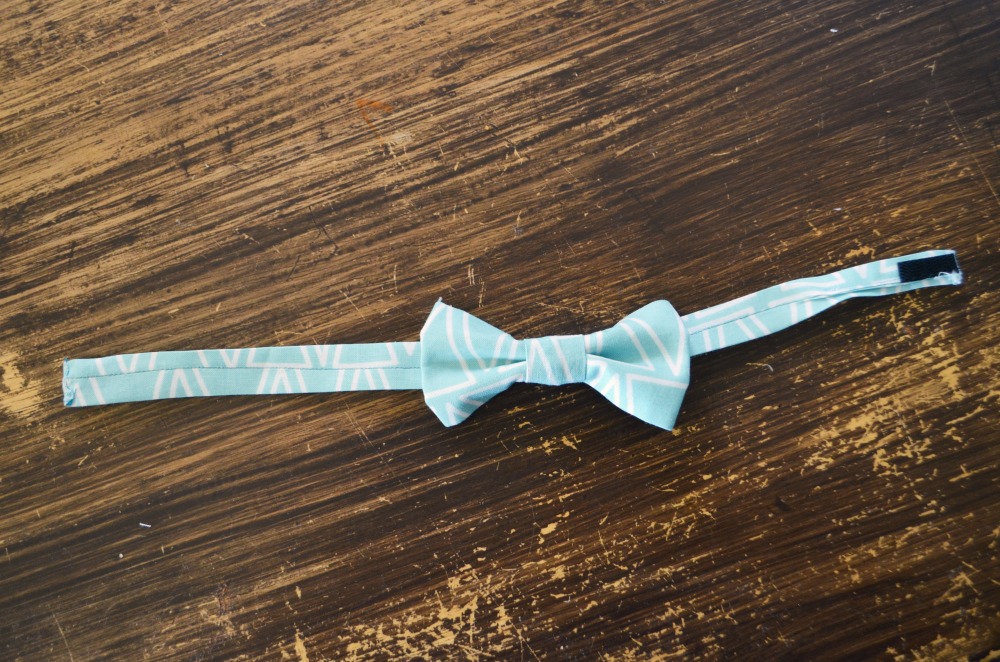
Lay the finished bow tie out flat. Place the loop velcro on the top side on one end of the band and the hook velcro on the bottom side on the opposite end. I like to use sticky velcro or iron on velcro for a quick finish to my bow ties.
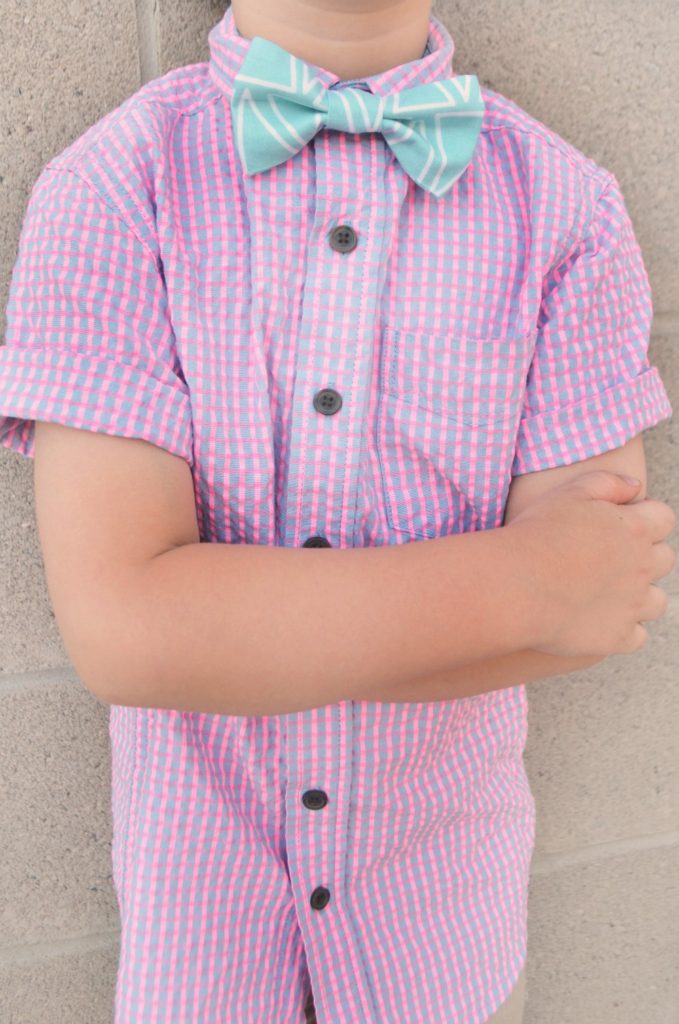
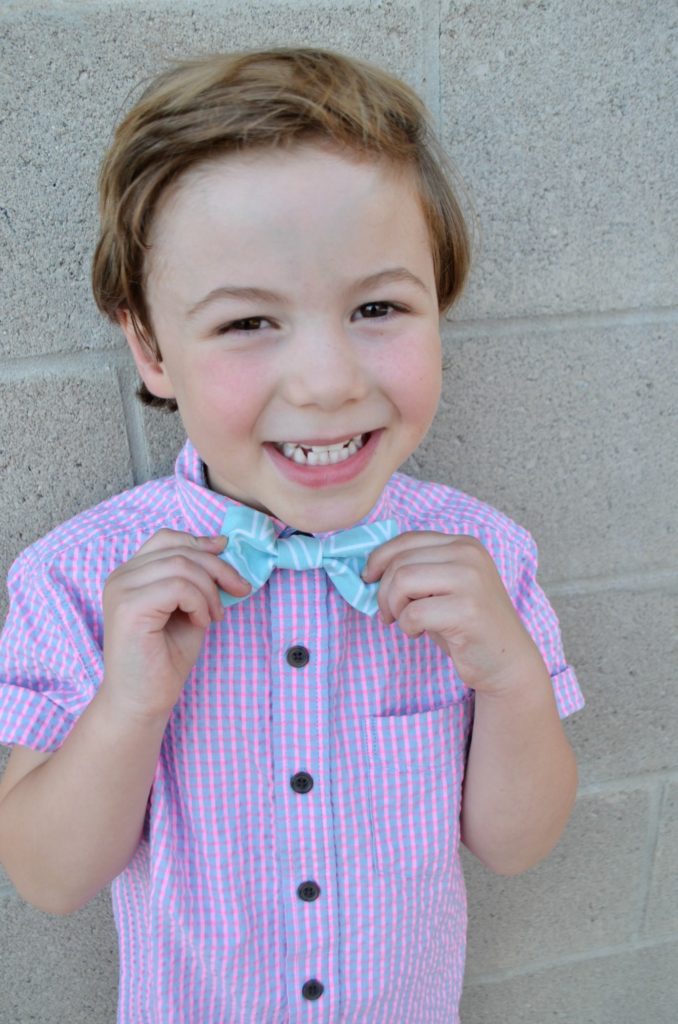
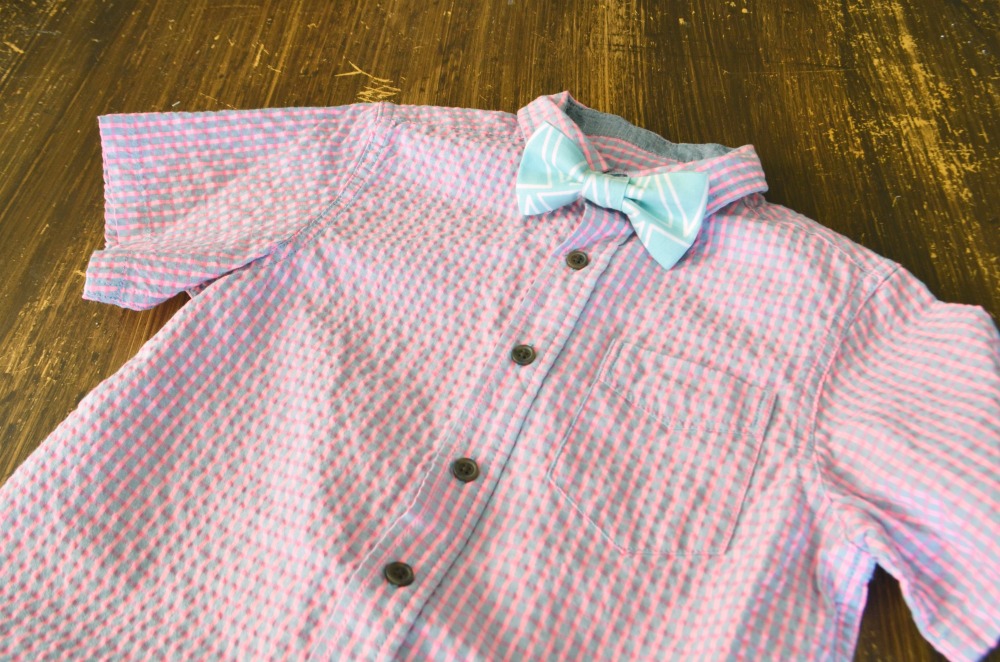
Making bow ties with your Cricut Maker is “sew easy” and addictive. My oldest made a request for a new bow tie to wear for brother’s promotion and I was so happy to oblige. He is the original snappy dresser, and how cute is this neon/pastel seersucker shirt?!?!
Pin for Later
Your DIY boys bowtie was great. It’s very helpful post for me because I am a DIY beginner. I was looking some creative ideas; I found it. Thanks for sharing!