This weekend marks one of my boys’ favorite times of year, Free Comic Book Day (5/3) & Star Wars Day (5/4). You can visit your favorite comic books stores across America and take home a large selection of comic books FREE. There’s something for all ages. Aiden usually finds Tinkerbell or Donald Duck, with a few age appropriate superheroes tossed in.
The following day is May the 4th. Disney Store’s will be celebrating with a special Ways of the Force event. Check your store for how they’ll be celebrating. Our local Disney store is giving the first 100 Guests a FREE Star Wars pin.
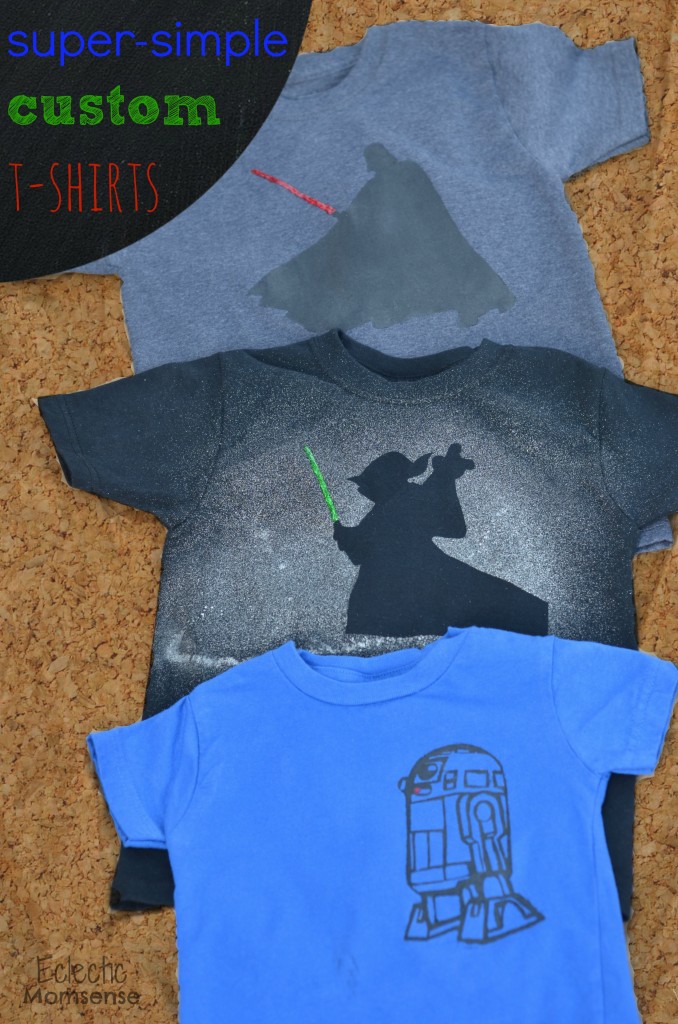
Why not celebrate the day with a fun custom Star Wars t-shirt. I made these shirts for a group of Star Wars loving birthday boys.
Supplies:
t-shirt
freezer paper
fabric paint
-flat black
-puffy red and green
-spray silver glitter
Directions:
Pre wash shirts and press.
Cut freezer paper to printer paper size (8.5″x11″).
Smooth out any curls in the paper.
Print your sized image on the matte side of the freezer paper.
Cut out the freezer paper image. Click each description below for a printable version of the images.
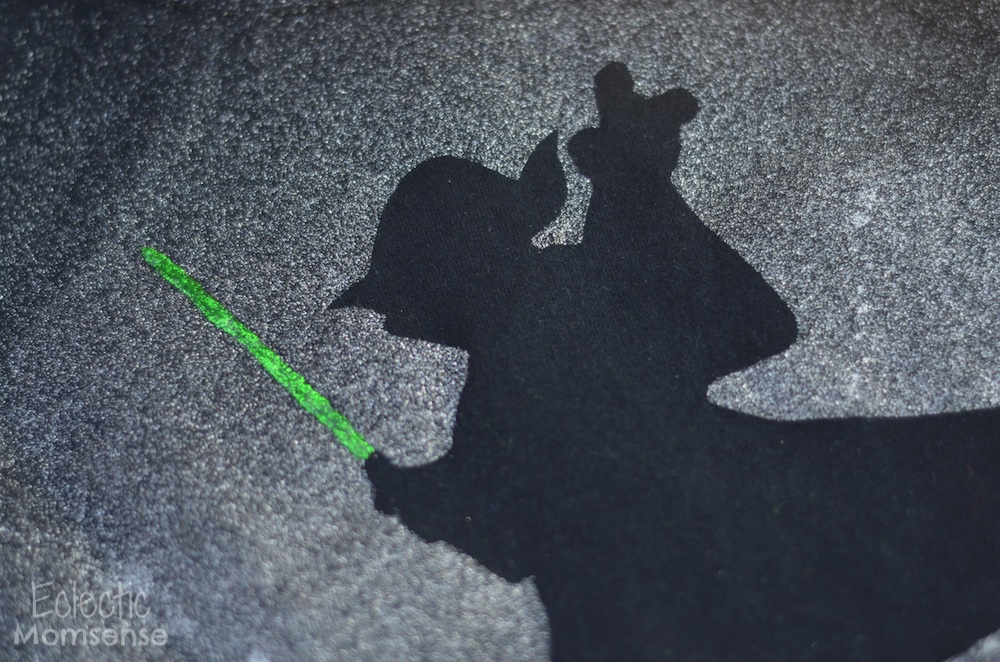
Yoda- cut out – Cut around outside of image. Iron on freezer paper Yoda stencil. Use silver fabric paint to spray a thin coat over shirt. Allow paint to dry to touch and carefully peel freezer paper off. Give Yoda a green light saber with puffy paint.
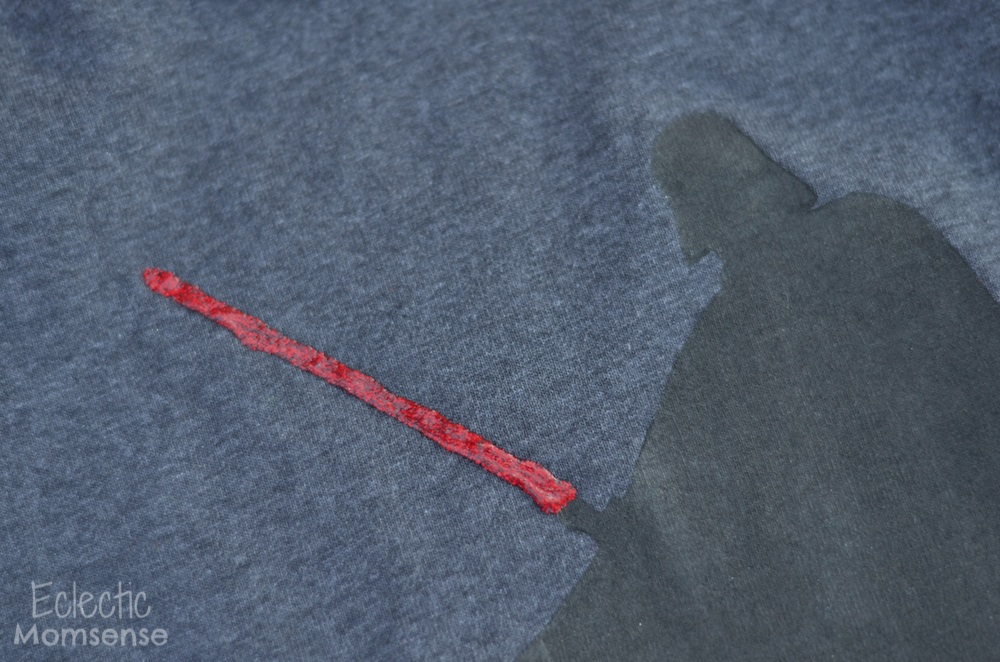
Darth Vader silhouette– Cut out the inside of the Darth Vader image, leaving a good outline of paper. Iron on stencil. Paint inside the stencil with black fabric paint. Make sure to start from on the stencil/paper and move inwards. This will prevent any paint from bleeding under the stencil. Peel off stencil once it’s dry to the touch. Give Darth a red lightsaber with puffy paint.
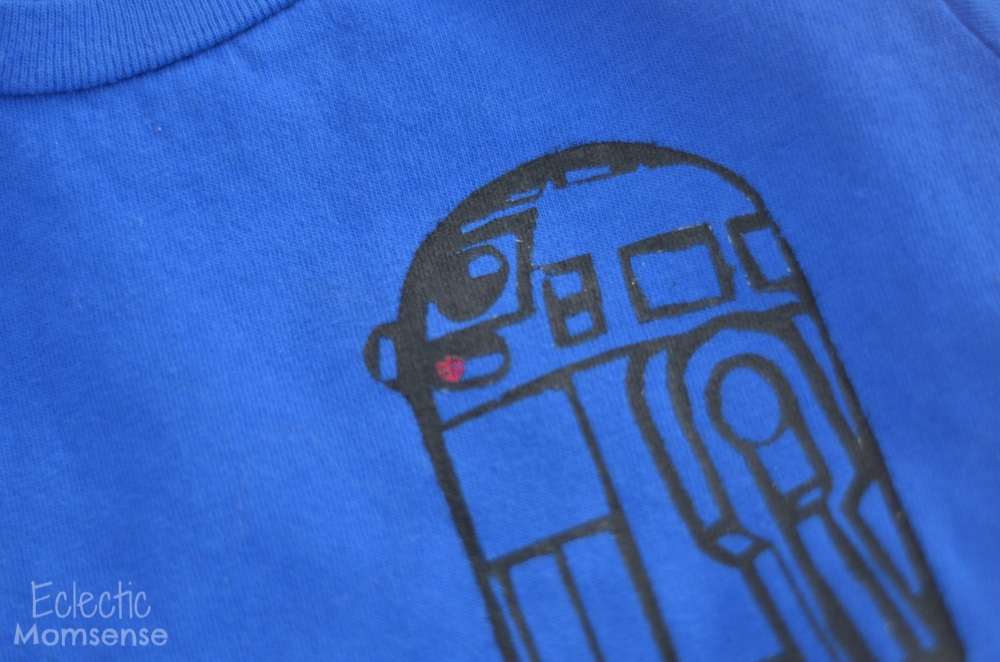
Detailed R2D2– This technique was the most time consuming, especially at the small size. It is my favorite finished shirt, though. Cut out each individual piece and iron onto the shirt. I found it easiest to cut, place and iron as I went along. Paint using the same technique as the Darth Vader stencil. Give R2 a puffy red button for added detail.
Allow your shirts to dry. My paints did not require, but as an option you can set your paints. Place a white cloth over each stenciled area and iron over on a med-high setting. Launder according to directions.
“May the fourth be with you!”
Checkout this extra special video announcement for FREE Comic Book Day from LeVar Burton. Thanks to my friend Wendy at Plugged In Family who got to meet him at this years Disney Social Media Moms Celebration for sharing.


Pretty nice post. I simply stumbled upon your weblog and wanted
to mention that I’ve truly loved surfing around your weblog
posts. In any case I will be subscribing on your rss feed and I am hoping you write once more soon!
customized tee shirts recently posted…customized tee shirts
I love this and plan to do the Vader design with the Yoda technique. However I’m at a standstill since I somehow didn’t click to the fact that you cannot use freezer paper in a laser jet printer. It stuck to itself and the verdict is still out on whether I ruined my printer (it’s in pieces, waiting for my tech guy to put it back together). Anyway, just a heads up for all of you out there who might overlook the obvious. Thanks for a great tutorial and easy to print outlines. I can’t wait for the results!
Oh no! Great advice for those with a laser jet, thank you for sharing. It does make sense, since it works with a flash of heat to seal the ink and freezer paper is coated with a layer of wax. I hope they are able to bring your printer back to life.