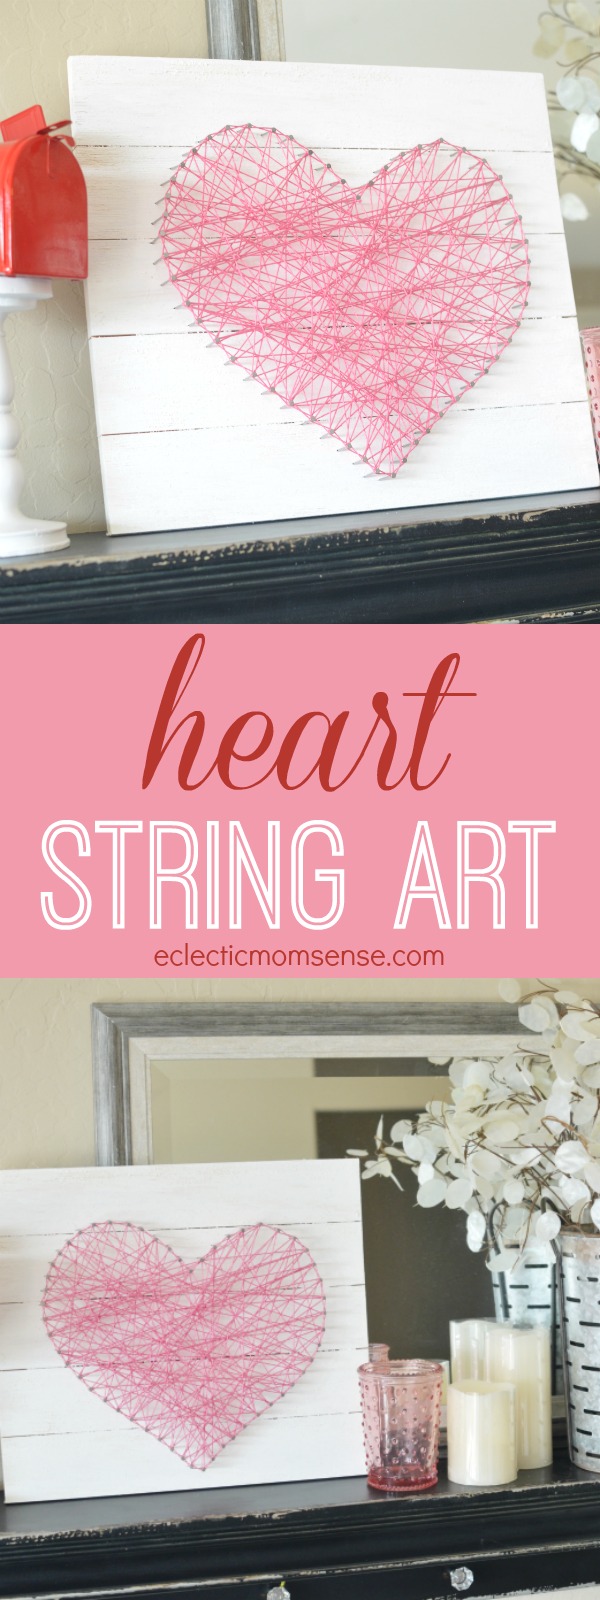
I have the easiest DIY home decor project for you, that’s perfect for Valentine’s Day or everyday. This adorable DIY Heart String Art is so simple and fun to make. So easy, I’ll be creating one, I hope, for each of my favorite holidays.
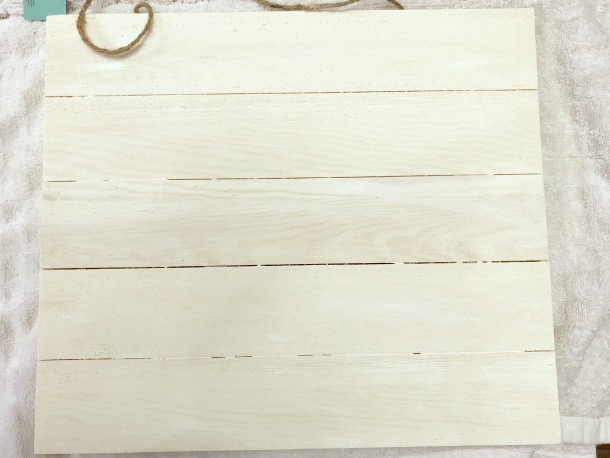
You can find pre-cut boards or pallets at your favorite craft store, along with the thread. Nails can be found at any home improvement store or department (picked mine up for .97 at Walmart) I went with a slated board and a weathered white wash look. It fits in perfectly with our other farmhouse and rustic

Supplies:
wood pallet (at least 3/4″ thick)
1 1/2″ paneling nails
crochet thread
paint or stain (optional)
Directions:
Paint the entire board. Let dry. You might need 2 coats depending on the coverage you want and type of wood.
Size and print out the heart here. Not a fan of my asymmetrical heart? Picmonkey is a great place for free hearts in all shapes and styles. For my 12″x19″ board I had to stretch onto 3 pieces of paper and tape together.
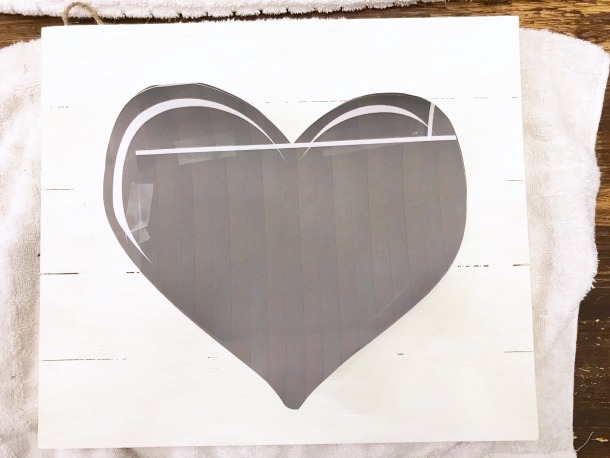 Cut out the heart, then position on your board.
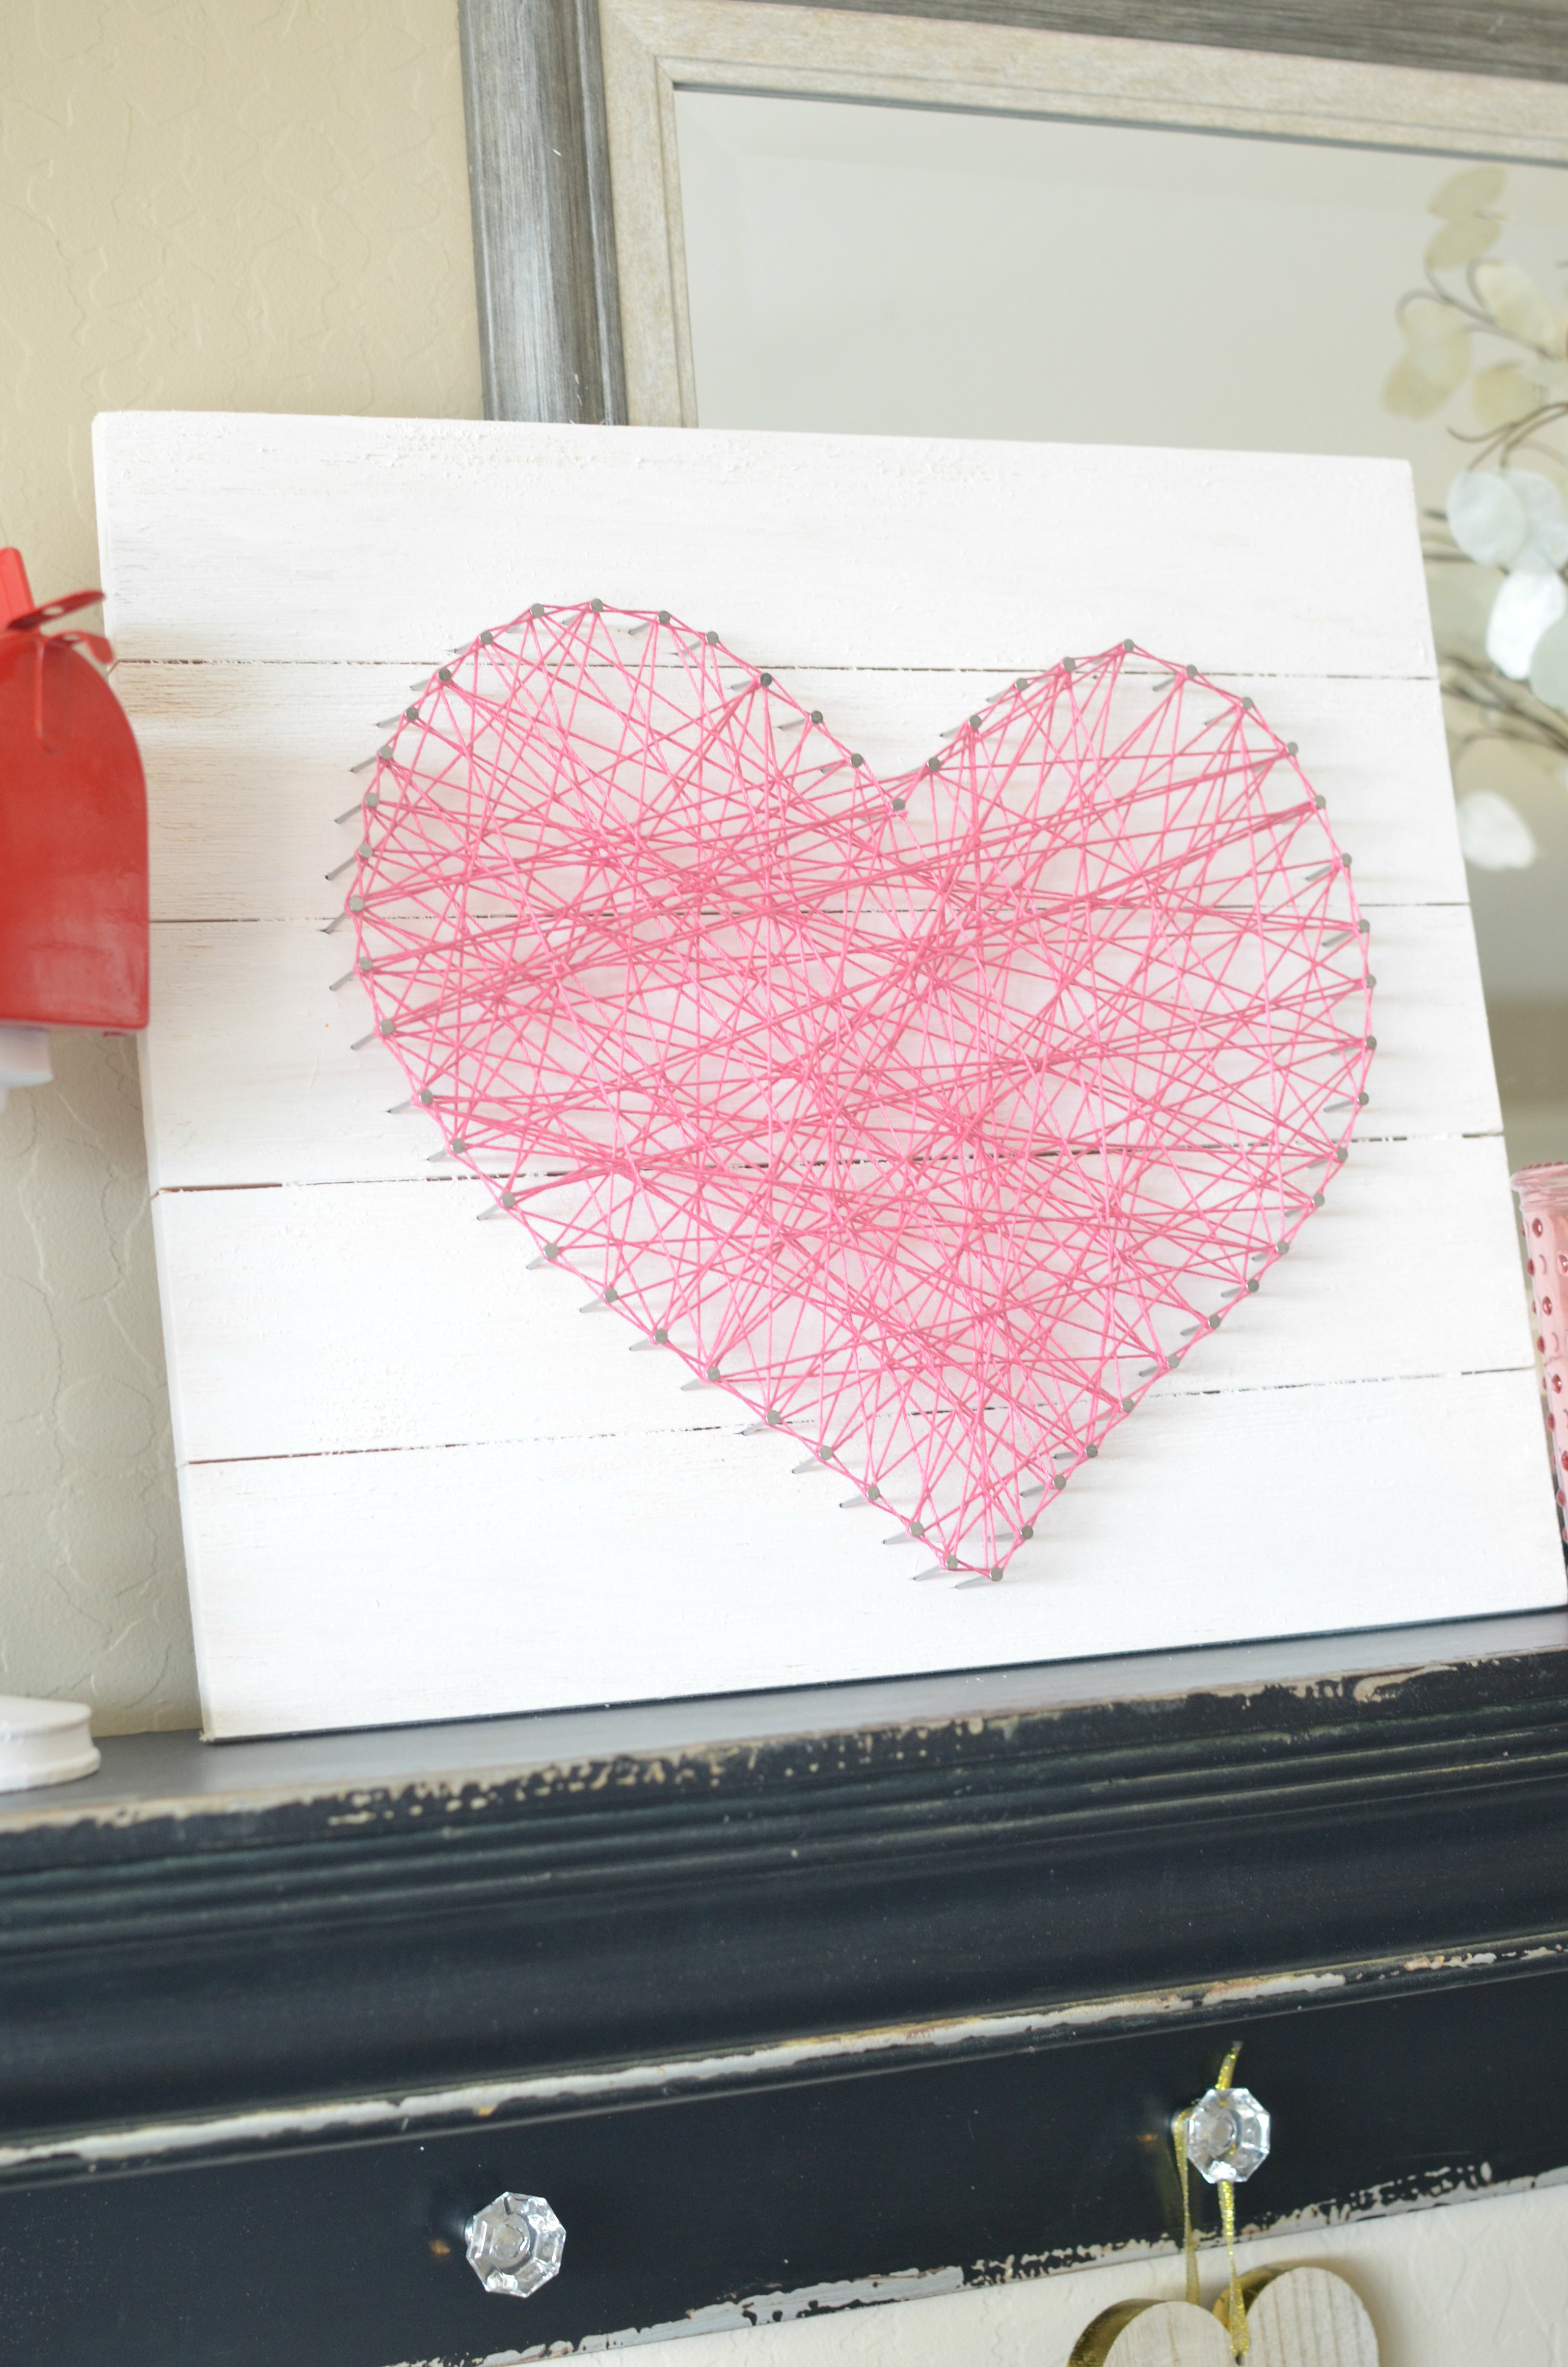
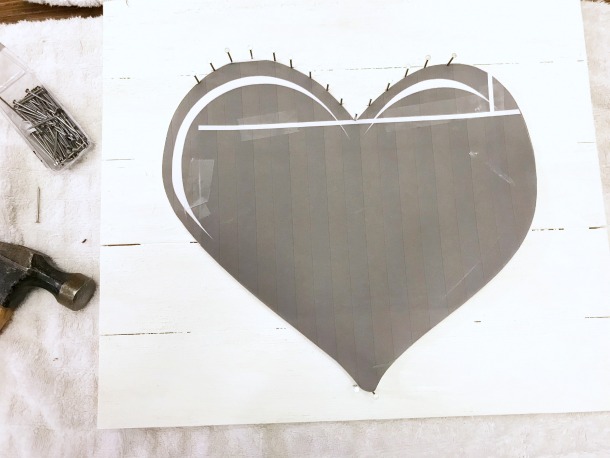
Place a few nails at the top center and bottom to pin your form in place. Continue placing nails every 1/2″-1″. You can space more or less to emphasize the contours of the heart.
You only need to hammer in about 1/4″, just until the nail is firm in place and won’t budge when you pull taught on the nail.
 Remove guide. Double knot 1 end of the thread onto any nail on the board. While holding the string taut in one hand, pull it to the other end of the heart and wrap it around any nail once or twice. Continue pulling and wrapping it back and forth across the heart until every nail has been used.
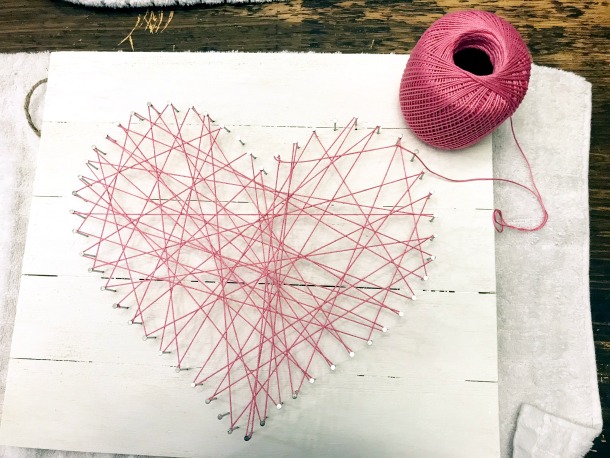
Repeat, layering the thread until desired coverage is met. You can gently push the thread down as you go. Pick a nail to tie off the end. Double know then clip the starting and ending tails of thread.
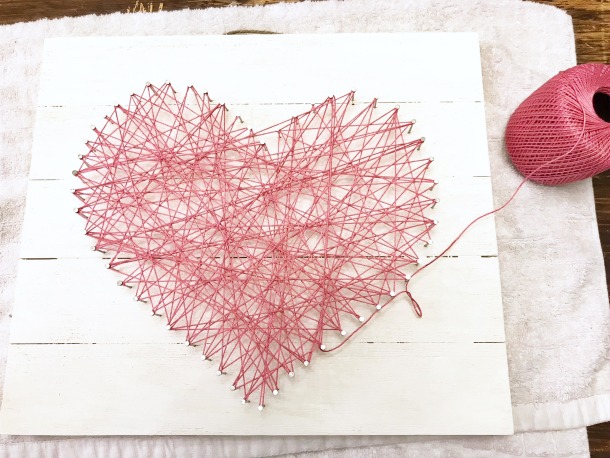
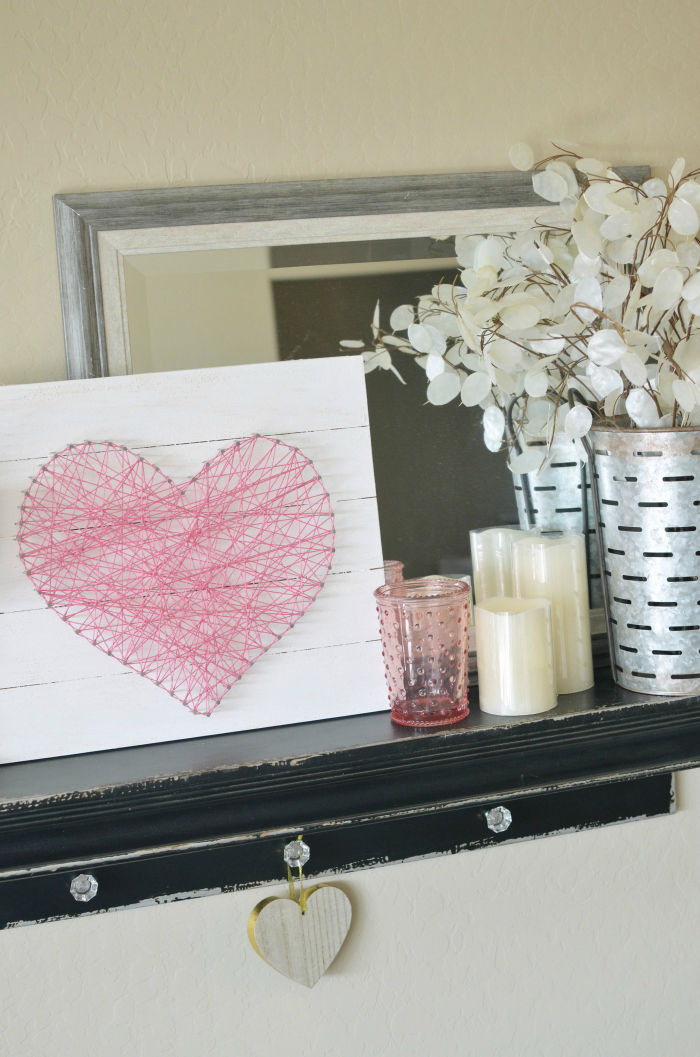
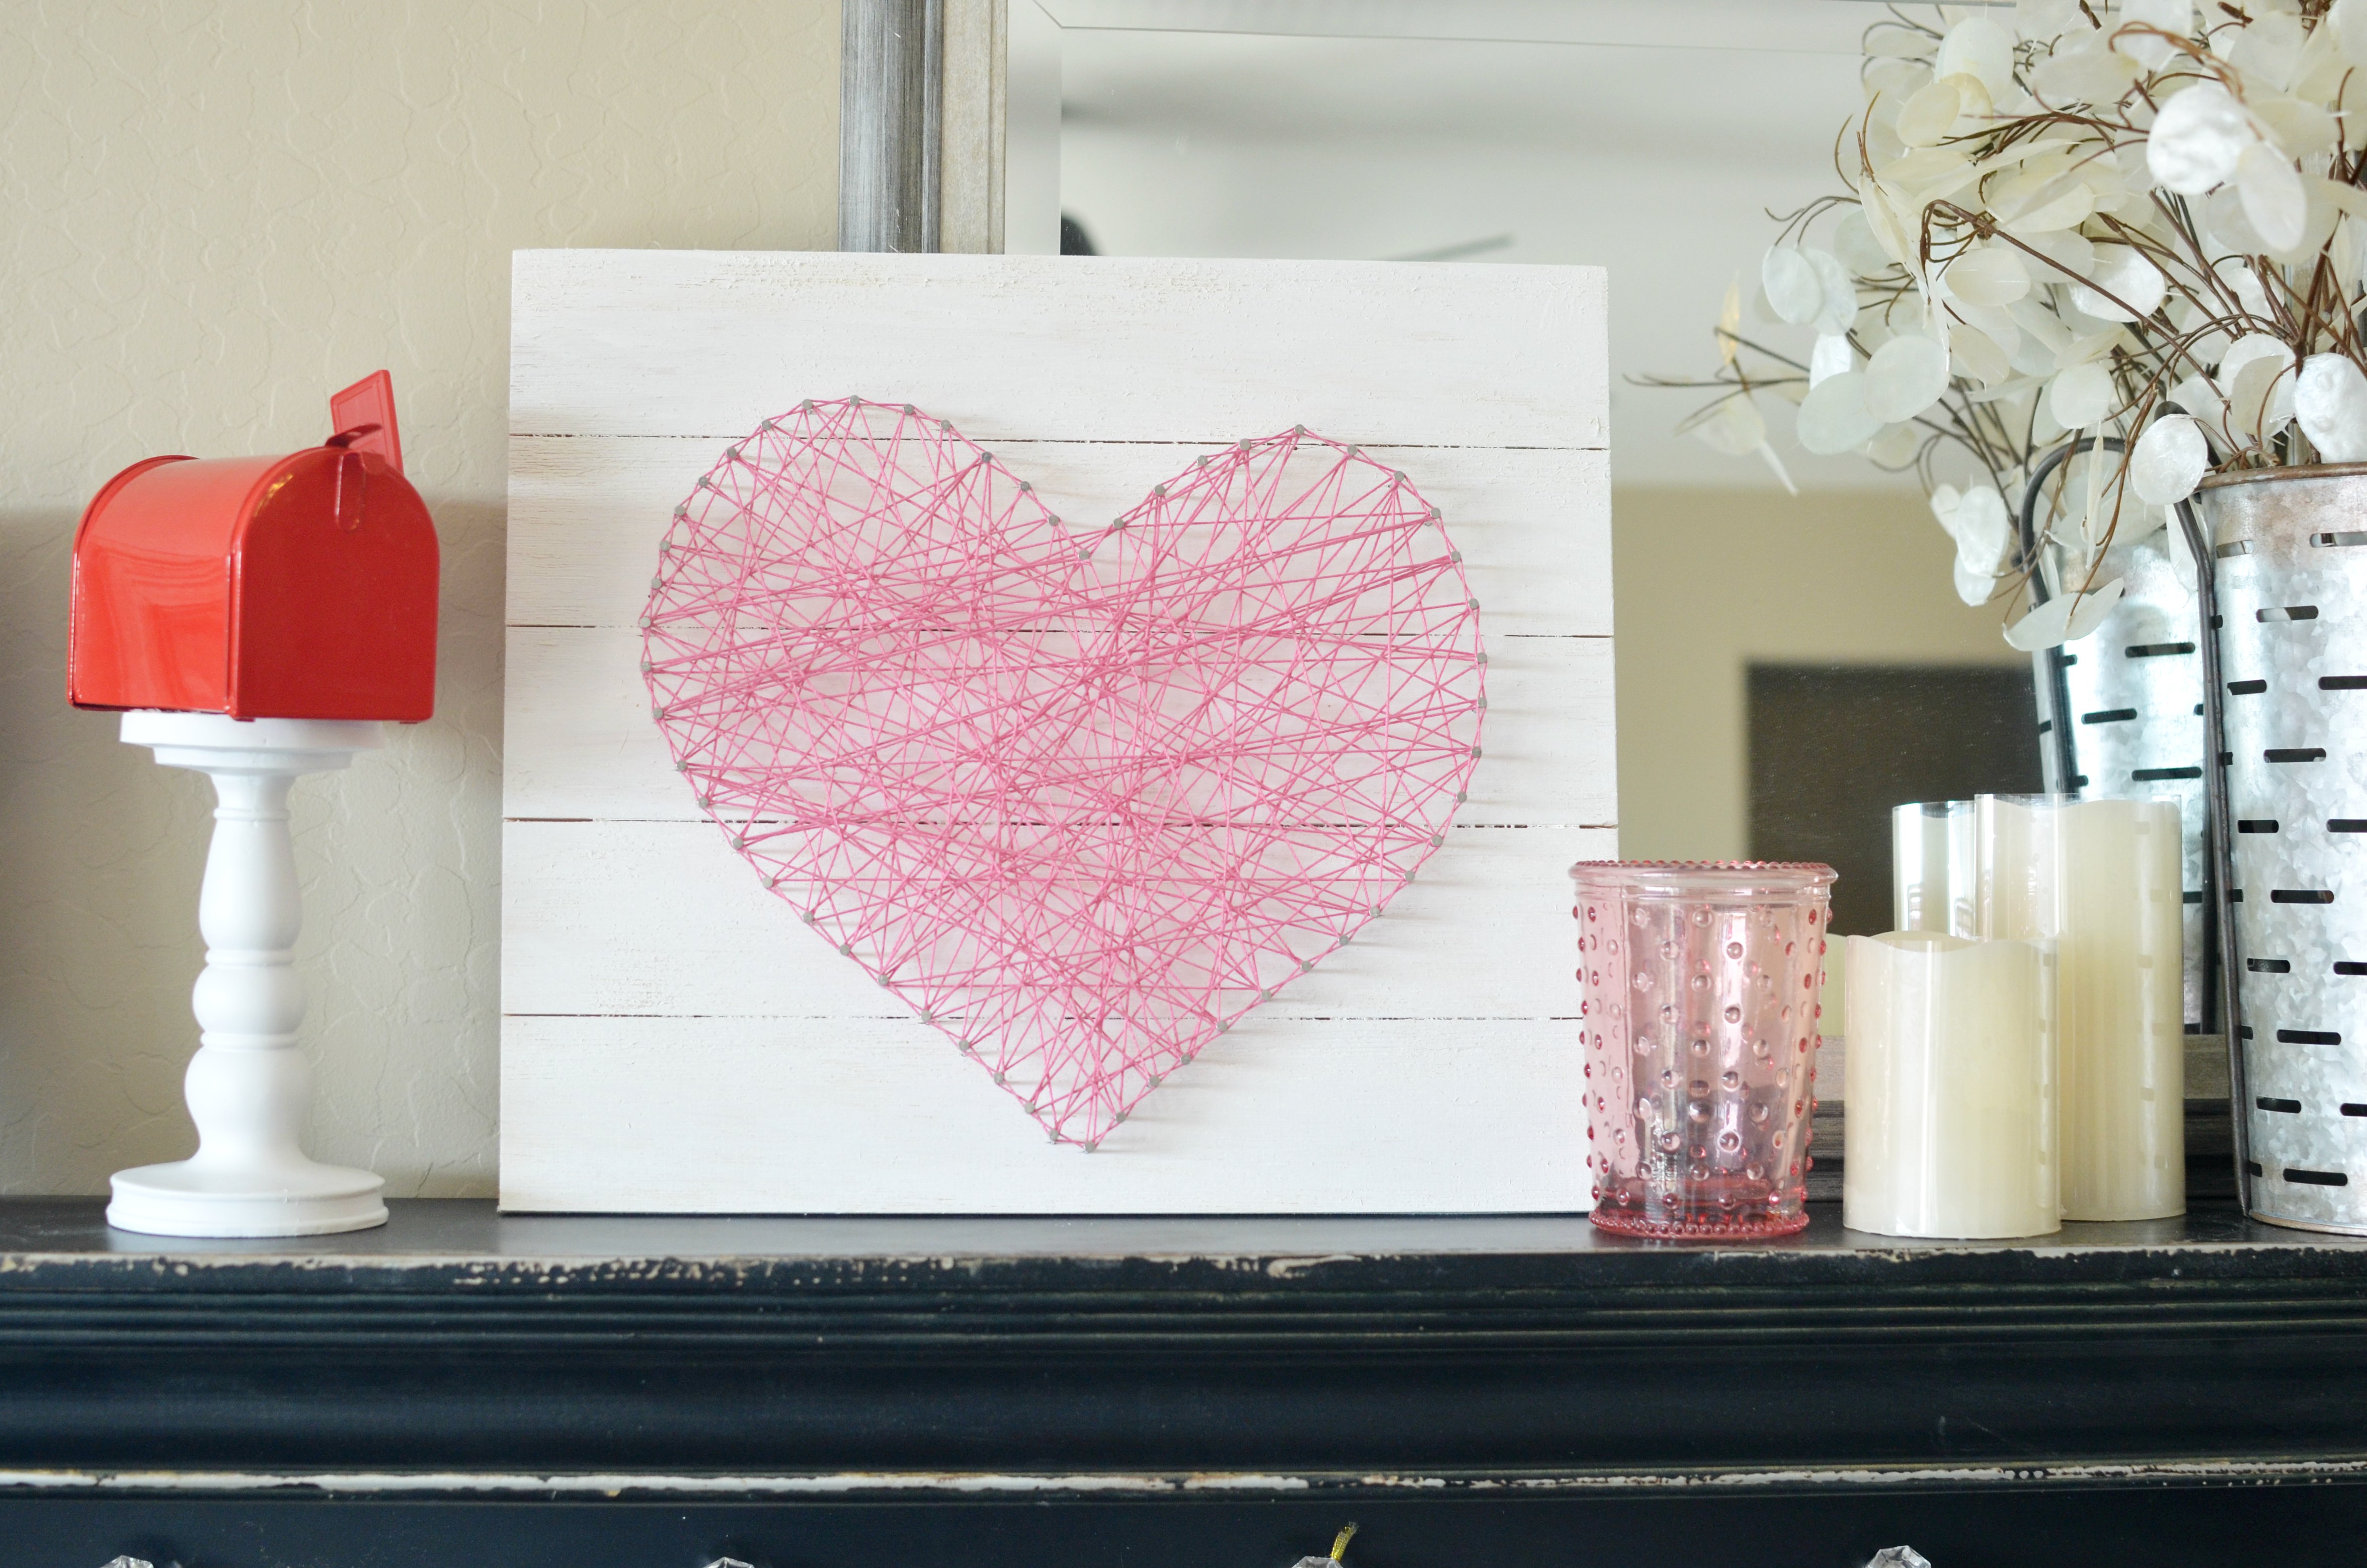
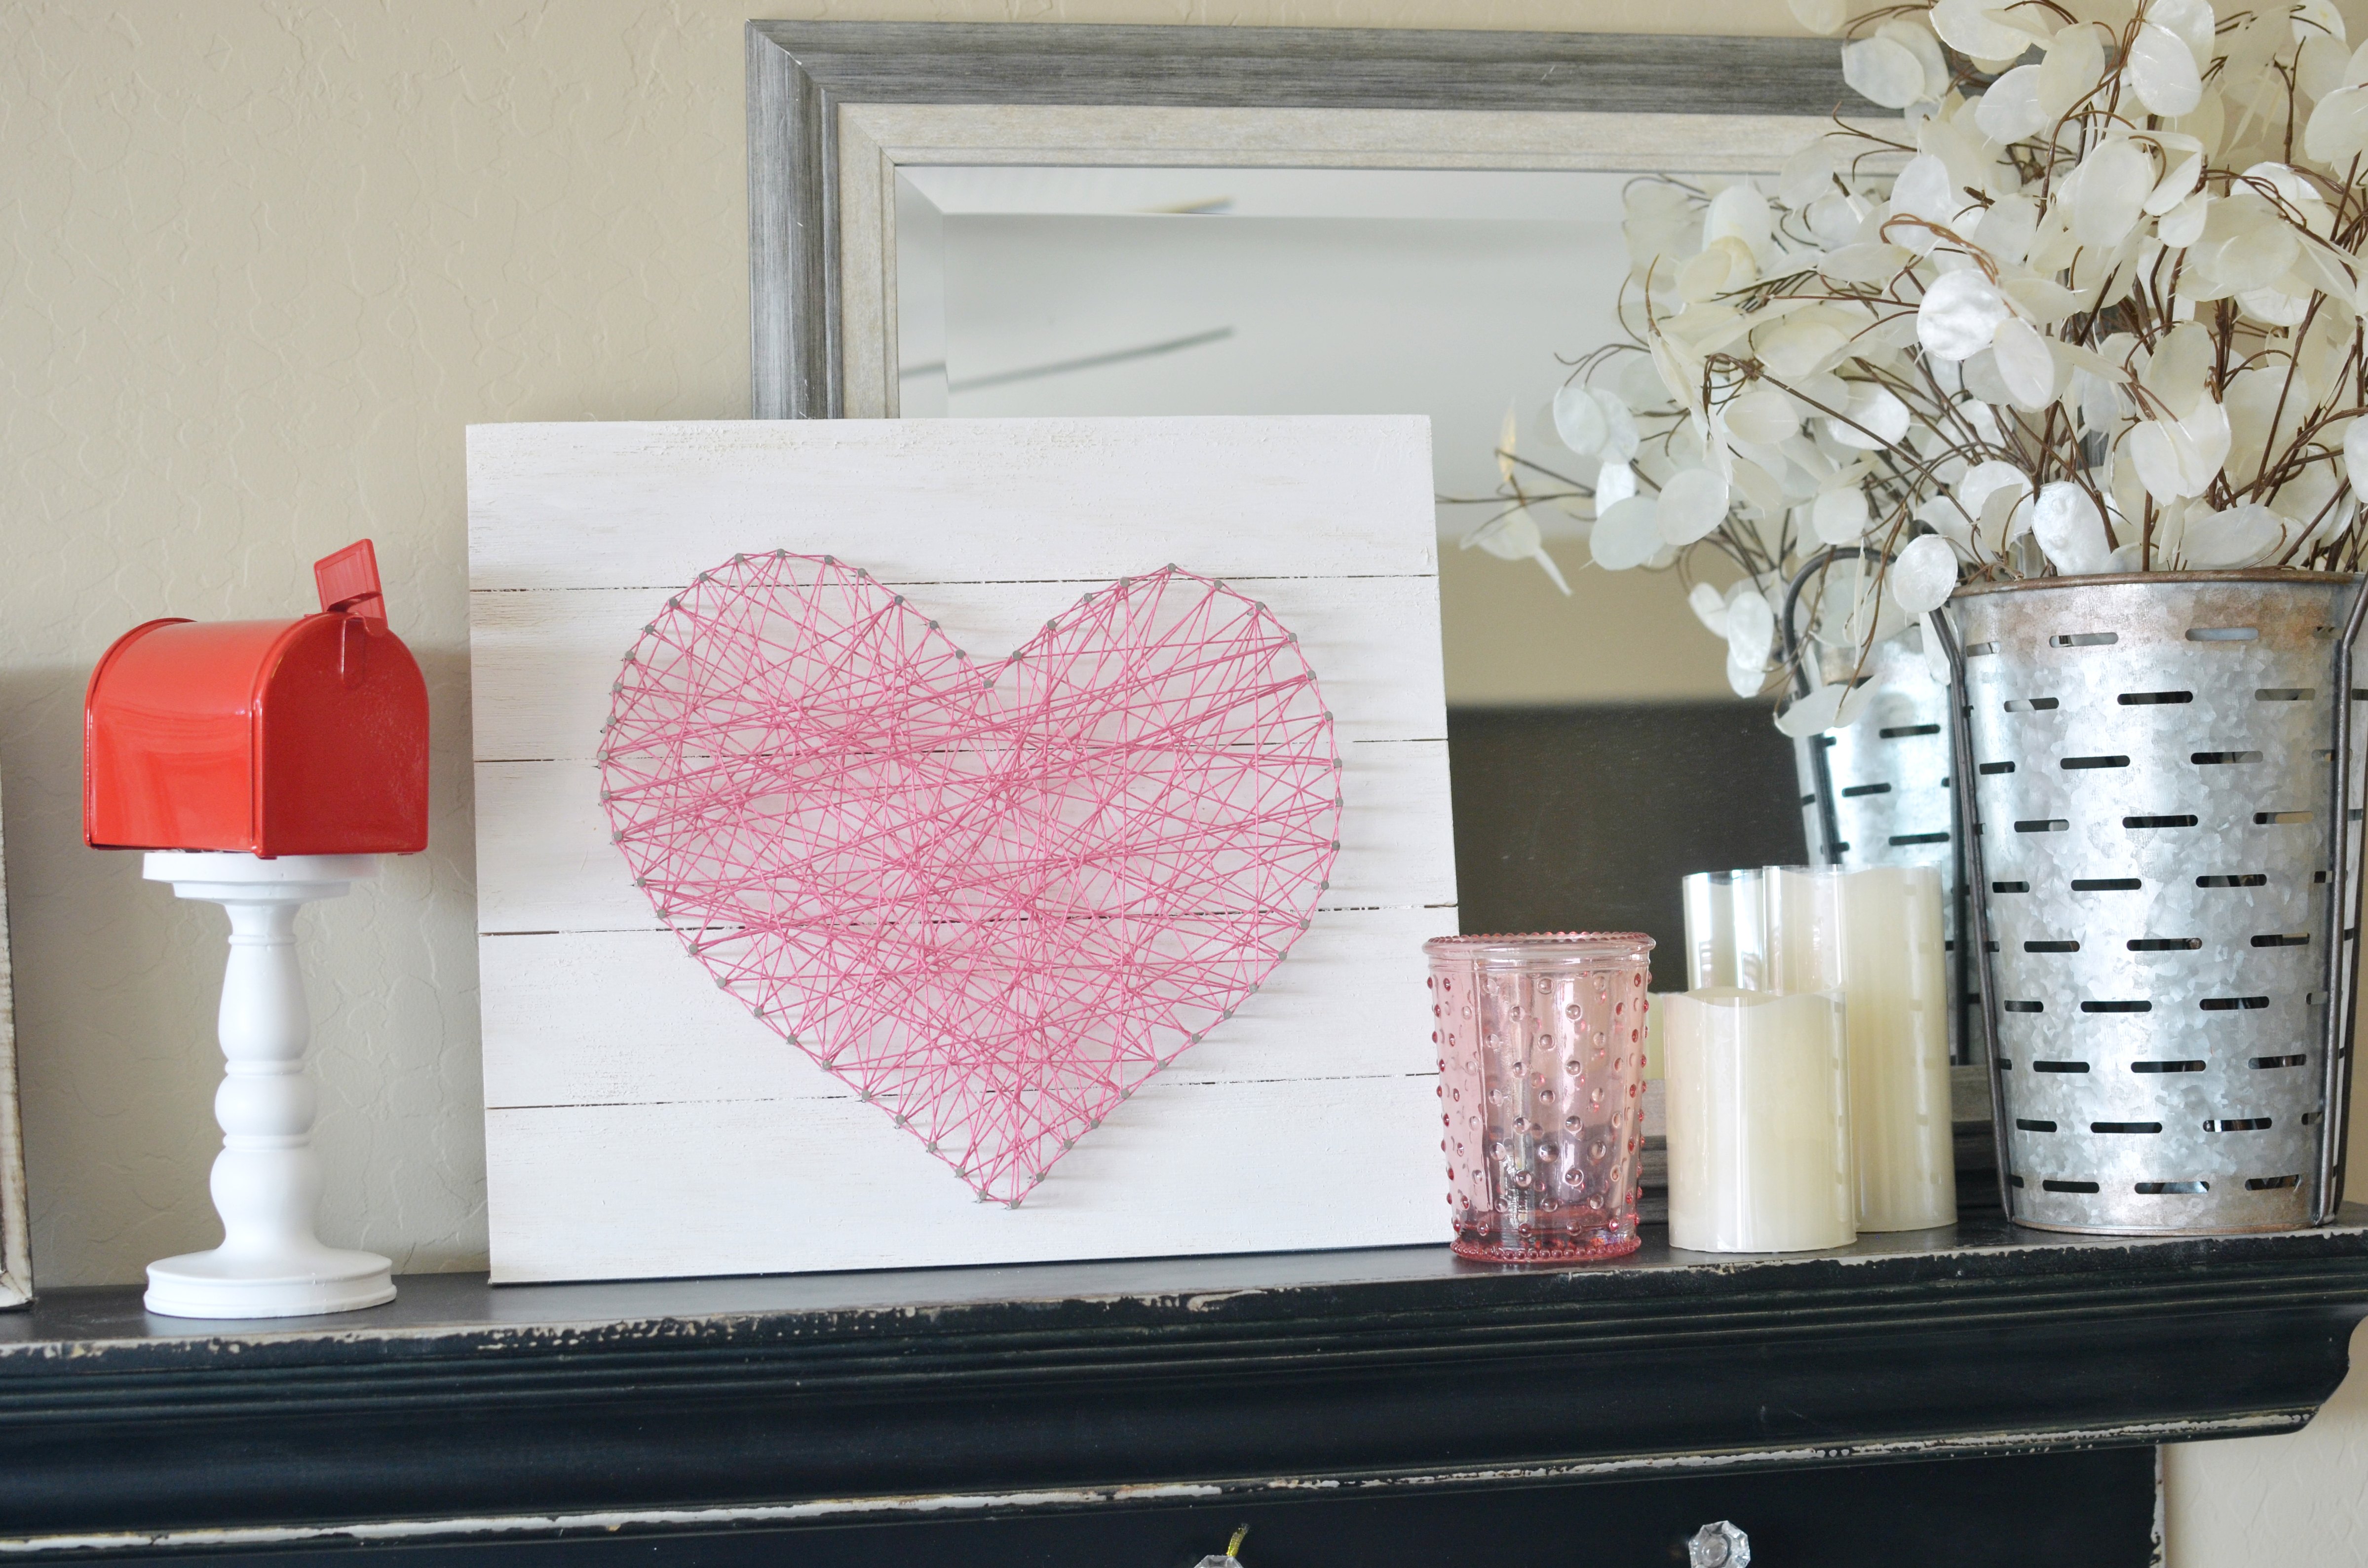
That’s it! Position your finished heart string art on a decorated mantle, or add a saw tooth to hang on the wall.
Doesn’t it look adorable alongside my DIY candle pillar mailbox. Just a mini mailbox set atop a wood candle pillar.

Pin for Later!