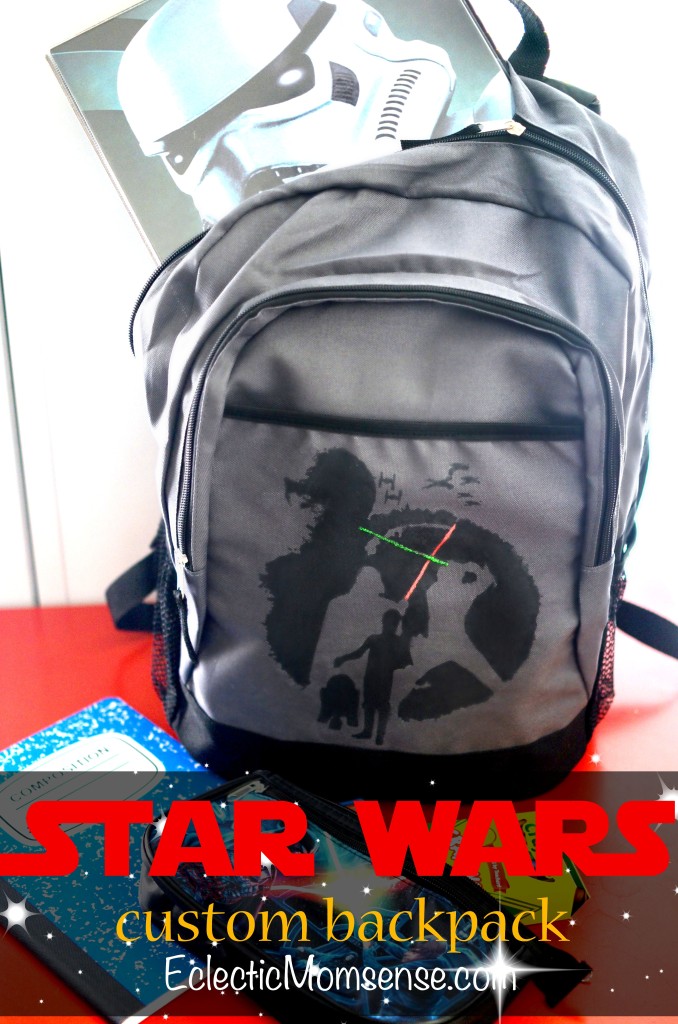
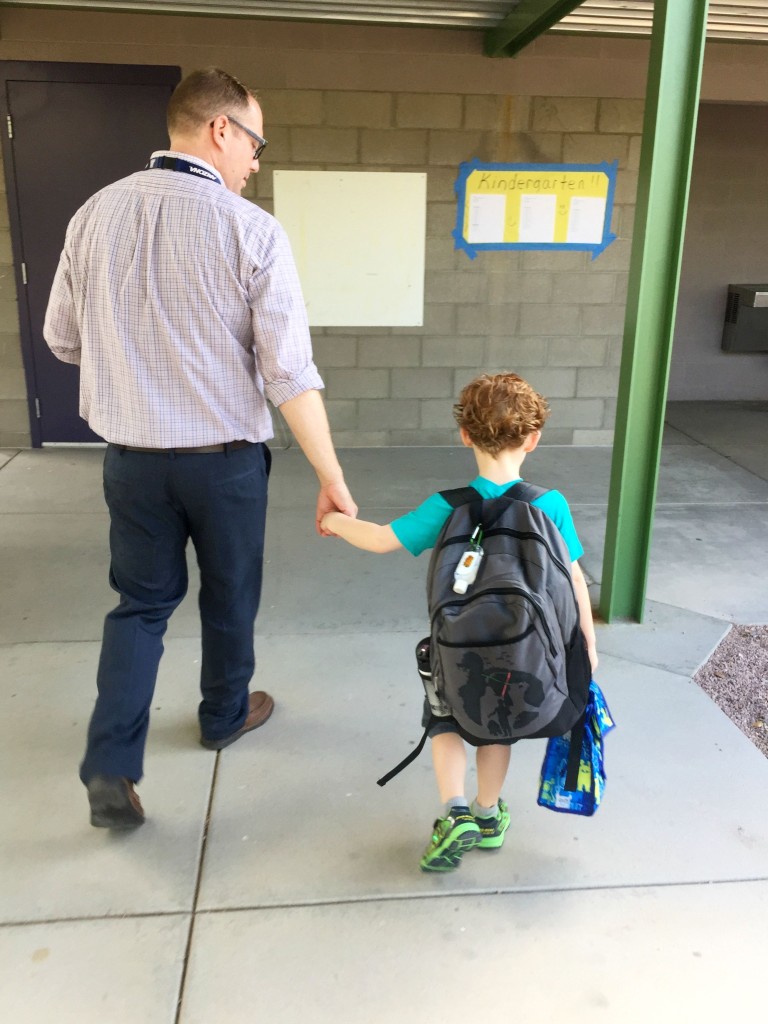
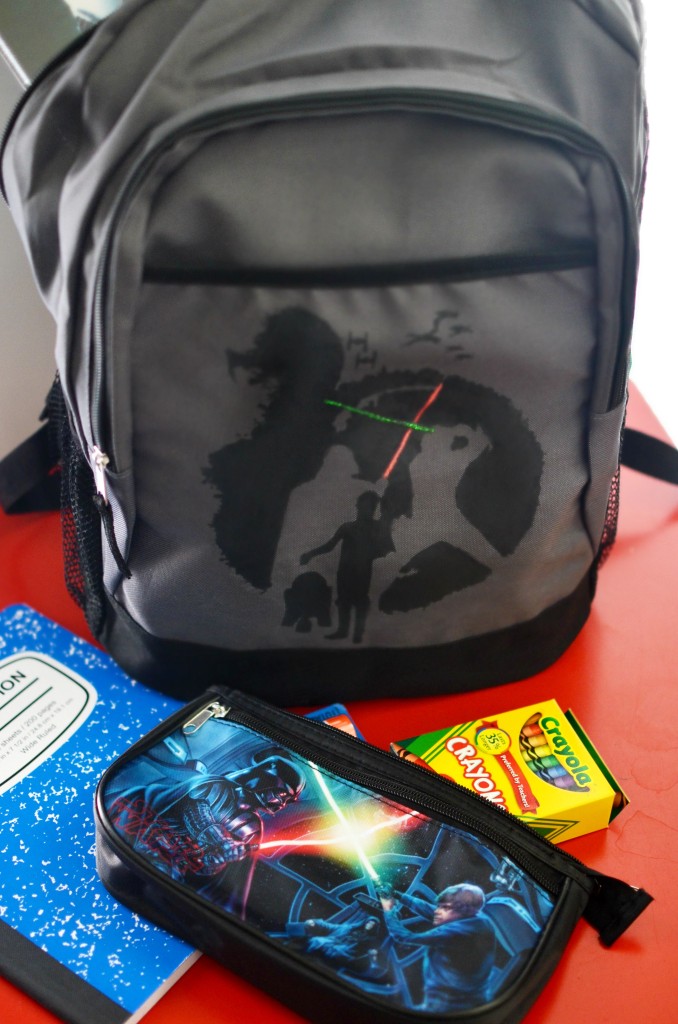
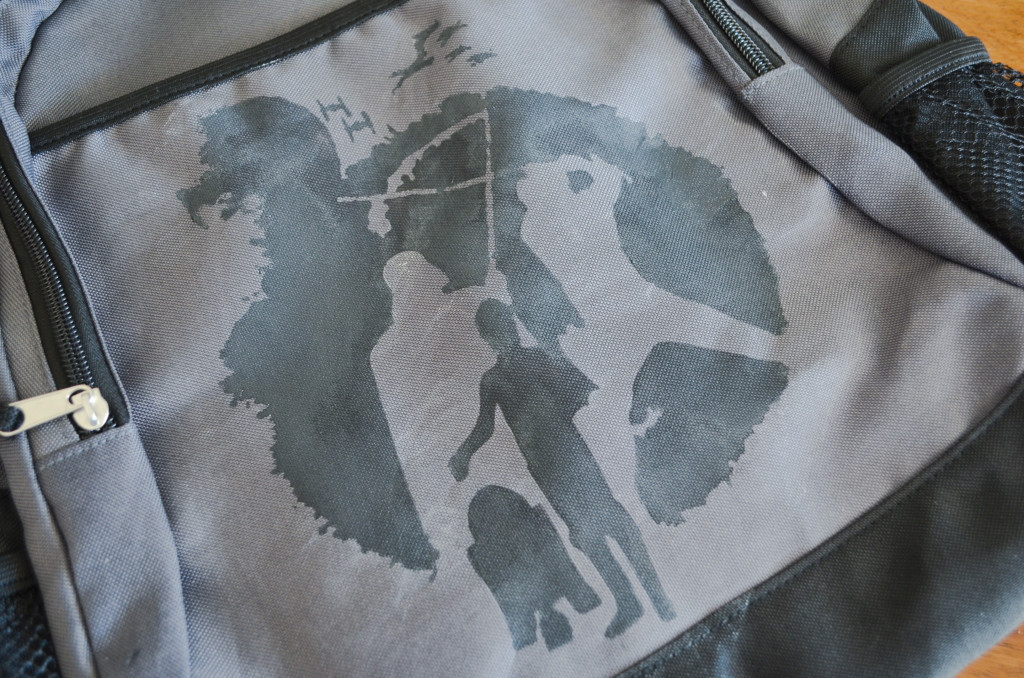
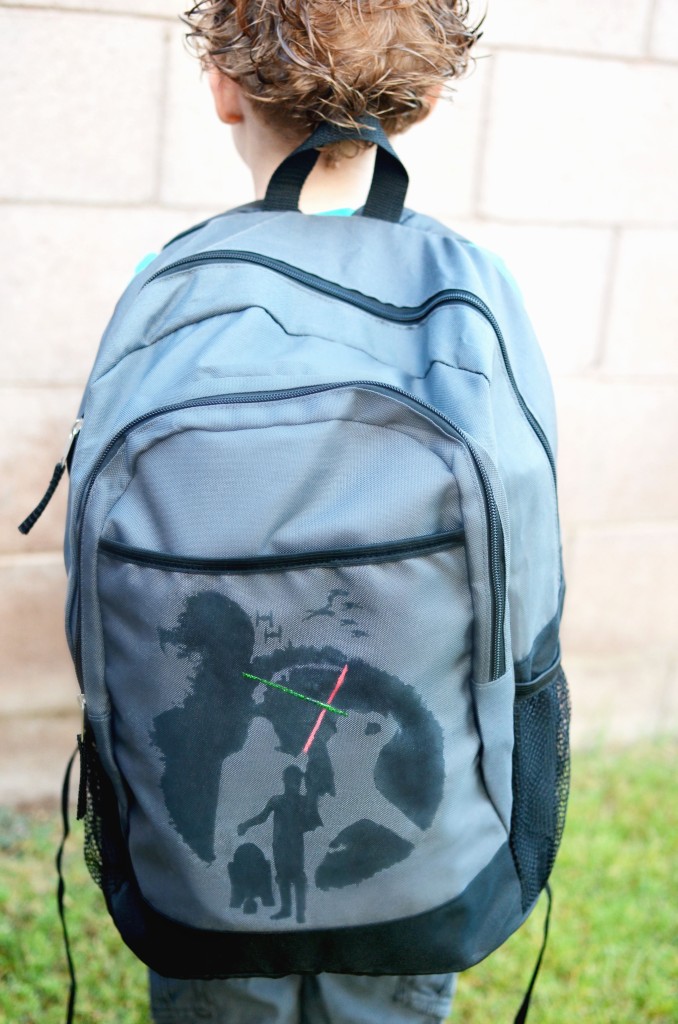
Marking another huge milestone off the list, this past week we went back to school shopping to stock up on clothing and supplies. That included finding the perfect backpack to hold all his school things. It was pretty quickly determined this would not be an easy task. See my oldest has quite the fashion sense. At around age 3 1/2 he decided that character shirts were out. He much prefers color blocking and patterns, less a few modern looking character prints. After looking at all the options at Target he settled on a plain gray backpack and I was lucky enough to help him pick out his favorite graphic. It didn’t take him long to determine Star Wars would make the perfect print. I might have guided him in that direction. In case you didn’t know Episode VII comes out this December! So this Star Wars backpack is perfect timing.
Supplies:
electronic cutting machine
freezer paper
iron
fabric paint
paint brush
Directions:
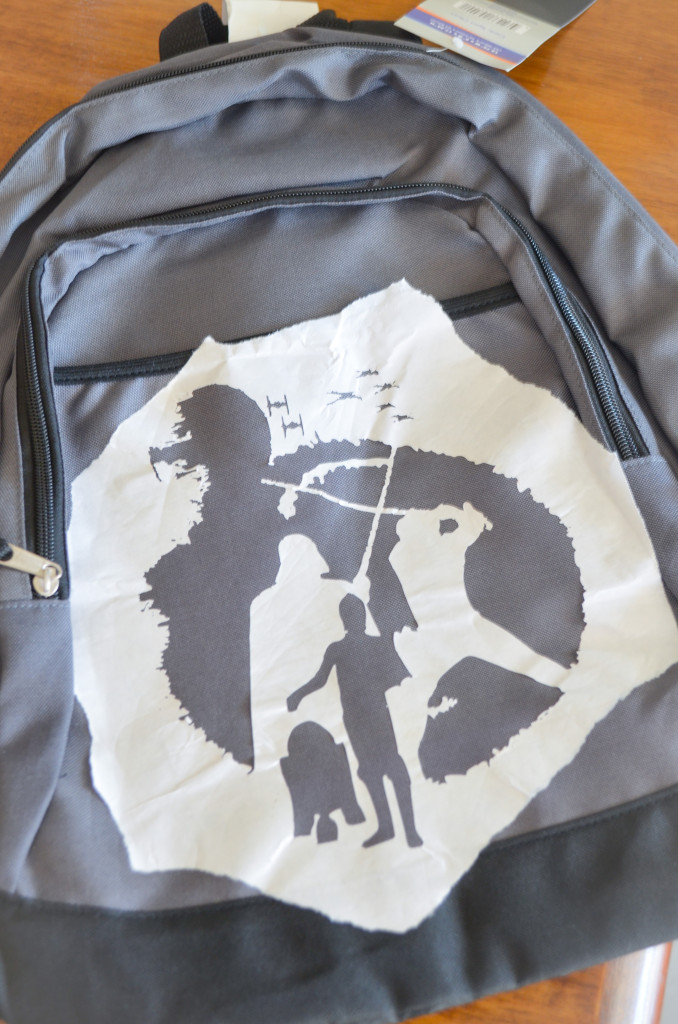
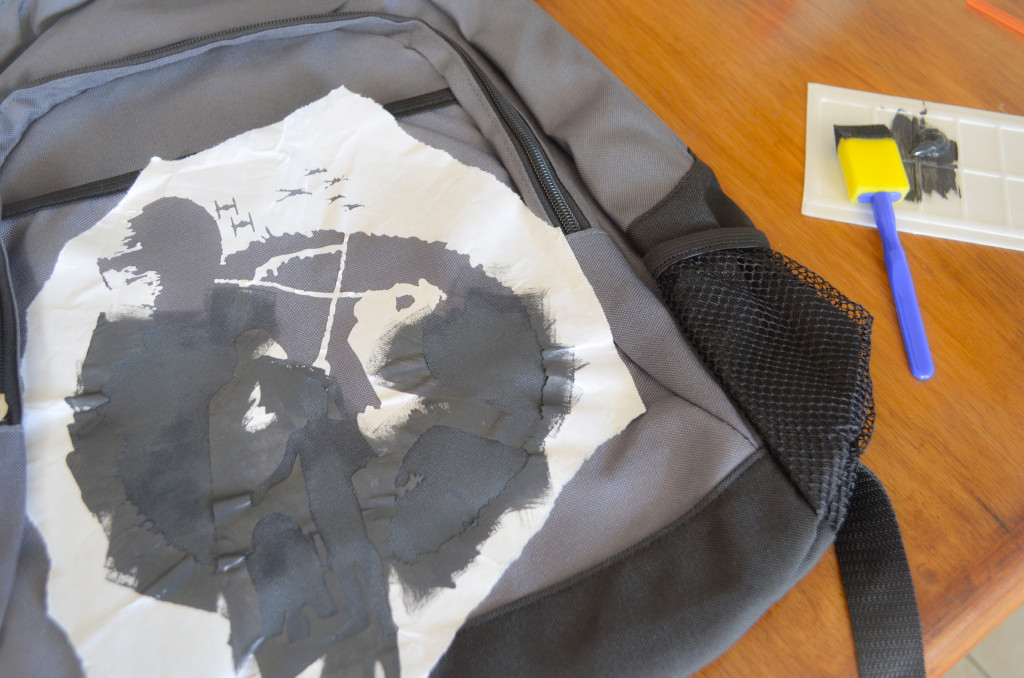
Upload and set your canvas to backpack. This will make it easy to determine the size of your stencil. I also measured the spot the print would go to make sure it would fit. Leave a border around the edge to be ironed for a crisp print.
Place freezer paper on your cutting mat with the paper side down. Set your machine to light cardstock and make sure to flip your image before cutting.
Place your stencil on your backpack shiny side down. Iron on a medium setting. Most backpacks are synthetic fiber so you want to make sure it is just warm enough to adhere the paper to the surface.
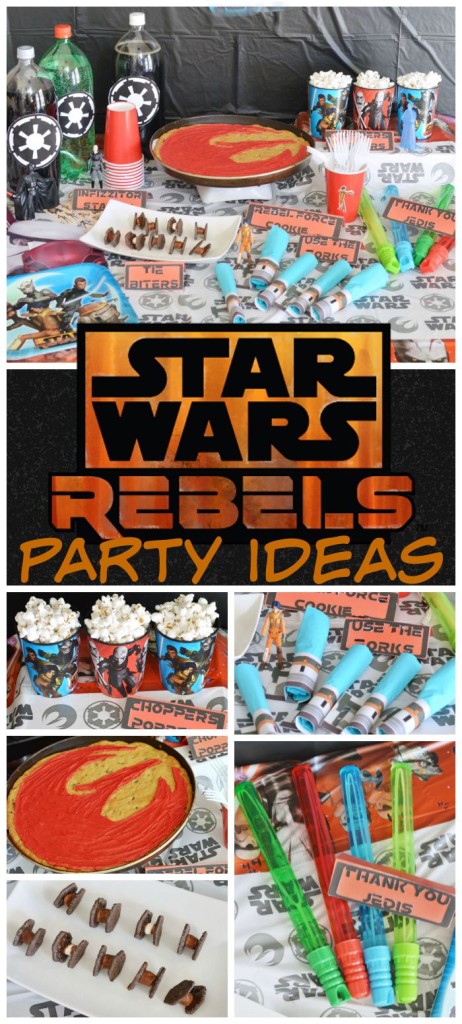
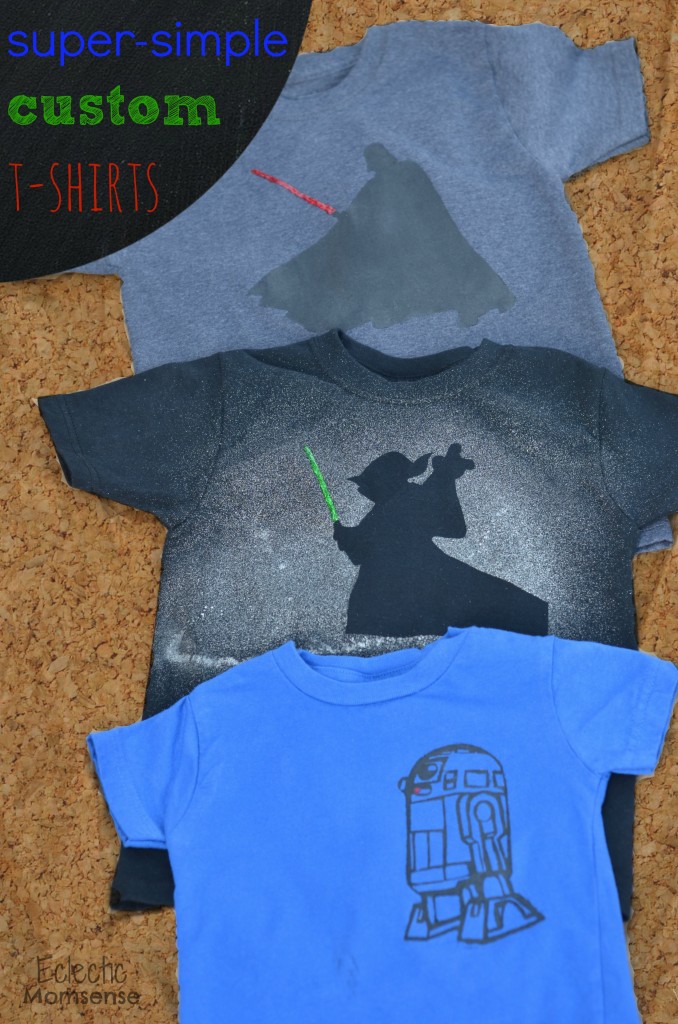
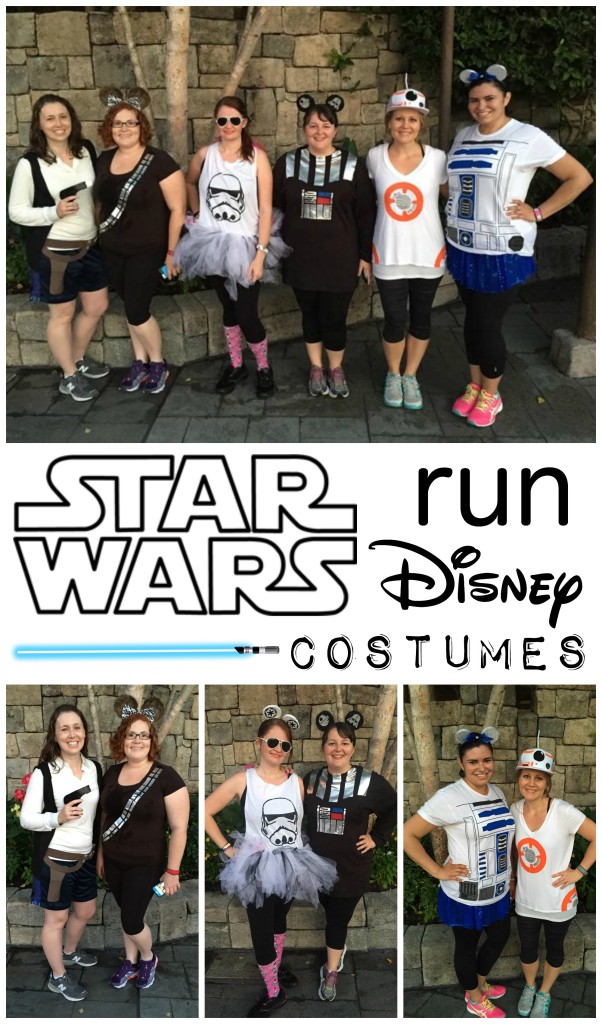
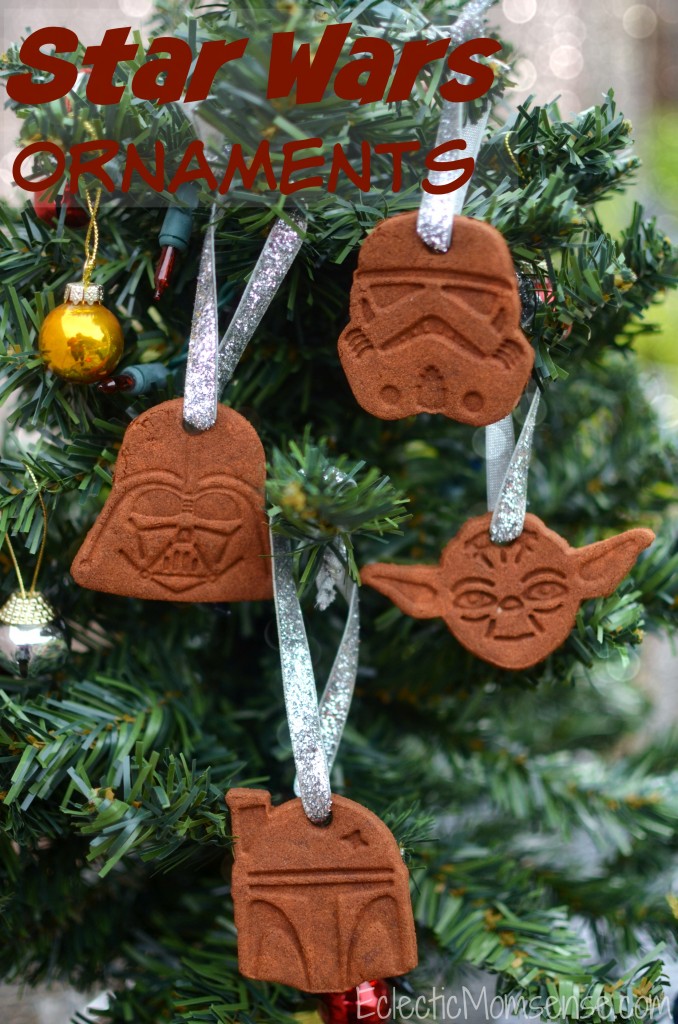
Looking for more Star Wars ideas? Try these fun crafts and party ideas. Then make sure to swing by tomorrow for a BIG giveaway involving Star Wars!
