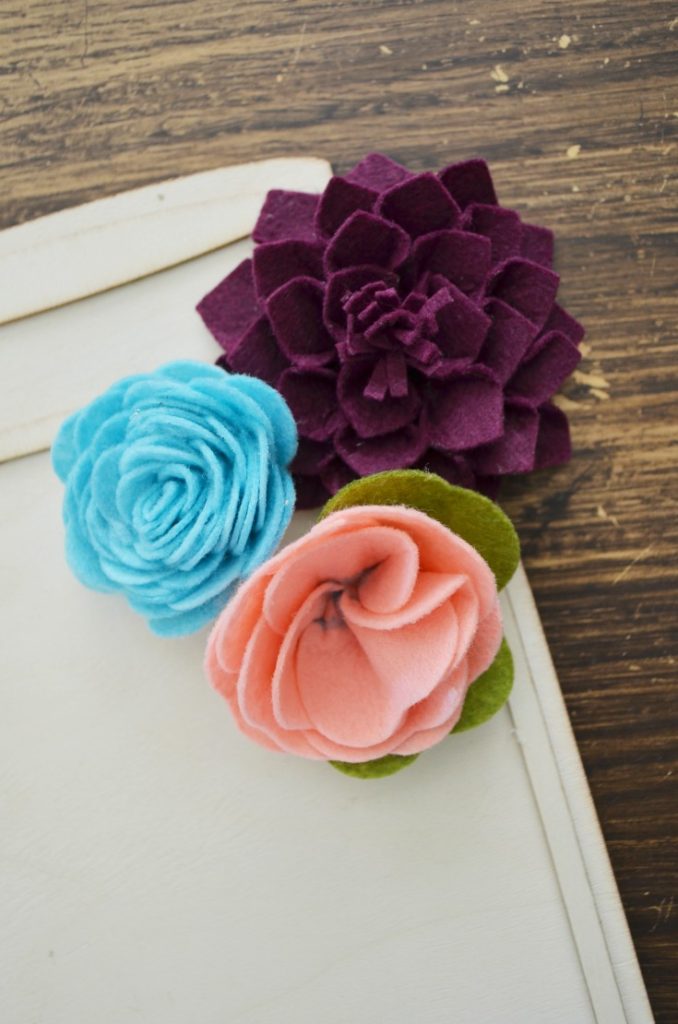
Thanks to Cricut for sponsoring another Simplicity post and supporting my love of these simple projects. This time around I’m going to show you how to craft up simple felt flowers to adorn everything in your home. I couldn’t pick just one style so I pulled several of the Simplicity project patterns as well as a few felt flower and succulent styles I fell in love with.
Cricut and Simplicty Partnership
The beauty of the Cricut and Simplicity partnership is the ease of making your own home decor and even clothing. With the help of this strong power couple you cut out those monotonous steps like pattern tracing and cutting. Thanks to Cricut and Simplicity cutting out fabric, felt, and leather has never been easier. Simply select your project, press make, and follow the directions. Really, it’s truly that easy!
Supplies:
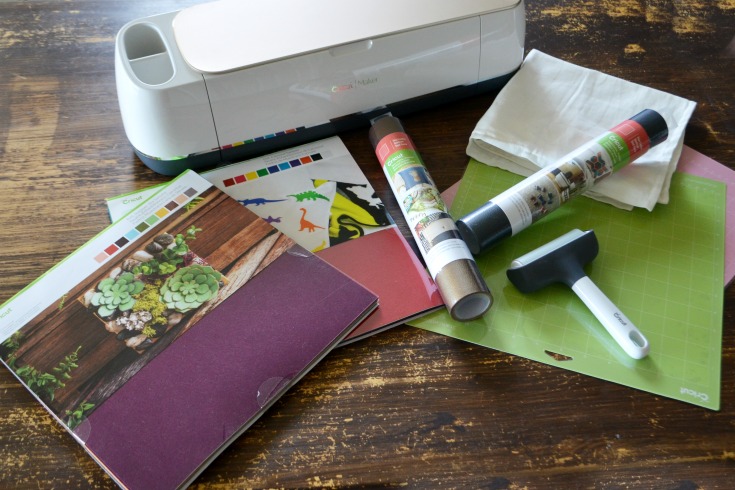
Cricut Maker
Fabric Mat
Fine Point Blade
Washable Fabric Pen
Felt
Hot Glue
Simplicity Flower Patterns
How To Make Simplicity Felt Flowers
Grab yourself some gorgeous Cricut felt. It comes in 2 color varieties: Sky and Carousel. For this project I used Sky. I loved the jewel tones, perfectly sized high-quality felt, and ease of cutting. The felt lint was very minimal and I only cleaned my mat a few times between cuts and checked my blade a couple times to ensure there was no felt build up.
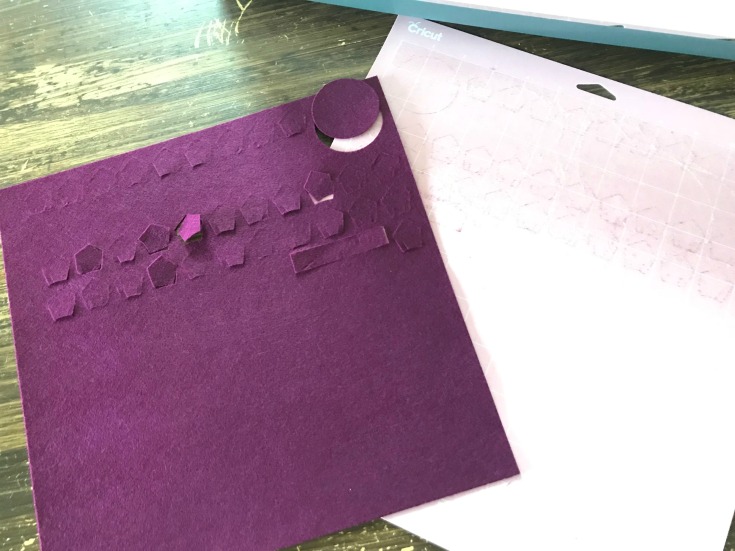
For this project I’m going to walk you through the steps for the zinnia flower. The directions vary by project, but the process is similar. First lay out your felt for your first mat. The zinnia calls for 3 colors, but I decided to cut it all out in one color. Make sure your washable fabric pen is in place. The project will mark lines for folding the petals and positioning on the base.
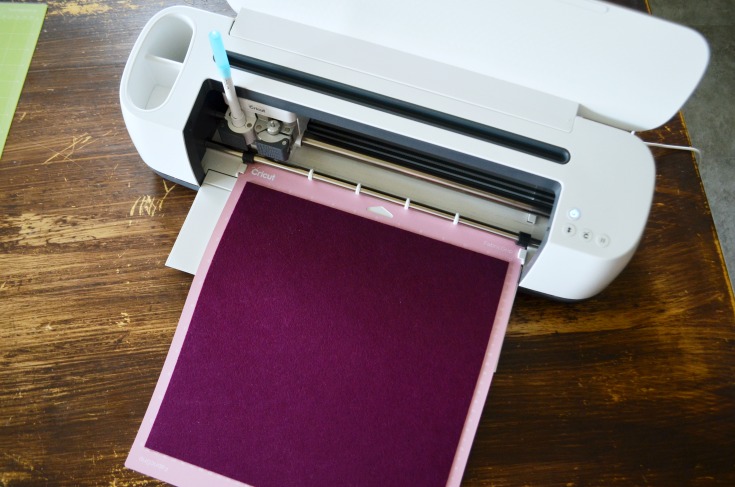
Remove your felt pieces and set aside. You’ll be working with the petals first and prepping those to be placed on the base. I was planning my flower projects for home decor so I opted to use hot glue instead of stitching. It was quicker and gave me the durability I wanted for my wall hanging.
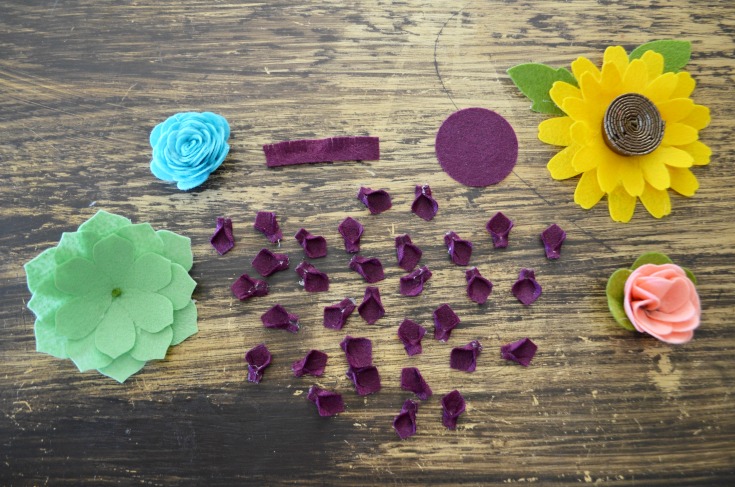
First, glue or baste stitch the base of all the petals. You’ll be folding each side on the scored edge and tacking in place.
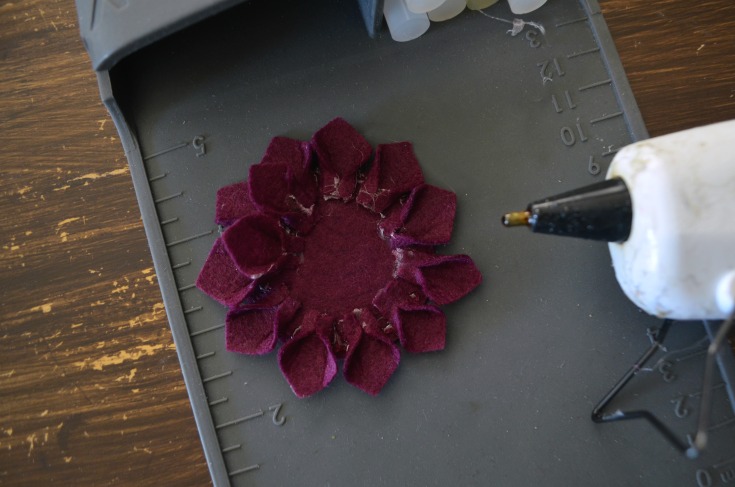
Starting with the outside layer attach the petals onto the base. You’ll be setting the bottom of each petal over the dashed line. Continue attaching petals to the base alternating the next row between the gaps of the previous row, as shown.
Once all layers are complete roll the center piece up tacking with glue or stitches on the bottom as you go.
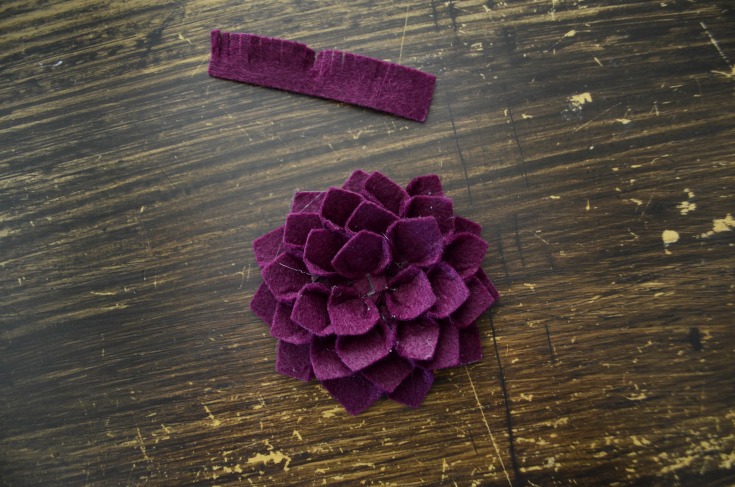
The last step is to attach the middle of the zinnia to the center of your base. 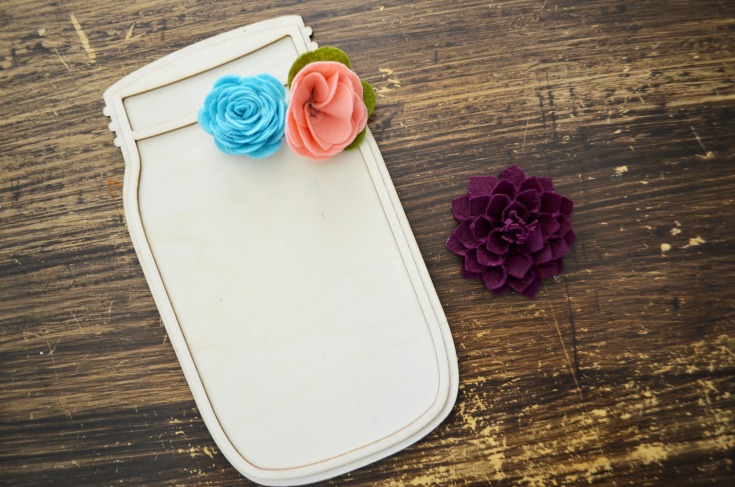
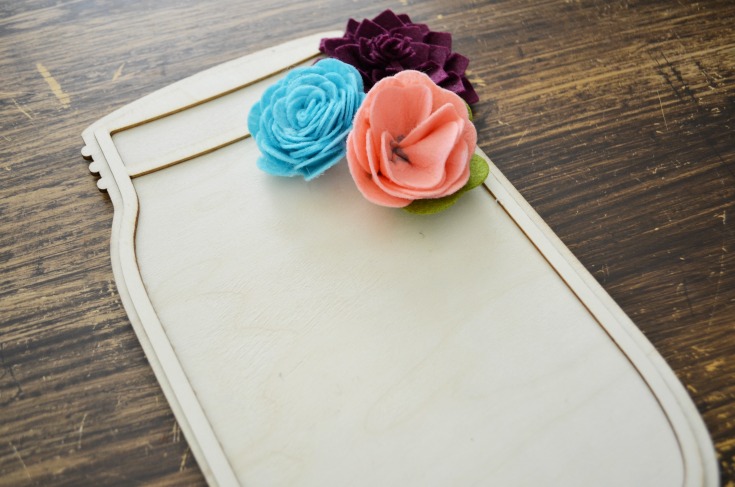
Once you’ve created your felt flowers you can start placing them on your project. I originally was going to adorn a pillowcase with a field of flowers, but remembered I had this wood mason jar and thought it would be the perfect touch. 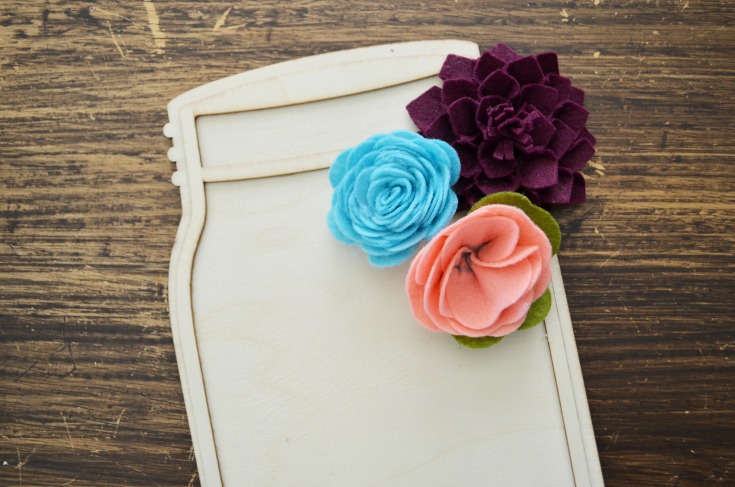
I haven’t decided which look I like best. I might just buy a couple more and use them for gifts next Mother’s Day or Teacher Appreciation Day. OR maybe some velcro is my friend so I can switch it out for the seasons. I think I even spotted a poinsettia Simplicity project.
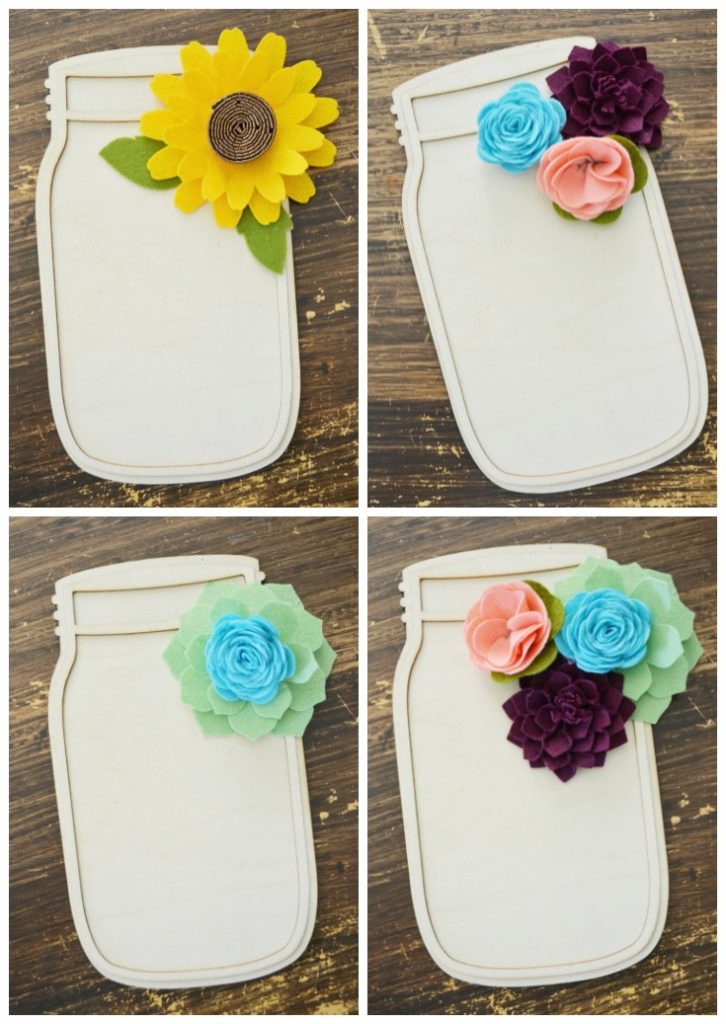
Tell me, which felt flower look do you like the best?
PIN FOR LATER
These flowers made from felt paper are so beautiful! I would definitely try making at home! Thanks a lot!