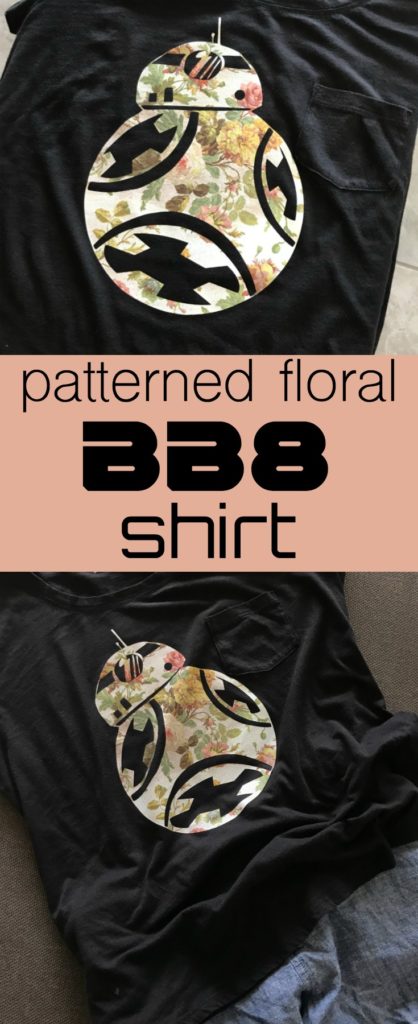
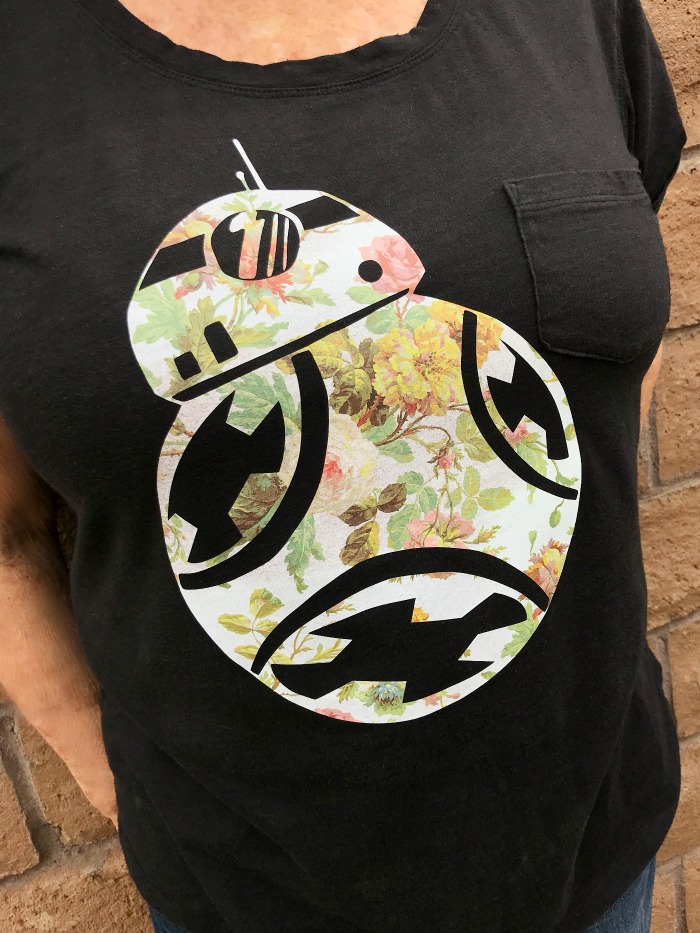
This adorable patterned floral BB8 shirt is rolling-in just in time for Star Wars Day! I created this shirt with some of the new patterned iron-on Cricut sent me to try out.
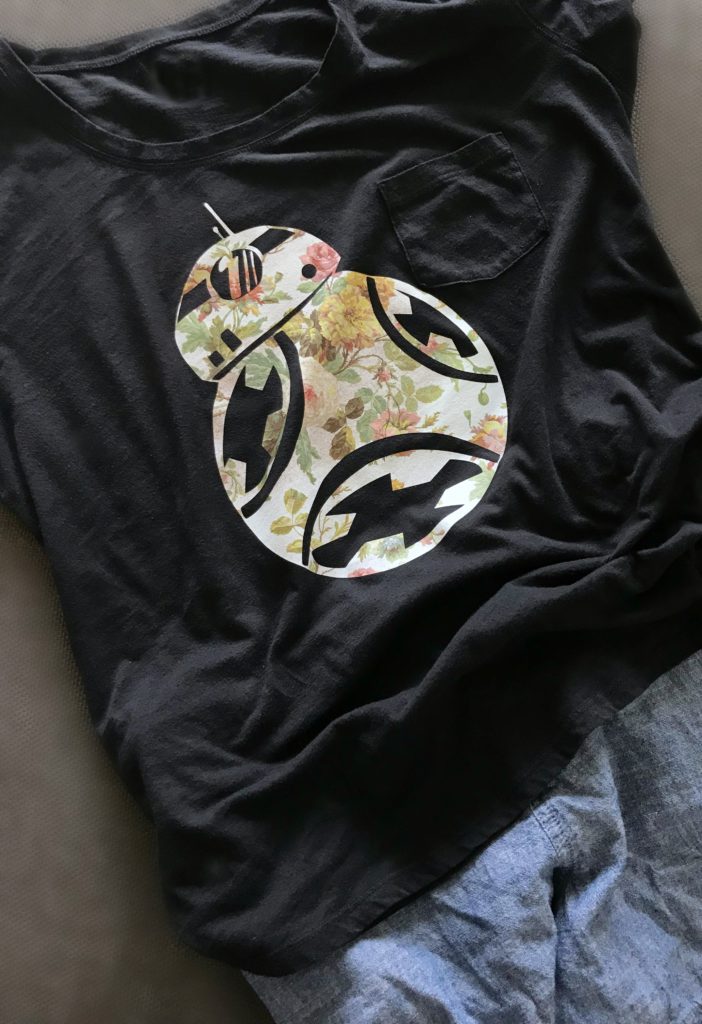
Custom shirts are a fun way to celebrate May the 4th and show a little personality. This BB8 shirt was simple to make with the help of the NEW Cricut Patterned Iron-On. It’s so simple to create your own customized Star Wars Day shirt with your favorite iron-on and my hand-drawn BB8 design.
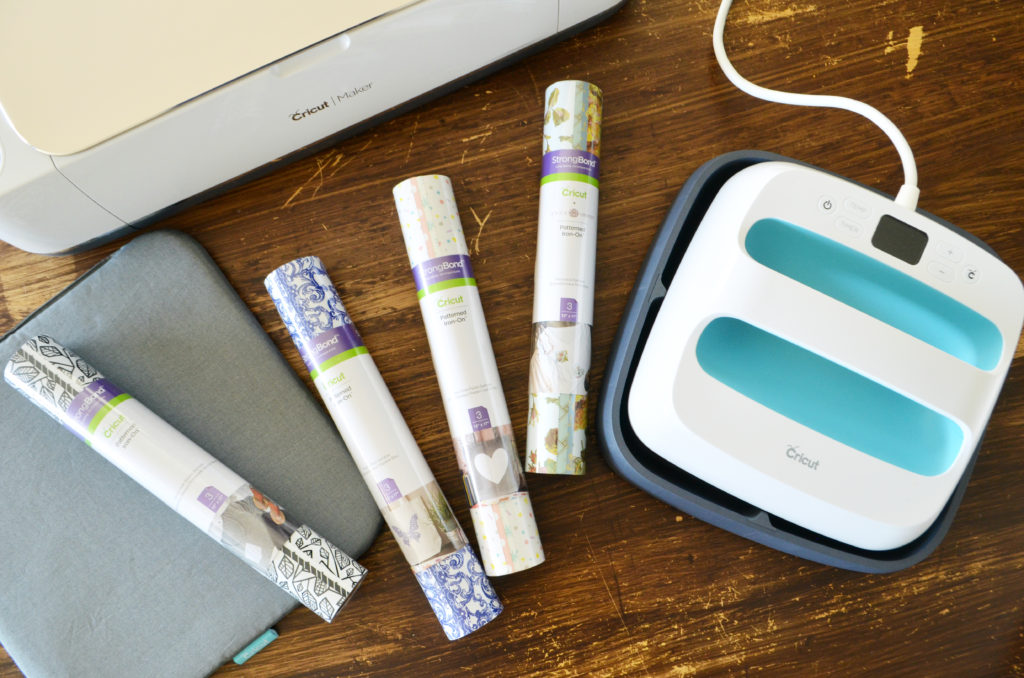
Patterned Iron-On Shirt Supplies
First things first, download the file here! You can upload and customize the cut, then size for a variety of shirts. Works great for decals or adhesive vinyl too!
Creating your Patterned Iron-On Shirt
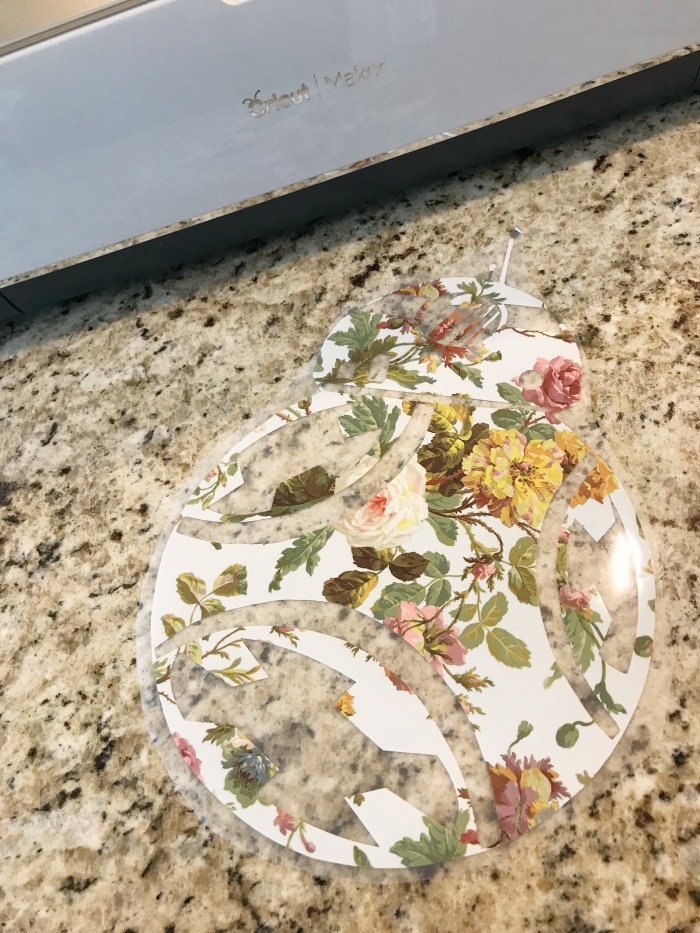
Ensure you’ve set your cut to mirror and placed the iron-on material shiny side down. For the Cricut patterned iron-on it’s easy to tell due to a texture on the backside of the material that helps it adhere.
Trim Around the outside of your shape to preserve the excess iron-on for other projects (alternatively use a weeding box to frame your design). Using a weeding tool remove the unwanted material.
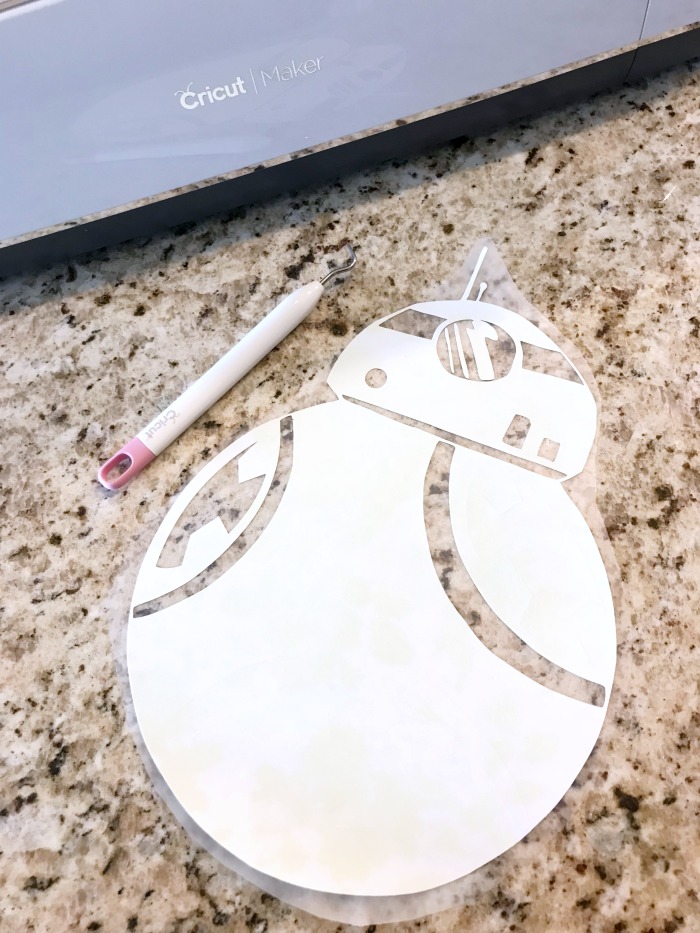 Preheat your material for 5-10 seconds before positioning the design. For BB8 I choose to tilt him ever so slightly to give him the look of rolling.
While your EasyPress preheats place the EasyPress Mat under your shirt. Press firmly on your iron-on for the recommended heat and time settings. Use this handy table to determine the settings for your fabric type. Lift the EasyPress and repeat until you’ve pressed the entire design. Flip the shirt over and press again for an additional 15 seconds.
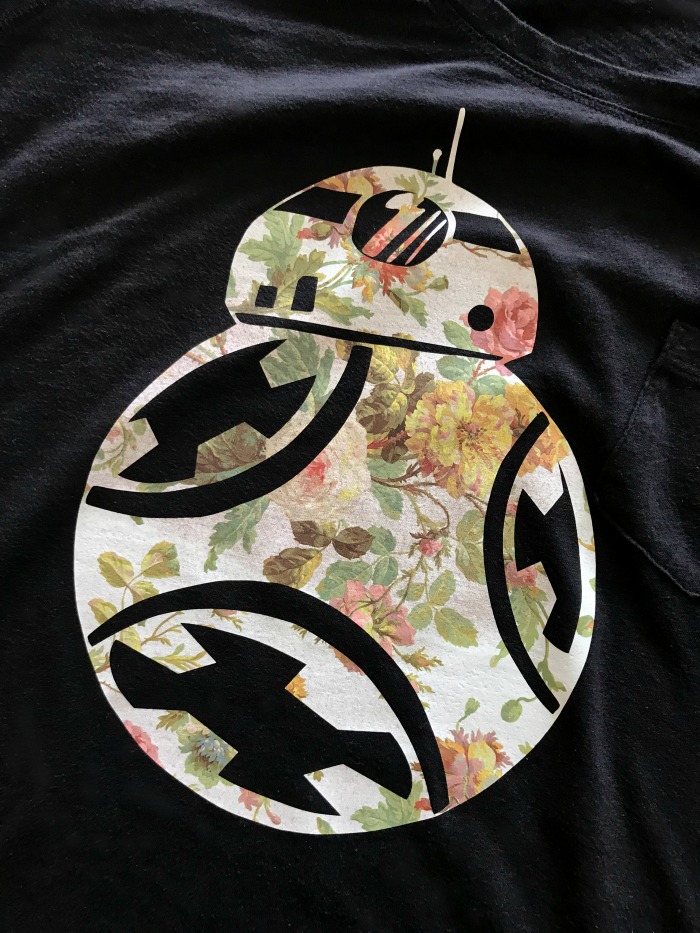
The Cricut Patterned Iron-On is a cold peel. Allow it to just cool to the touch before removing the liner, and voila a custom BB8 shirt!
- Learn more about the Cricut Patterned Iron-On and Easy Press Mat here.
- Checkout more custom iron-on shirt designs here.
