These holiday ornament gift tags have been created as part of a collaboration with Cricut. I was provided product in exchange for sharing my holiday ideas featuring the Cricut Maker, accessories, and materials.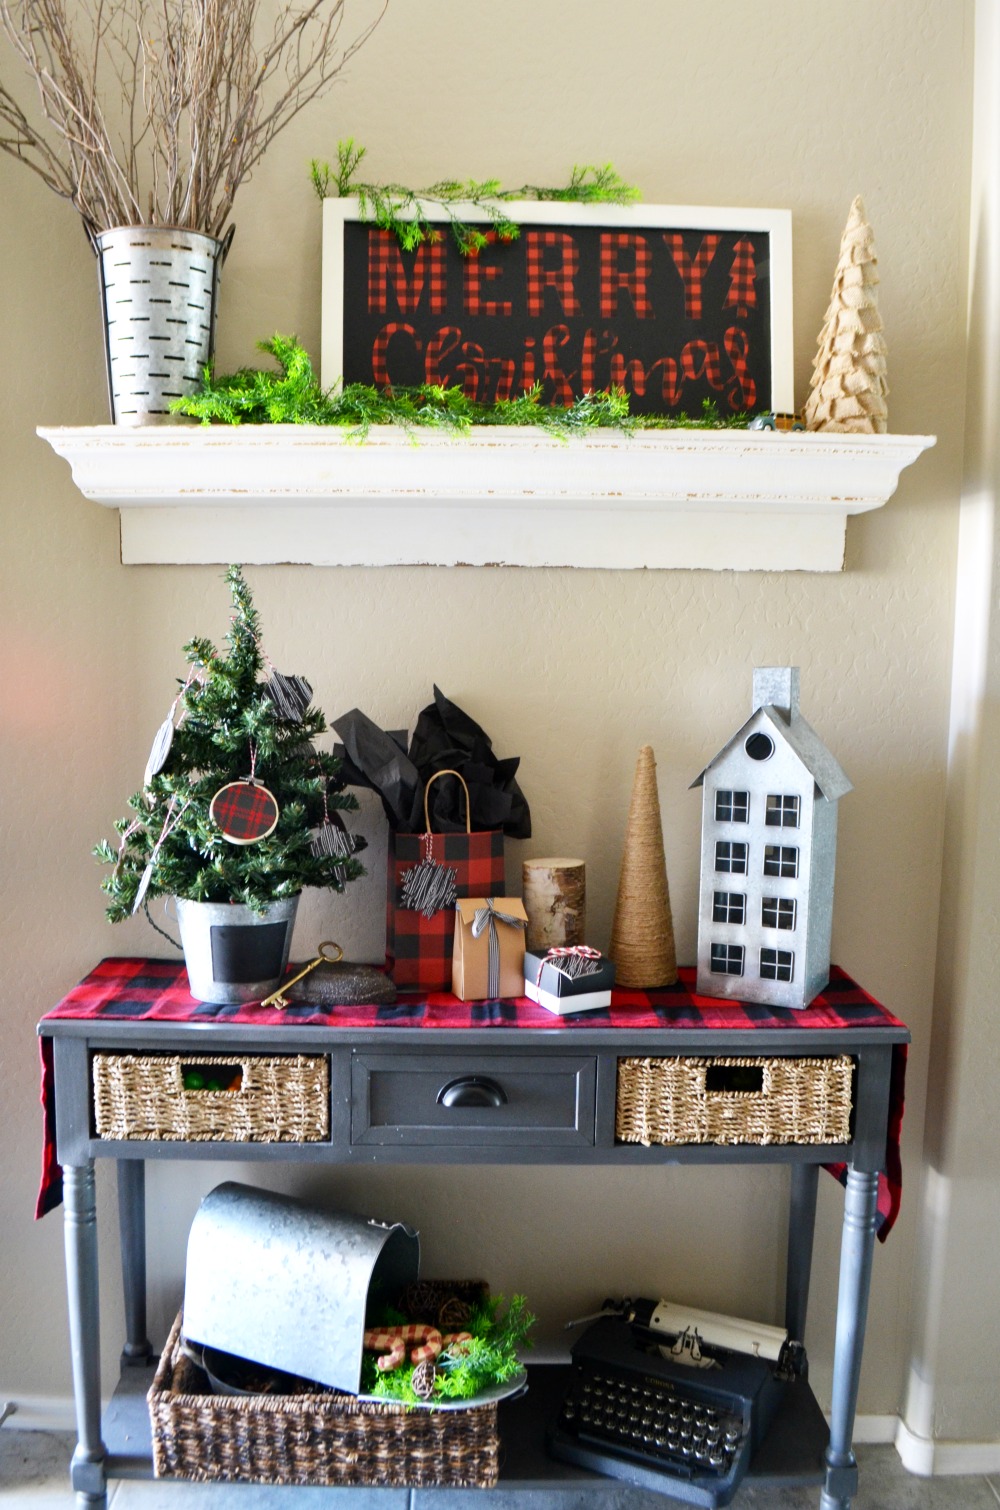
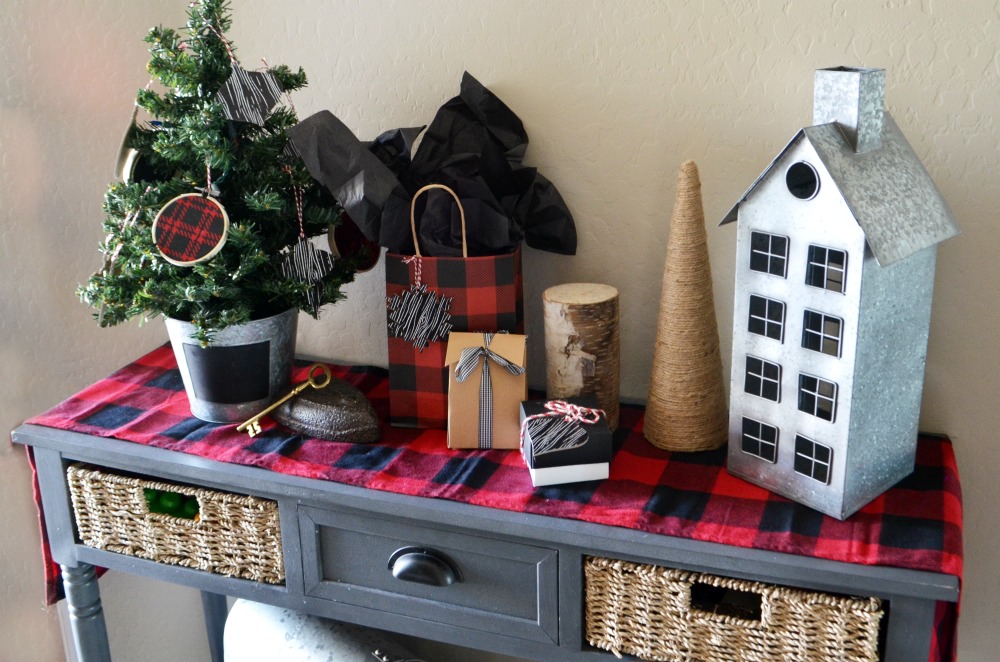
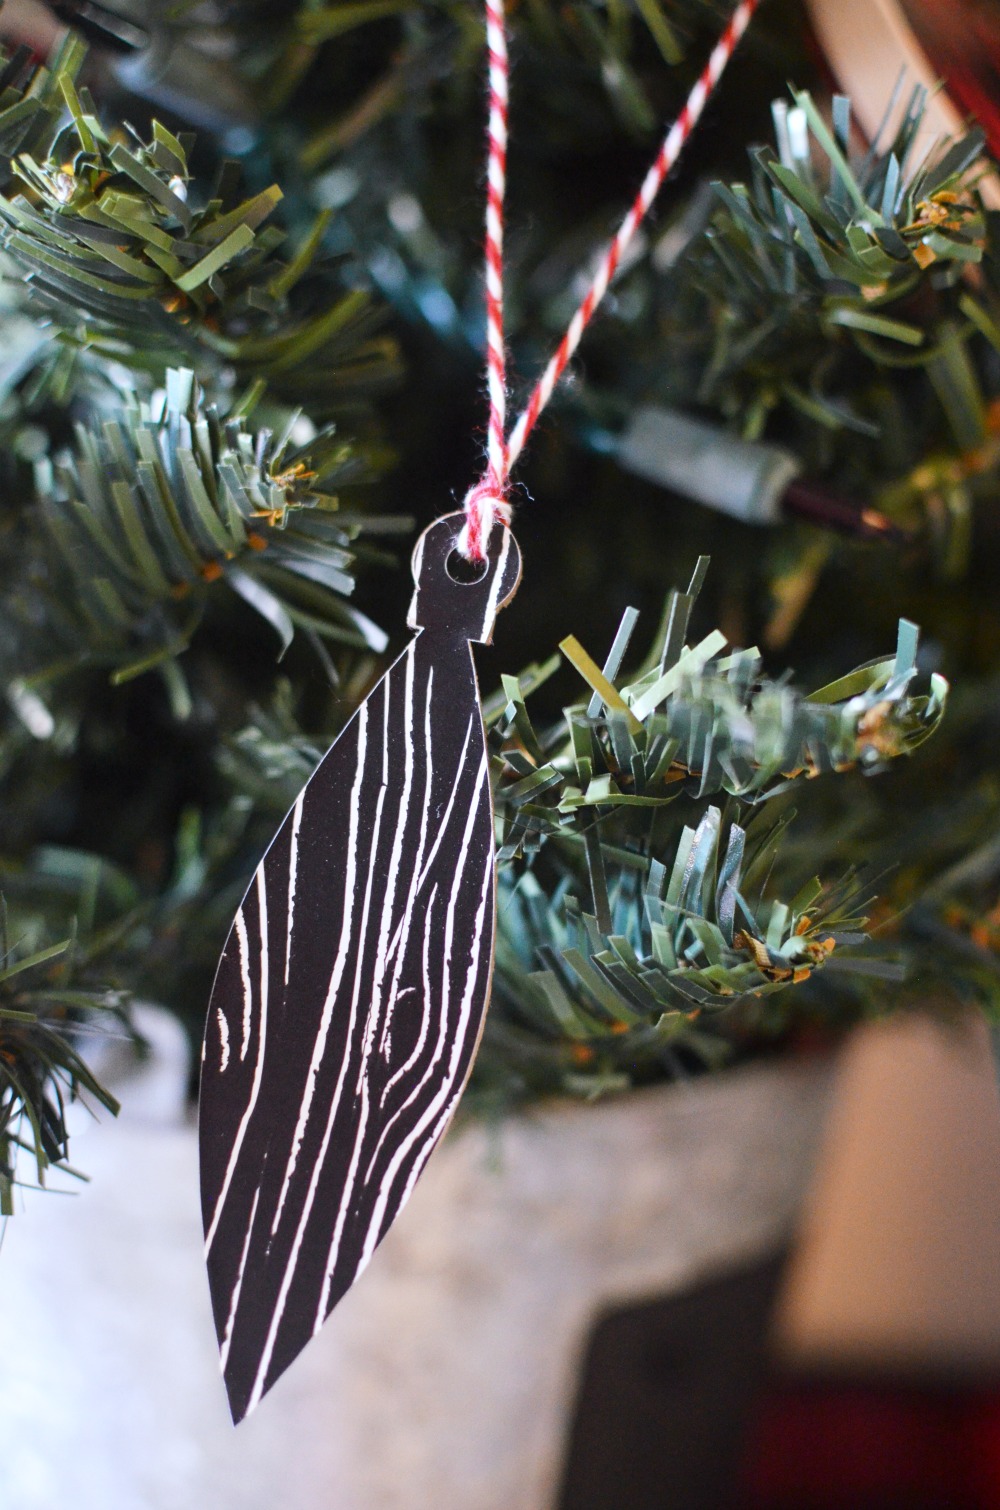
Who’s ready to get a head start on the holidays with some easy and farmhouse perfect Christmas decor? Better yet these ornaments are multi functional as gift tags too! Wrap up your pretty brown paper packages with some twine and an ornament.
Christmas crafting done easy with Cricut!
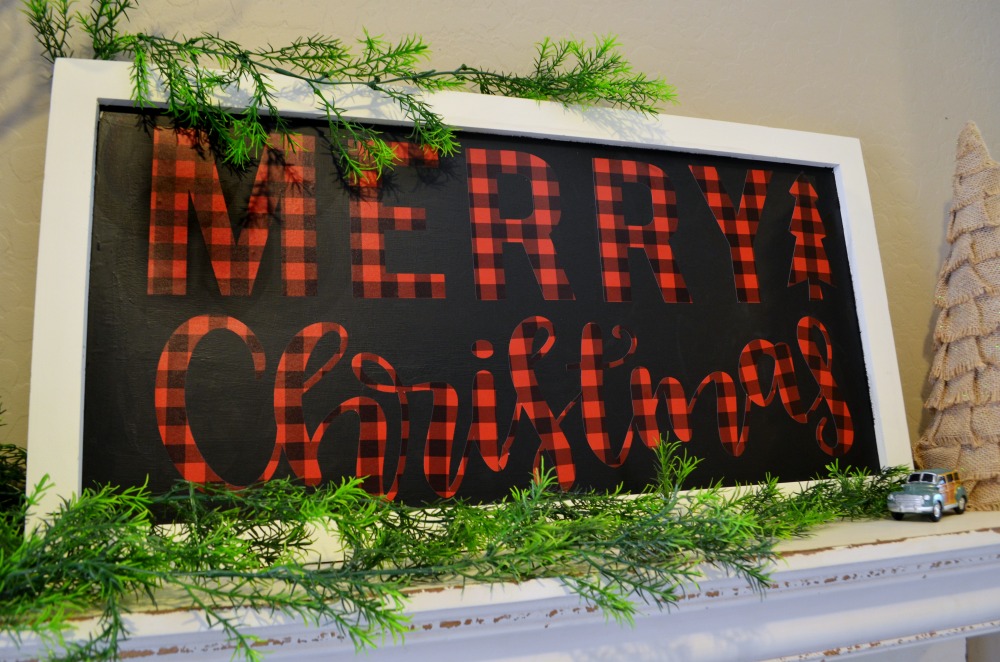
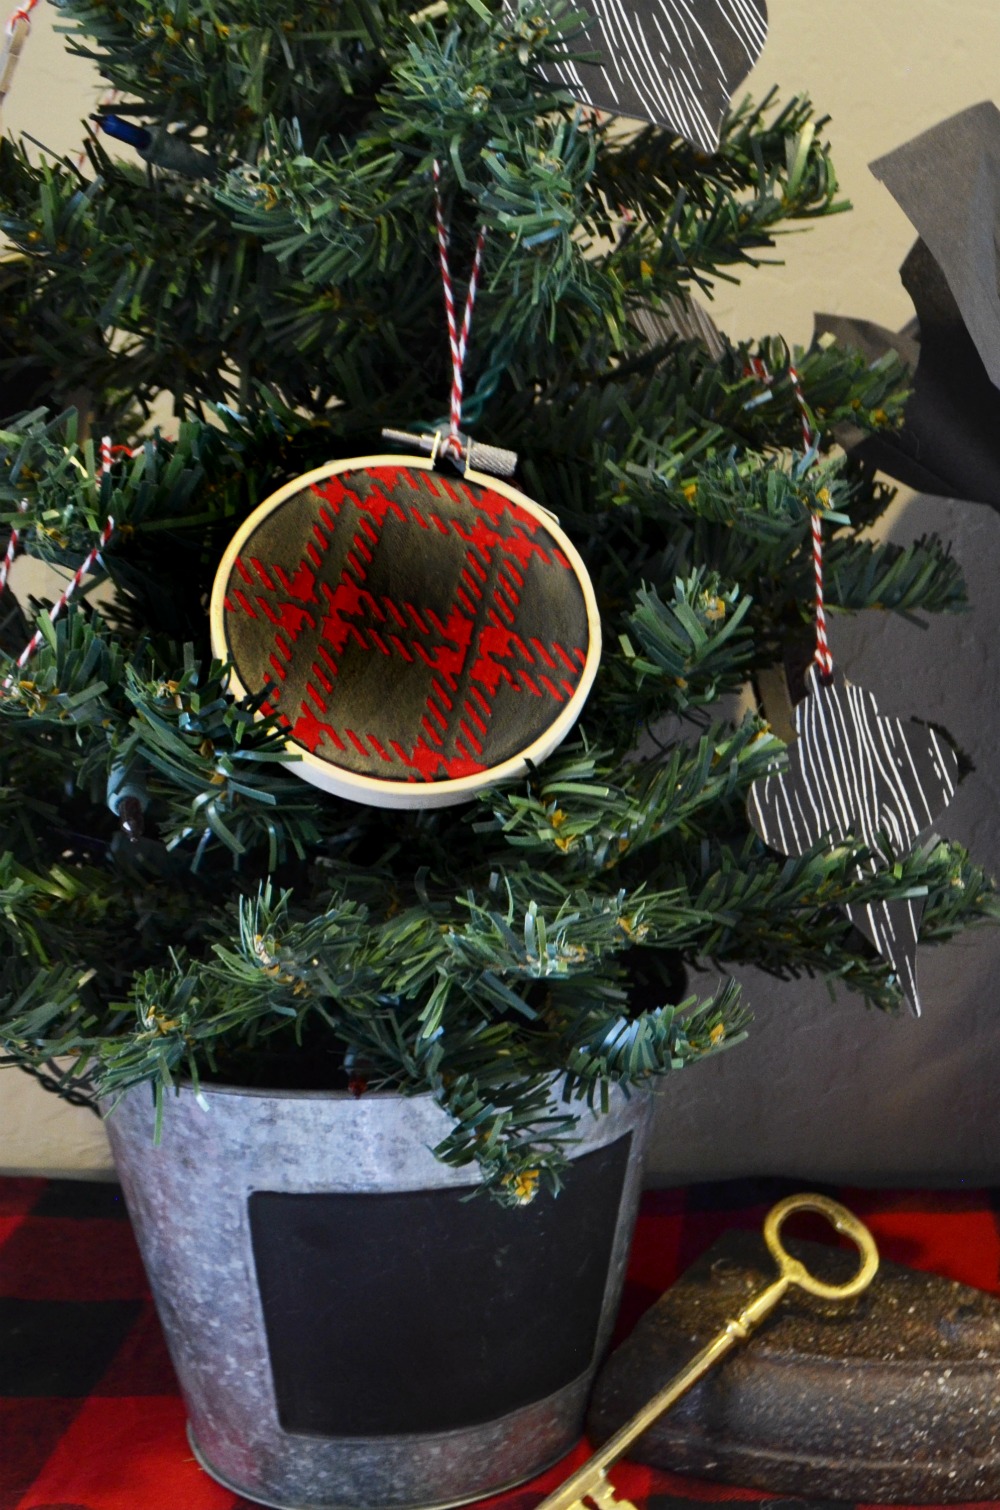
I’m going to share how I created the ornament gift tags, but keep on reading to grab the links for the other projects featured. Full tutorials coming later for the Merry Christmas sign and embroidery hoop ornaments.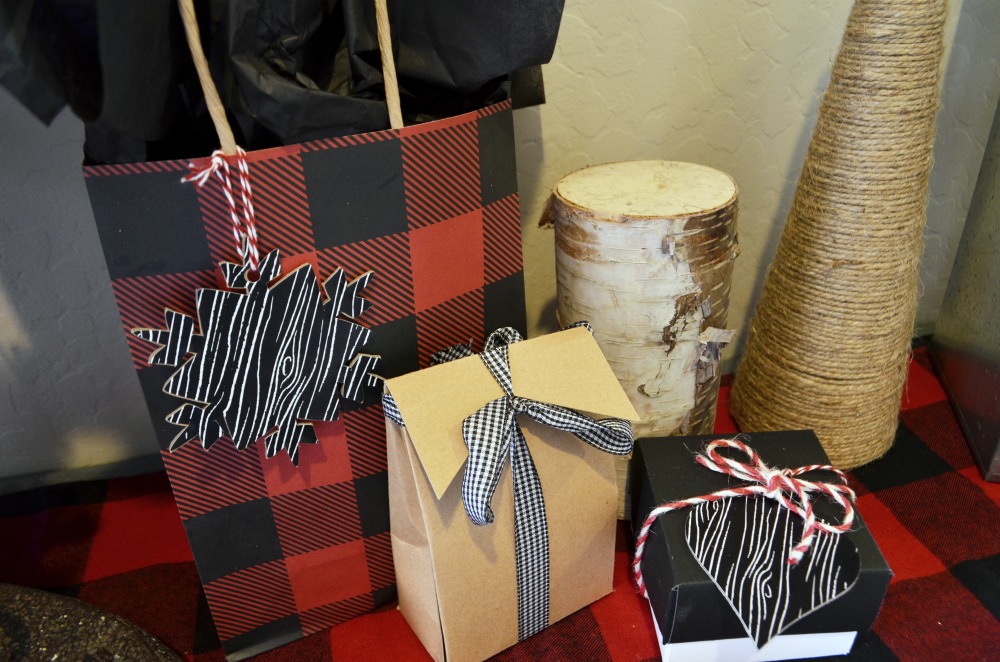
The Cricut Maker truly is the ultimate crafters companion for DIY holiday decorations and handmade holiday gifts! With the Adaptive Tool System™ you can cut through so many materials with a full line of tools. For these projects I utilized the knife blade for handmade ornaments and the scoring wheel for creating easy gift boxes.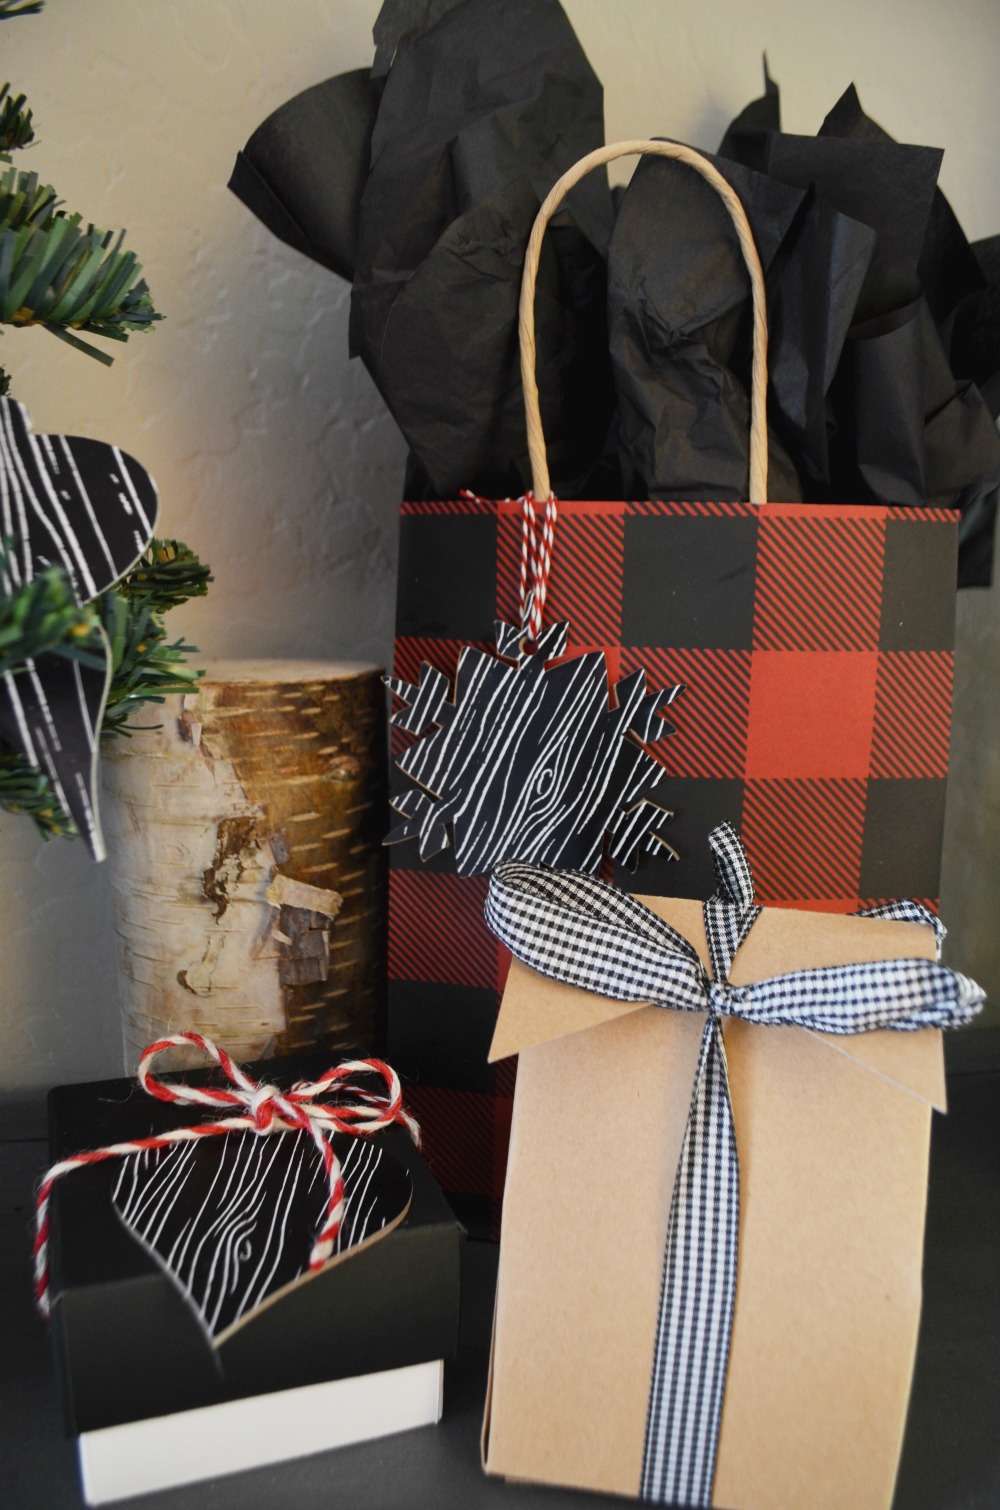
Supplies:
ornament gift tag project (overlay)
chipboard or balsa wood
adhesive vinyl
Cricut Maker
knife blade
fine point pens
twine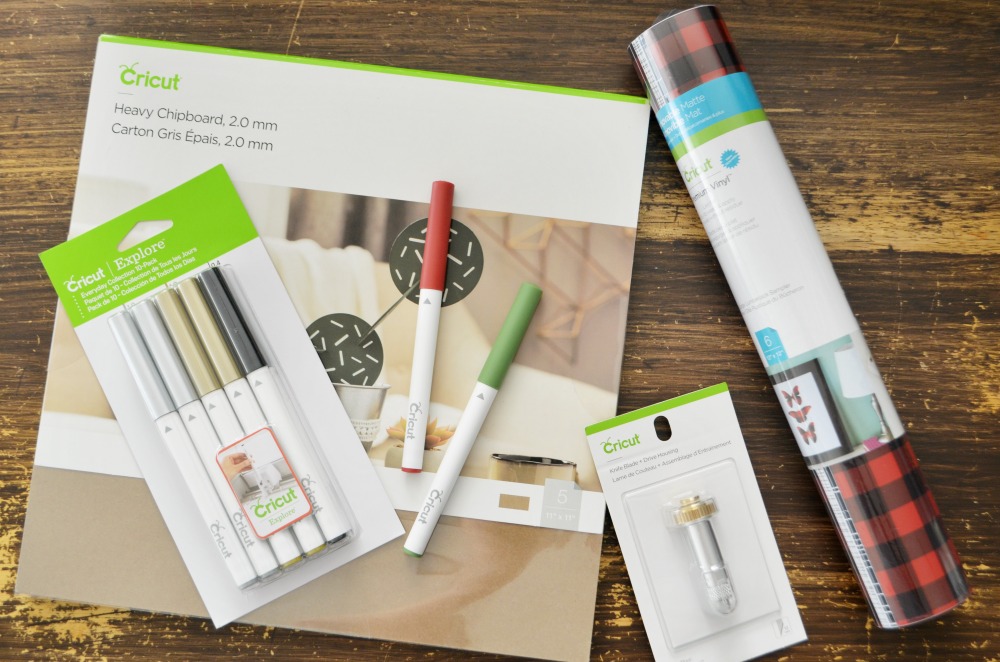
Instructions:
Grab the ornament project here and load into Design Space. Make any adjustments to the ornament size or print color.
Place chipboard onto a strong grip mat. Secure to mat with painters or masking tape.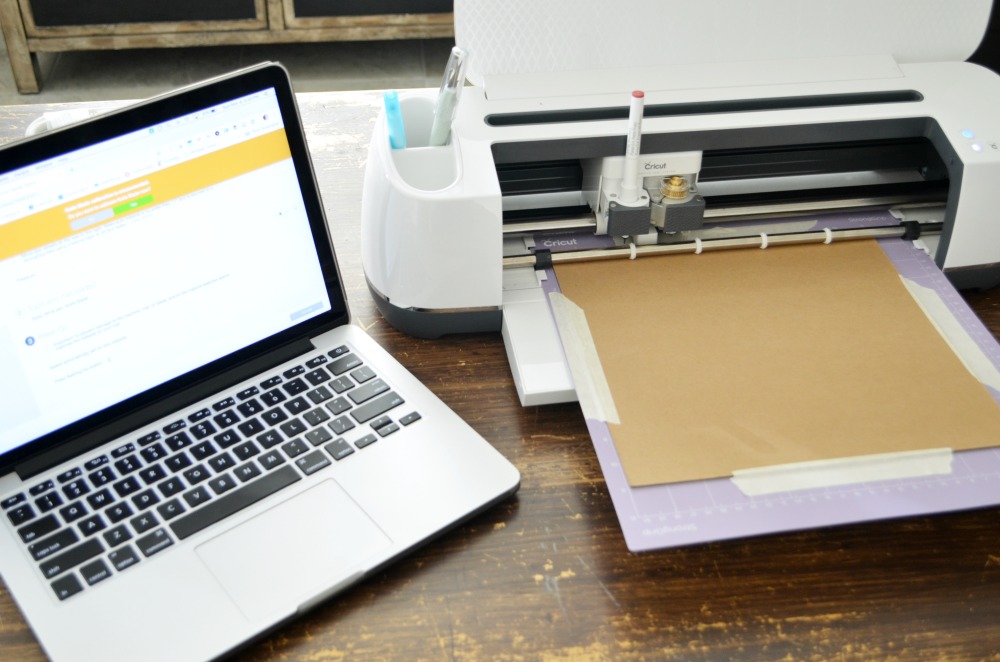
Load the knife blade into the accessory slot B.
Before feeding your mat into the Cricut move the feed wheels all the way to the right. Don’t be like me and ignore the warning on the cut screen. It will leave wheel marks on your perfect chipboard. See image below. 🙁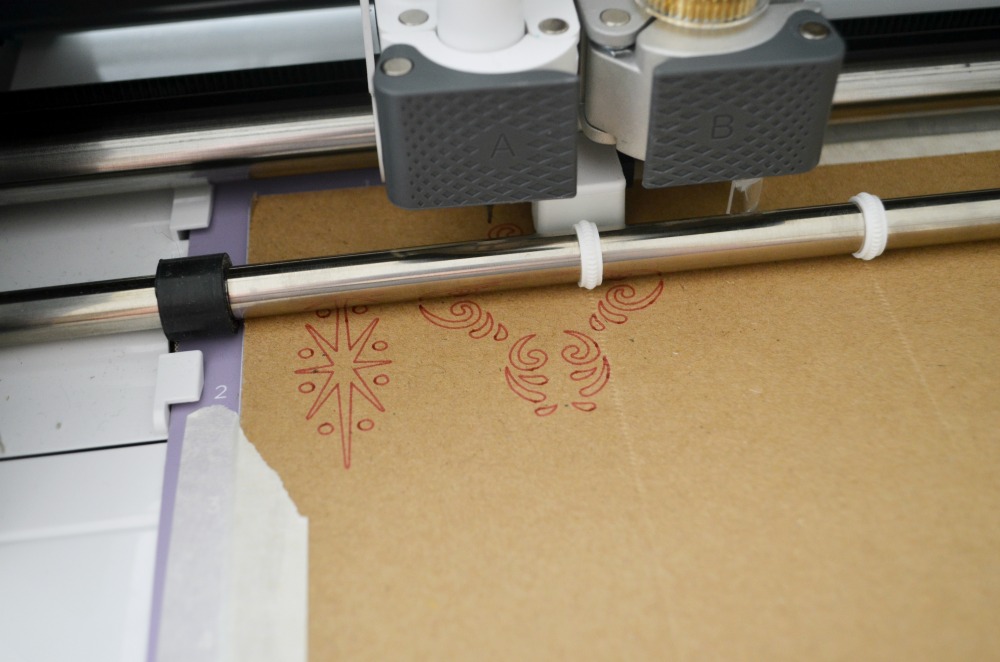
If you haven’t already calibrated your knife bode you’ll want to do that first. It’s super quick and ensures you get an accurate cut.
First the machine will work through the decorative elements. Design Space will prompt you which pen to put in based on what color you selected for each element for the write function. 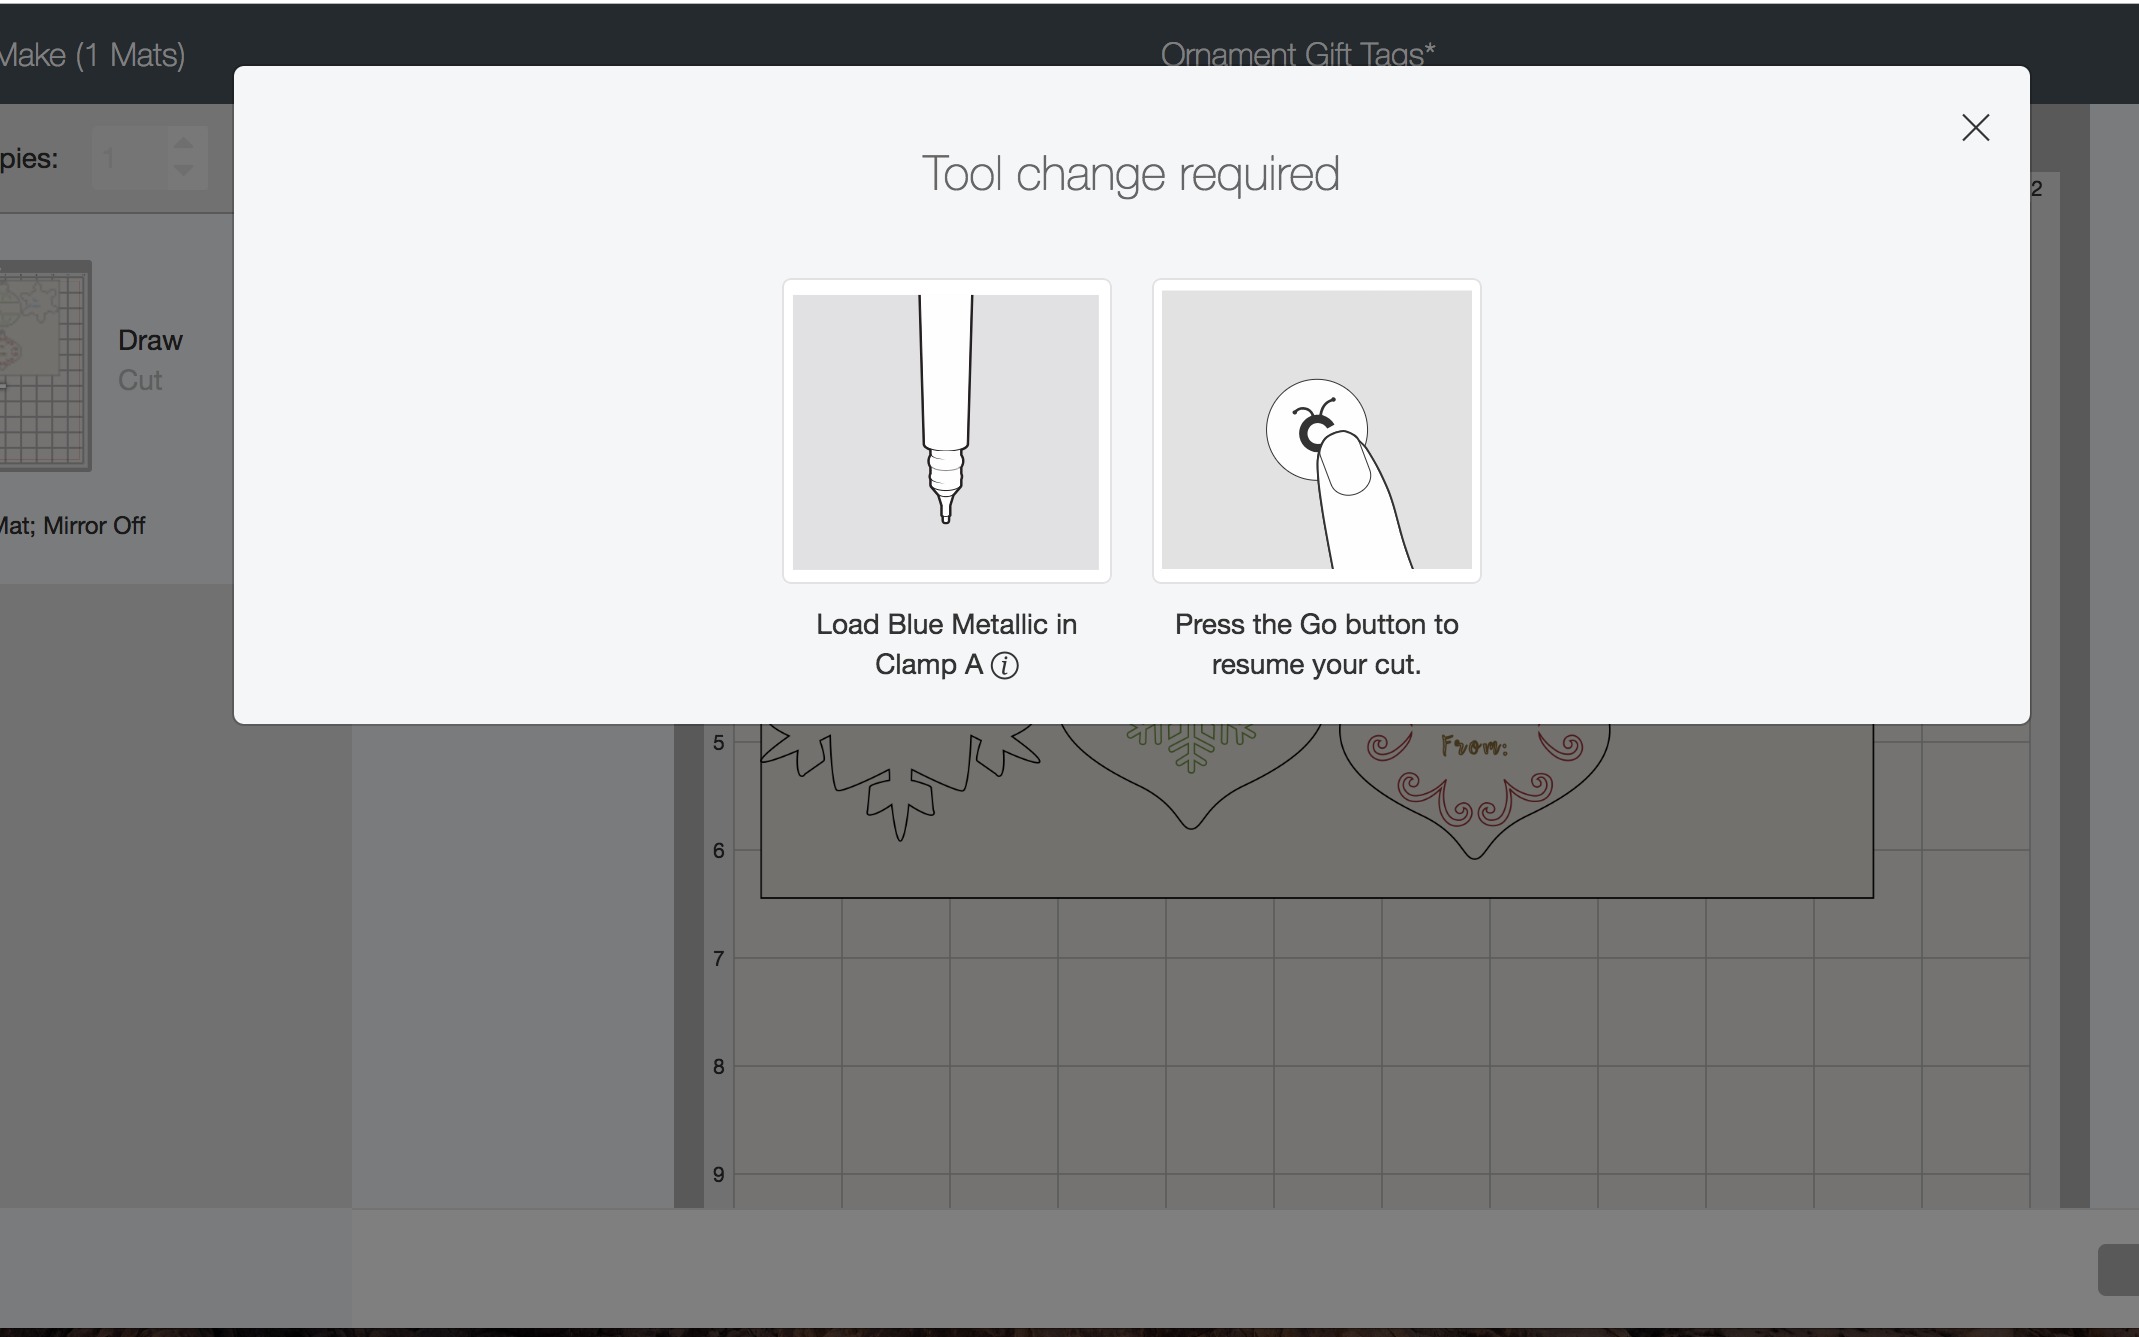
Grab a coffee and your gifts to wrap while the knife blade does it’s magic. These are longer cuts, but absolutely worth it. The knife blade slices right through denser material with precision.
Once your chipboard ornaments complete, place your favorite patterned adhesive vinyl onto the standard mat, pattern upright. Use the overlay project found here to cut out your decorative design for the ornaments. 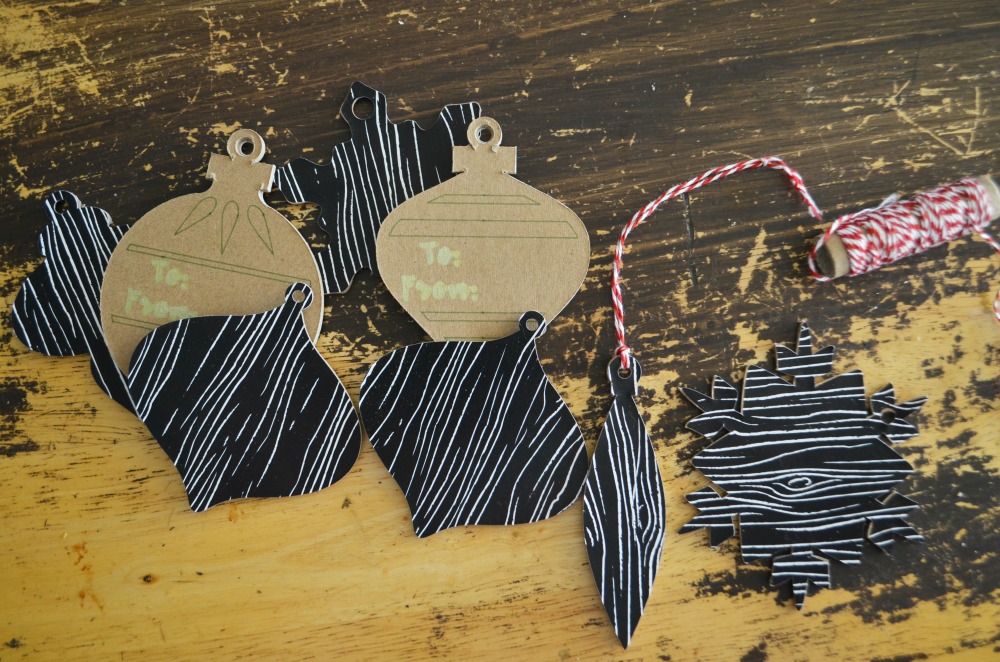
tip: place your mat under your Cricut. Then line the vinyl material onto the mat. Slowly pull the mat out from under the Cricut and press the vinyl onto the mat. This yields a perfect setting of material every time.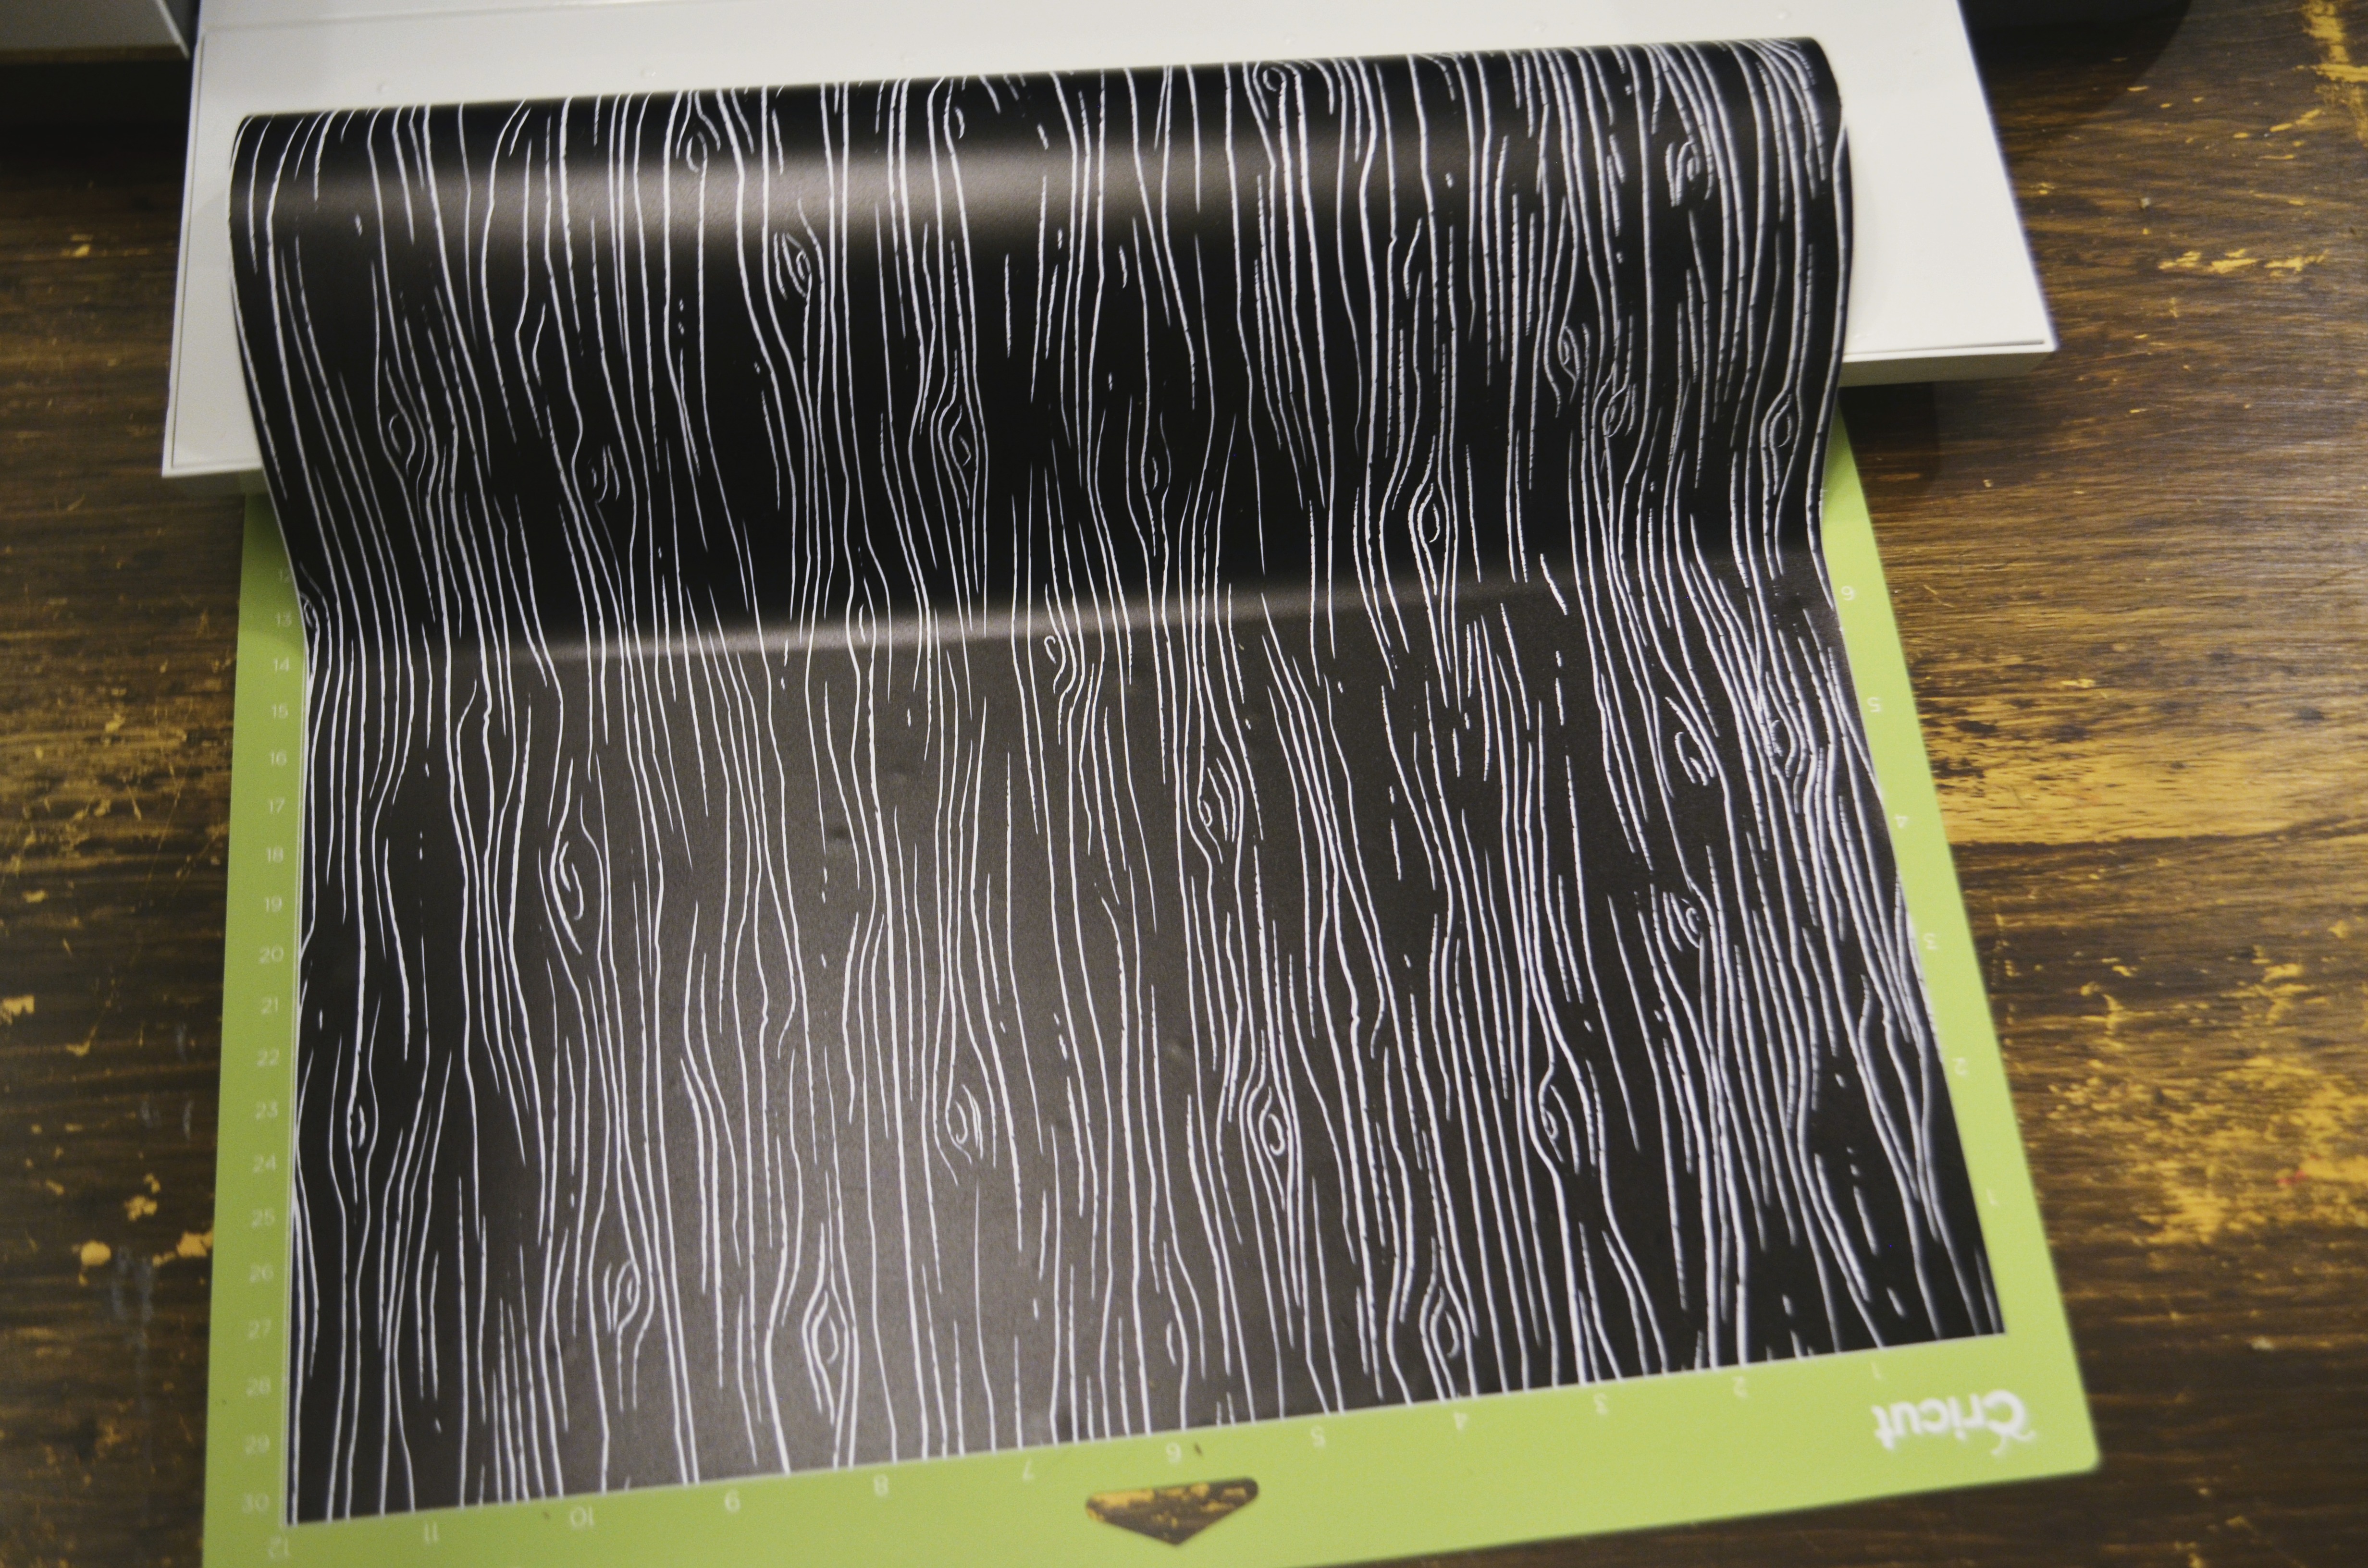
Every year I’m determined to get ahead of the holidays, this year I’ve done it with the help of Cricut! Now I just need to make my shopping list and check some friends and family’s gifts off the to do list.
Pin For Later!
Pin this idea and more to your holiday and gift boards!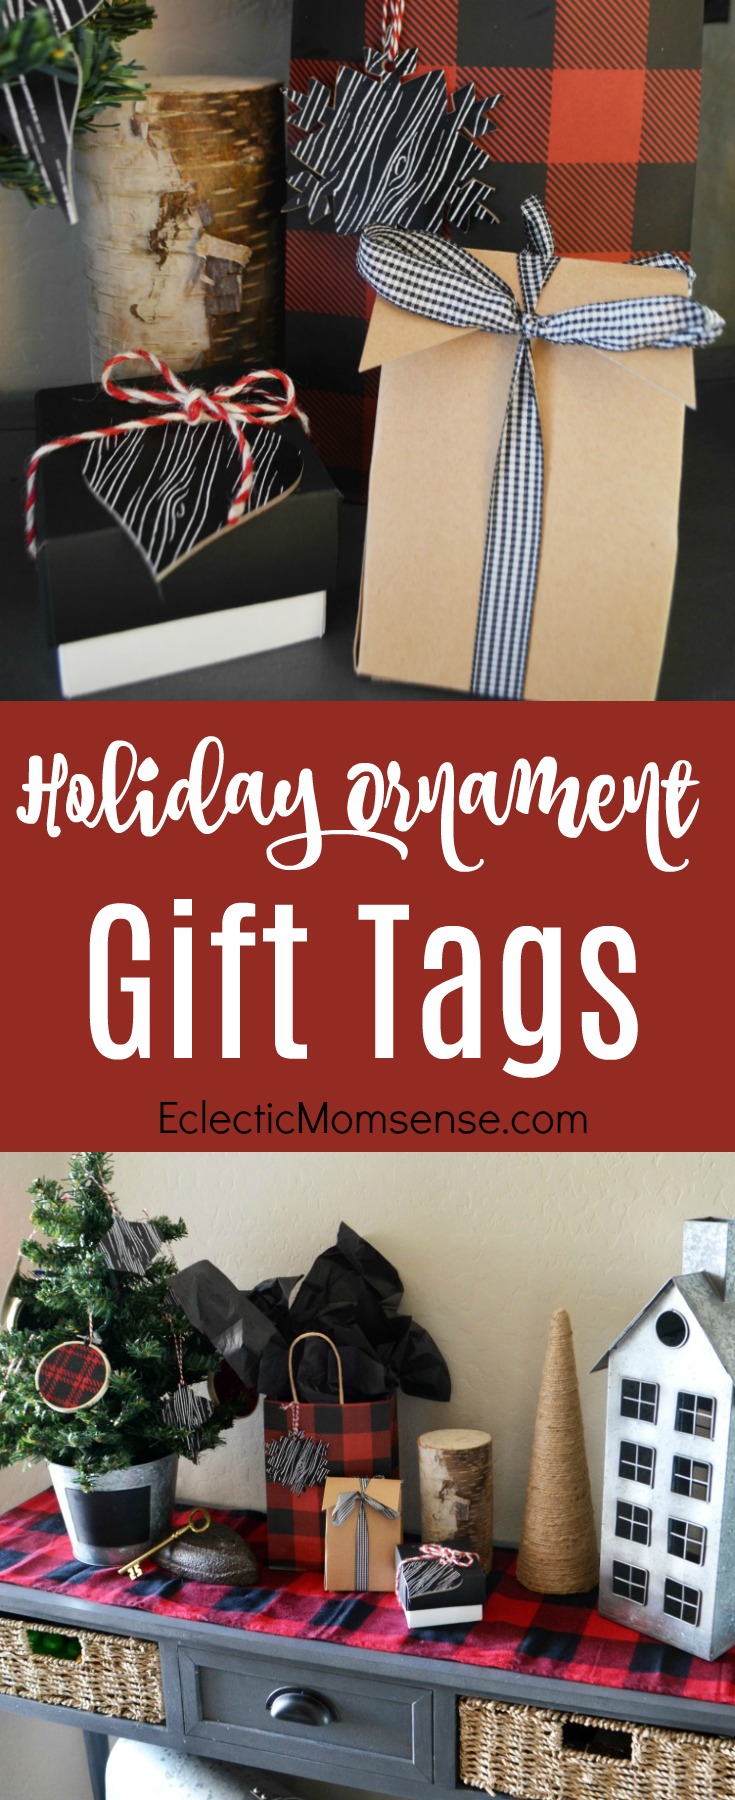
Grab the other projects featured in this post below:
Merry Christmas Sign
Embroidery Hoop Ornaments