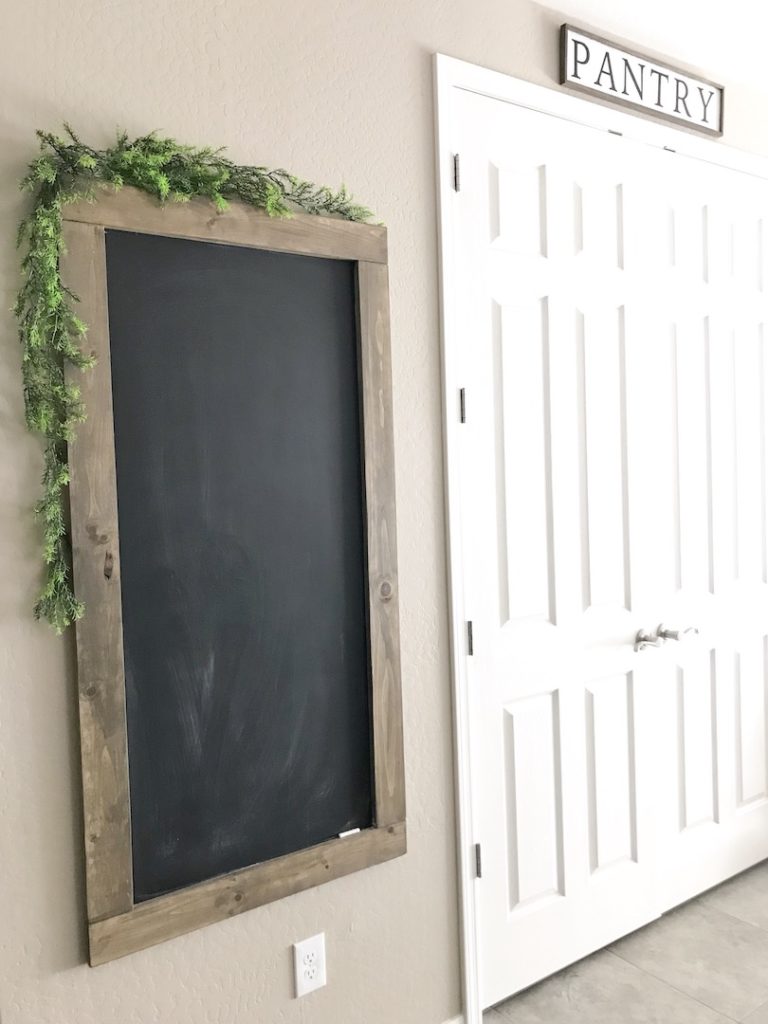
Since the day we moved into our home there was one wall in our kitchen just screaming for a DIY project. It’s a pretty good size, but because the pantry doors open into it no furniture or shelves could live there. I knew I wanted an oversized chalkboard somewhere. This space seemed perfect!

With about $20 and some simple tools you too can pull together this simple DIY rustic chalkboard. I went back and forth between doing a magnetized board and in the end the cost, size, and longevity of chalkboard paint on wood won out. We have a stainless steel fridge so no real place to hang kids art work or important bulletins, but ultimately I decided we could accomplish the look I wanted for cheaper and find the other functionality for posting notes a different home.
How to make an oversized chalkboard
If you don’t have a saw, don’t fret. Your local home improvement store will make these simple cuts for you. All you need is a couple 2×4’s and some hardboard cut to size, chalkboard paint, and fasteners to put the frame together and attach the chalkboard to the frame. No fancy tools needed, although, a mini Kreg jig is nice to have on hand for making strong joints. I bought a kit at our hardware store for under $15.
Supplies:
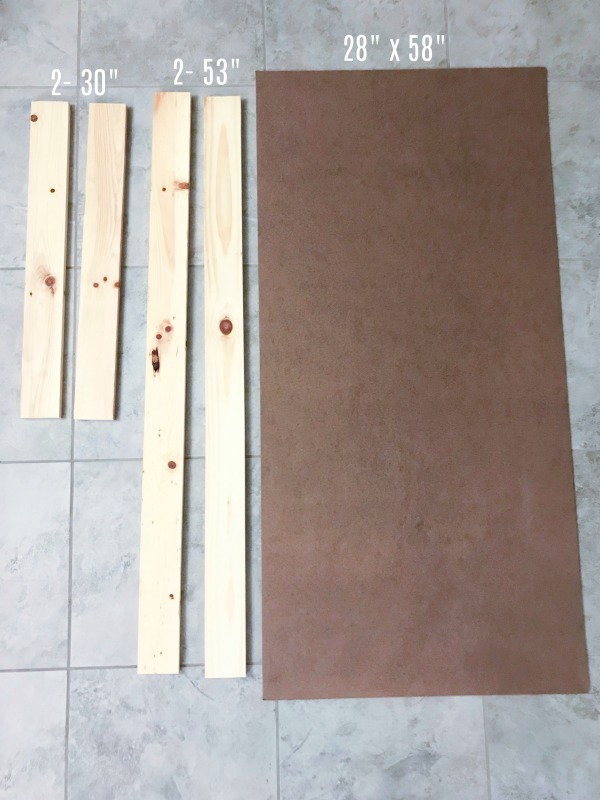
2- 30″ 2×4’s
2- 54″ 2×4’s
hardboard cut to 28″x58″
chalkboard paint
wood glue
clamps
Kreg jig
8- 1 1/4″ screws
brad gun or small finishing nails
palm sander or sandpaper
Directions:
Cut the material to size.
Paint at least 4 layers of chalkboard paint on your surface, alternating and allowing it to dry between coats.
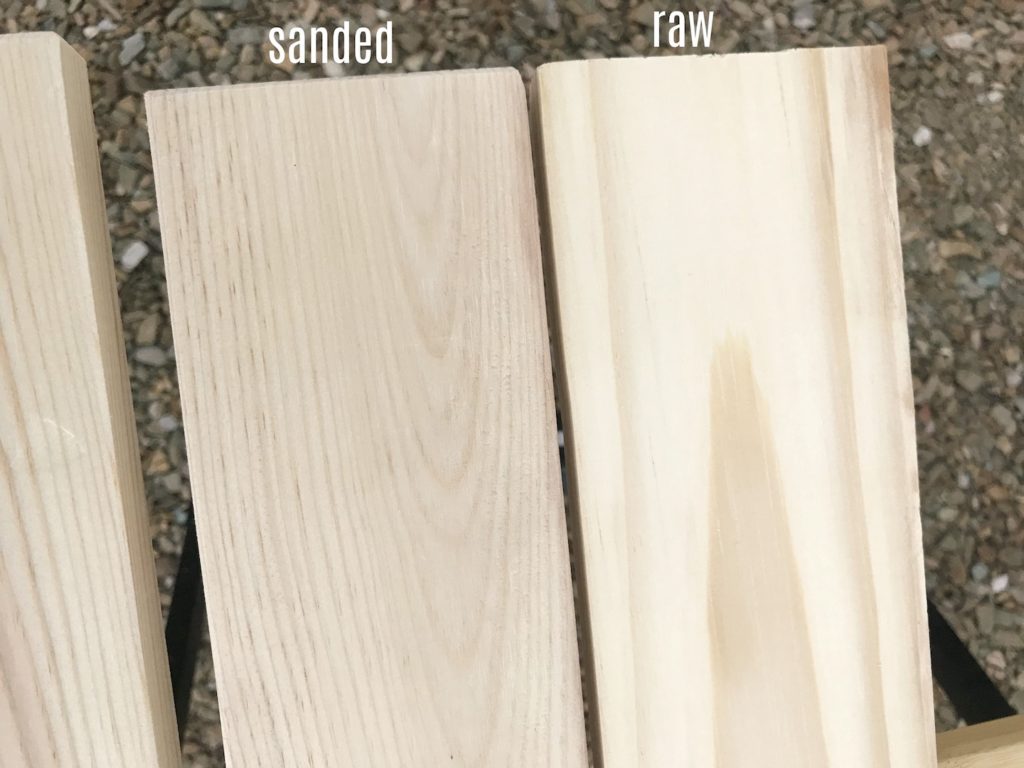
Sand edges to give it a more rustic unfinished wood look. If you purchase 2×4’s from the finished wood section the large surfaces will already be sanded and ready to stain. I simply sanded down the sharp edges and rounded them to give it a weathered/reclaimed wood feel.
You could simply lay out the frame and attach the hardboard to the wood slats, but to create a sturdy chalkboard that will last I created a durable frame first.
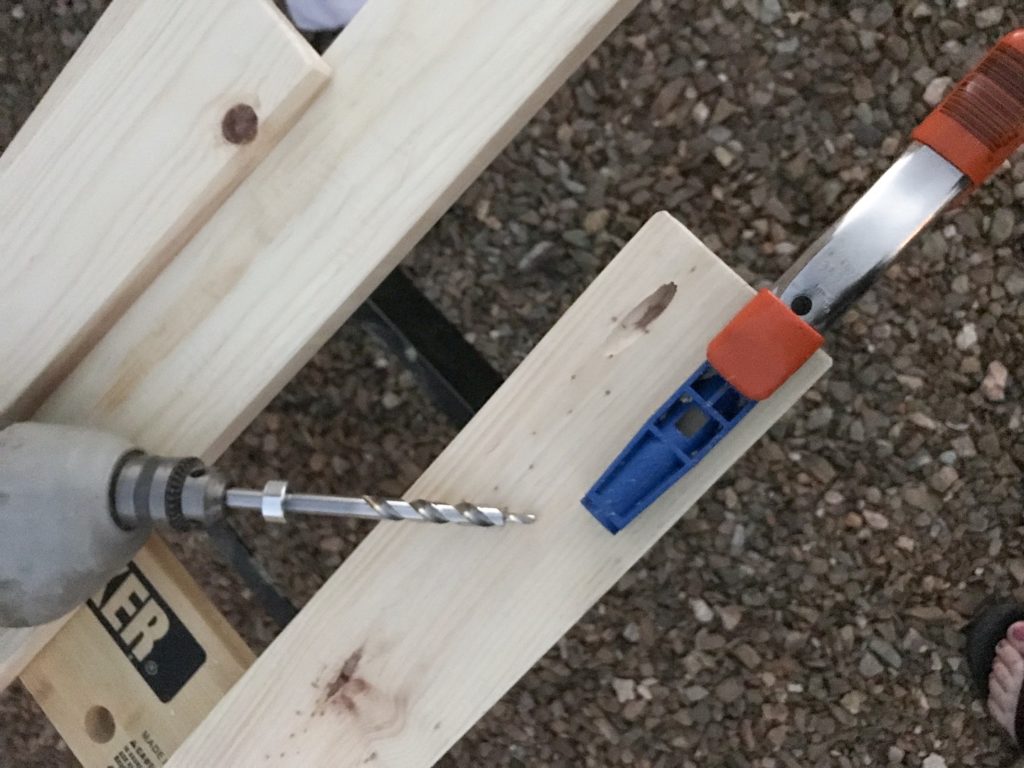
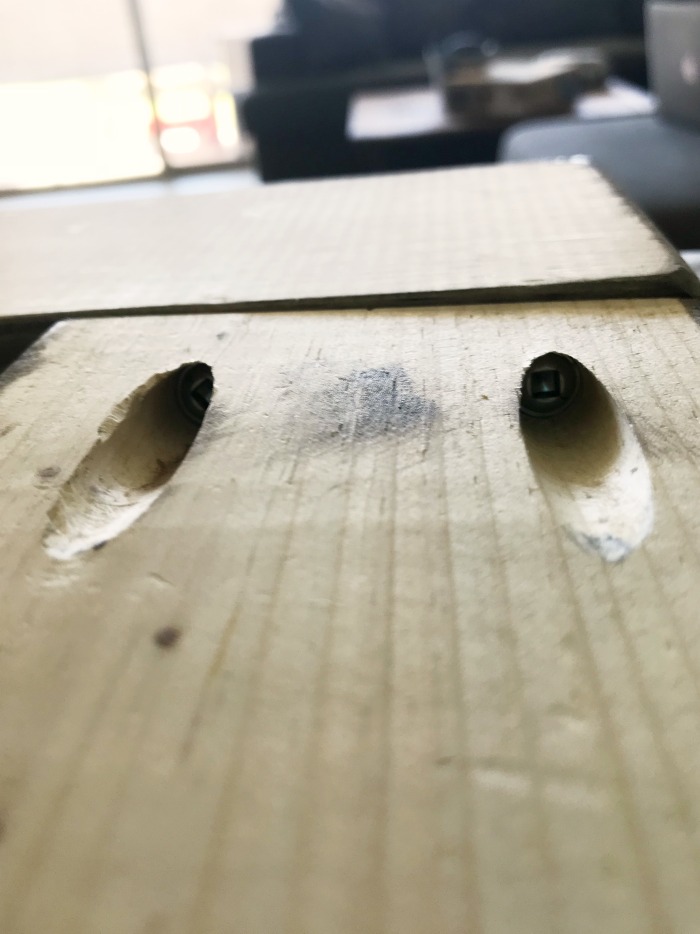
Pre-drill holes for assembling the frame. Using a Kreg jig and the provided drill bit, adjust the collar on the drill bit for your projects thickness. Create 2 pocket holes on each end of the long 2×4’s. You should have a total of 8 holes (4 sets of 2 pocket holes per end).

Now it’s time to stain your wood. To accomplish the weathered barnwood color of my frame I used Folkart Painted Finishes Barnwood. I’ve had it for several year and finding it difficult to locate now. 🙁 It’s my favorite combo. You can accomplish a similar color by mixing a pure brown tint or stain with a little white or cream paint.
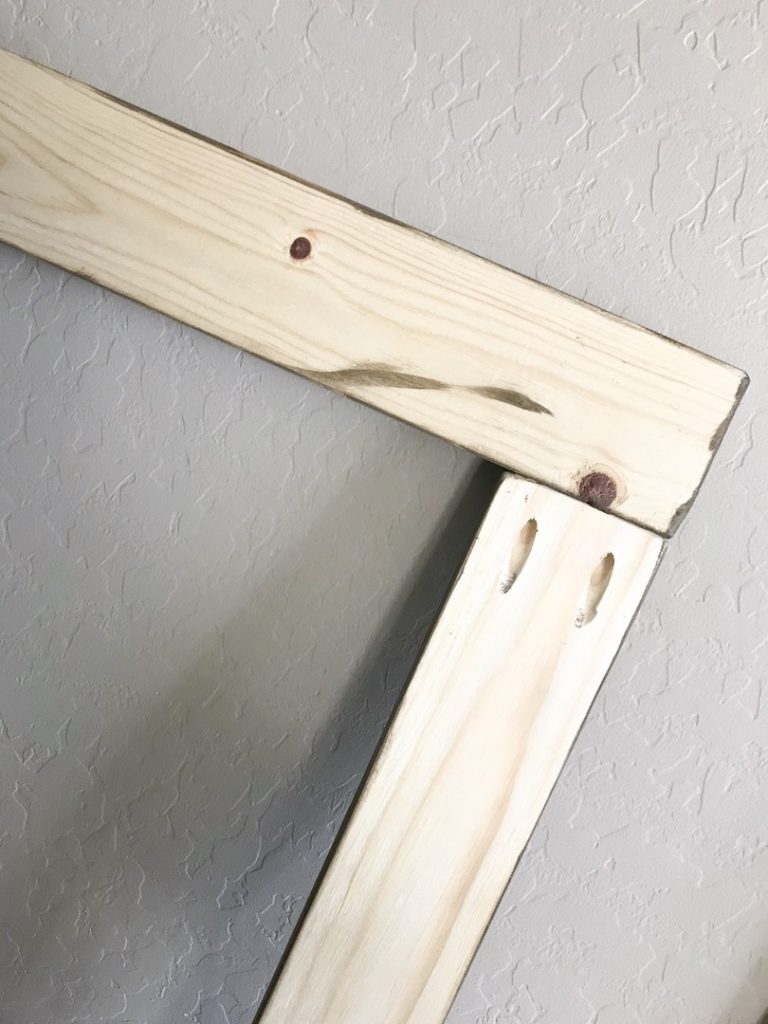
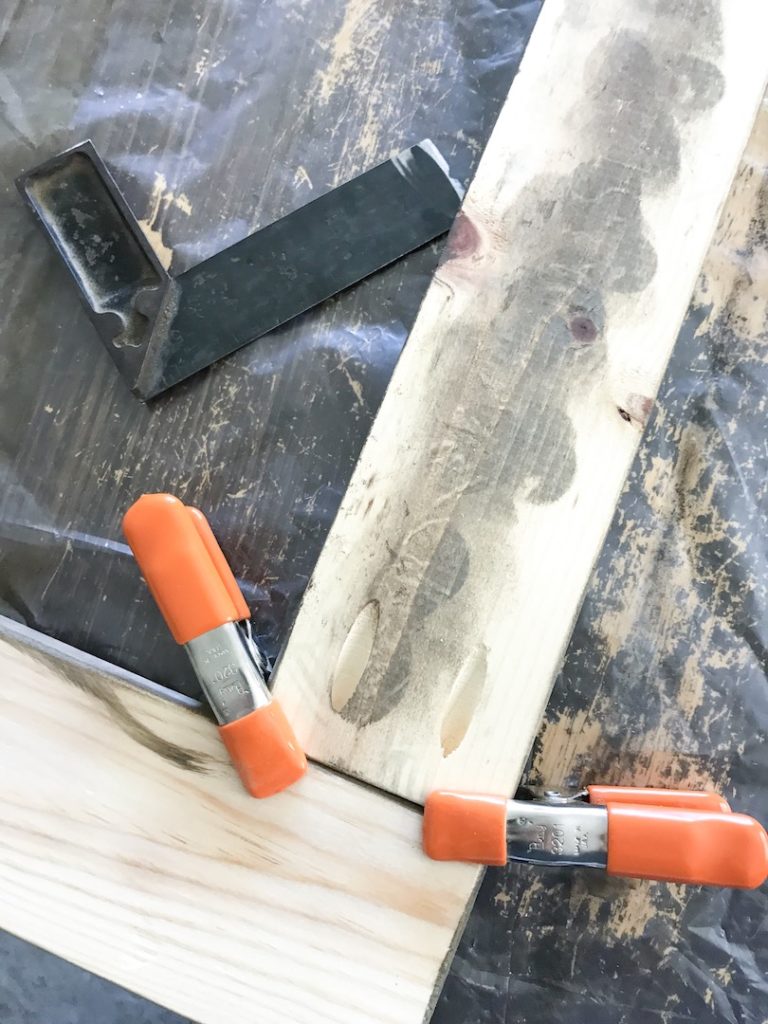
Once your stained pieces have dried start to assemble. Set out your frame on a flat surface. Use a square to get the joints lined up correctly, apply a little wood glue, then clamp to hold in place.
Secure the joints at the pocket holes with screws. Once you’ve attached all the sides you may remove the clamps.

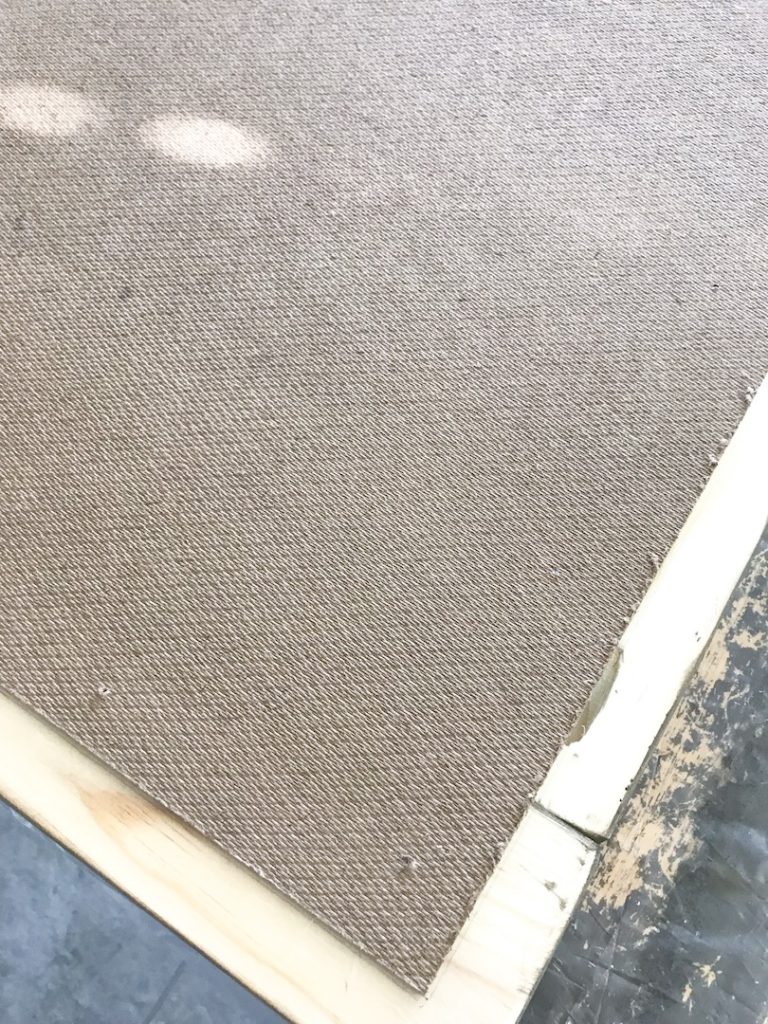
Place a bead of wood glue around the frame closest to the opening. Lay your finished hardboard chalk painted piece facing down. Clamp to secure in place. Using finishing nails or a brad gun secure the chalkboard onto the frame.
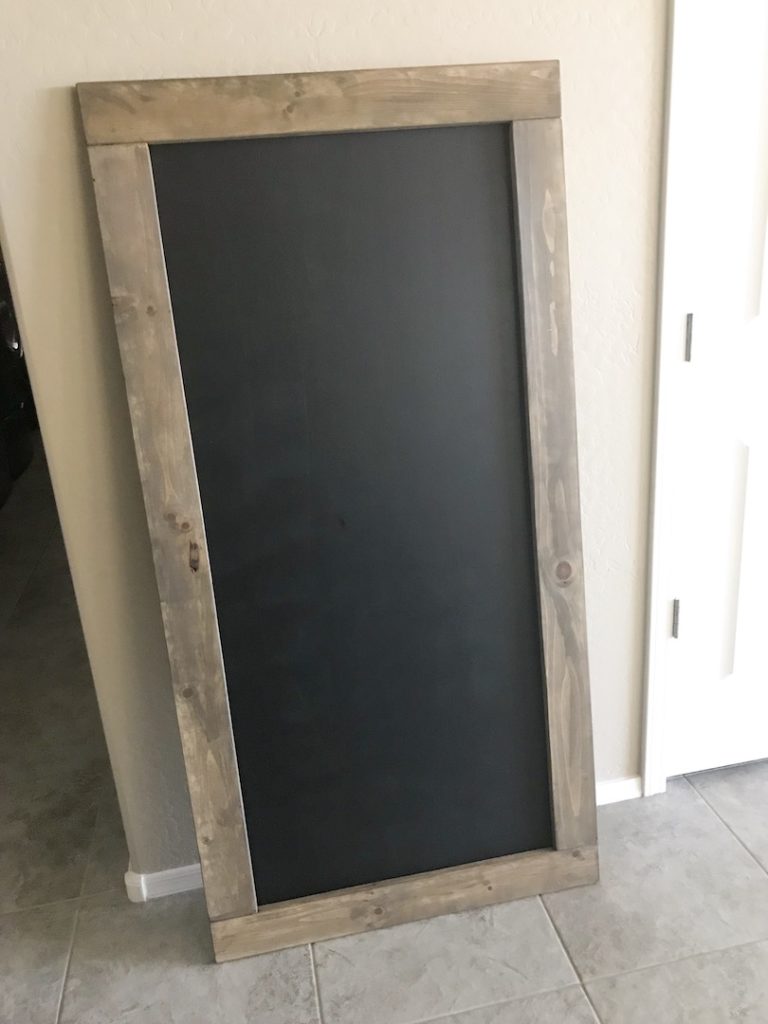
Once the chalkboard has cured for the specified time on your product it is ready to season with chalk and use.
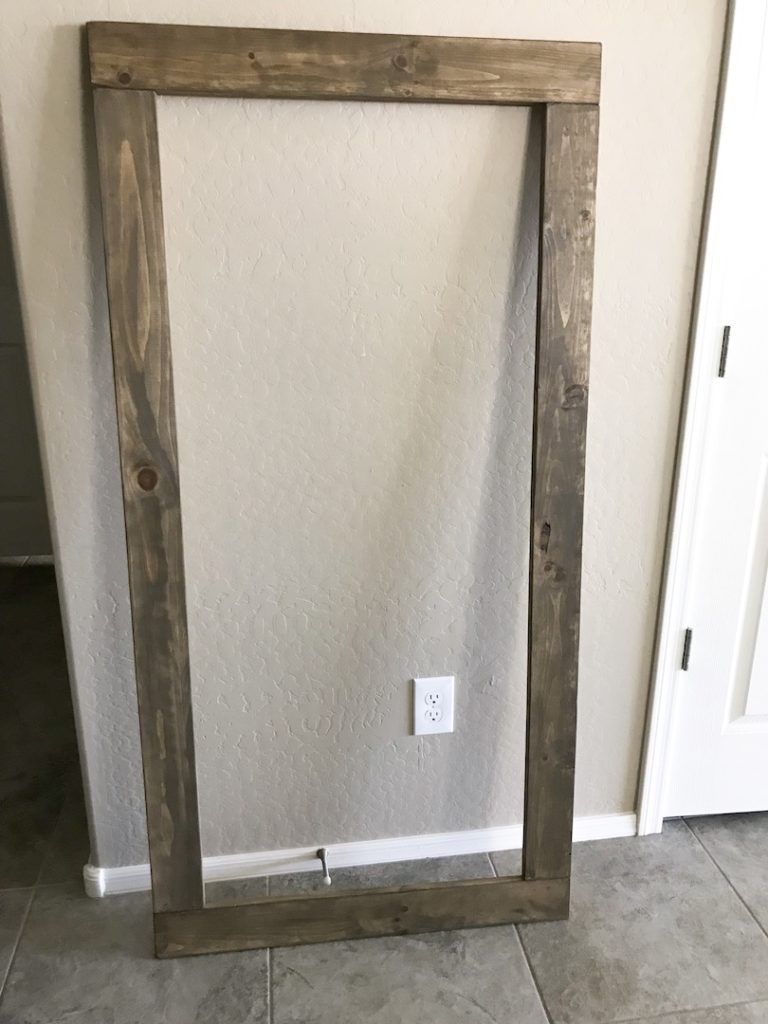
You can lean it or attach to the wall. For large frames like this I prefer a french cleat. It creates a tight mount on the wall, but allows for easy removal.
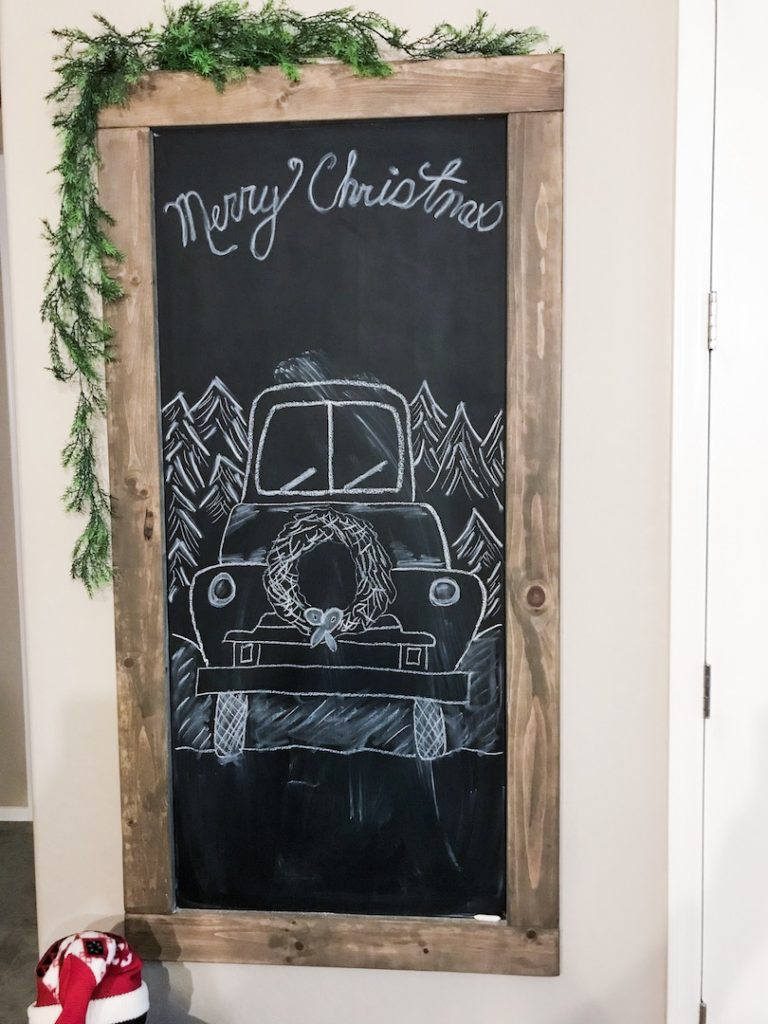
I just love it as a large impact piece in our home. The kids enjoy drawing on the oversized chalkboard and I have loved creating themed chalkboard drawings throughout the holiday season!
Tip for easy chalk art designs!
Not an artist? My trick, outside having my artistic husband draw, is a projector and my favorite chalk art designs. Inspiration for this design I grabbed here, she has a ton of cute ideas for holiday chalkboards. Just project the design when it’s dark directly onto the chalk surface and trace out the design.
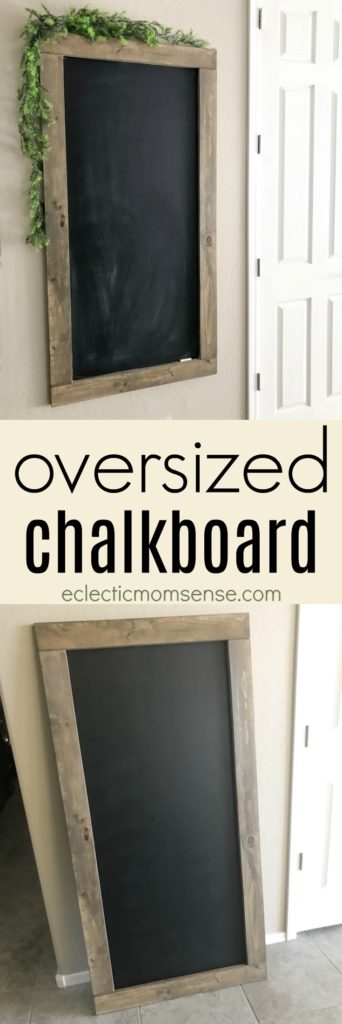
Pin it for later!
Now you gave me an idea, I also want an oversized chalkboard somewhere in the house! It looks so beautiful especially with the addition of greens on the sides. Now I wonder where in the house I’d put one once I have the chalkboard…