If you’ve ever landed at Eclectic Momsense before you might have noticed something. I LOVE creating iron-on projects. From t-shirts and onesies to home decor and gifts, there is a Cricut iron-on for all your favorite projects. These tips come to you as part of a collaboration with Cricut. The products and tools featured in this post were provided in exchange for sharing my extensive experience making and testing out different Cricut materials.
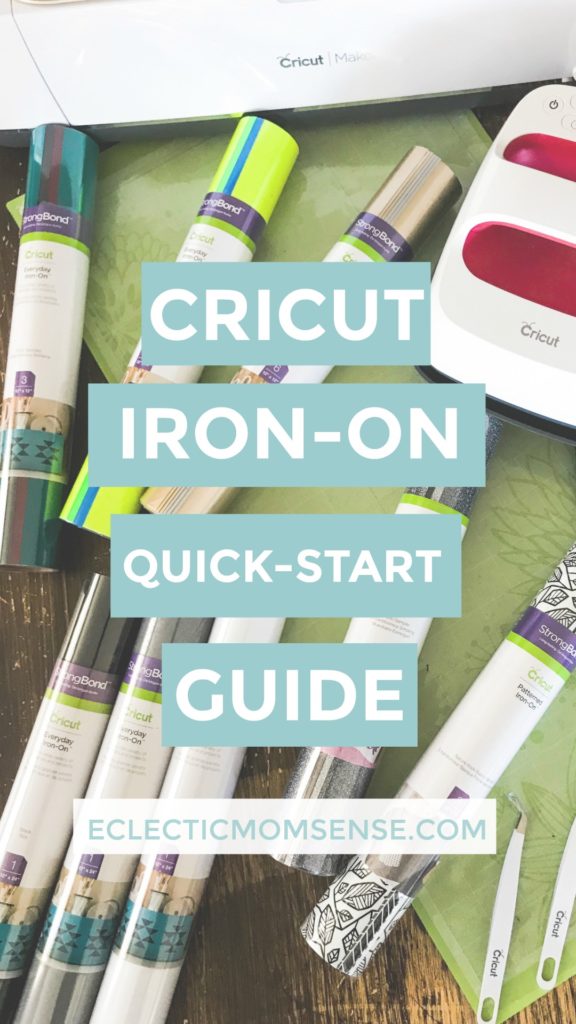
This is a one stop guide for everything you need to get started with Cricut iron-on. What tools you’ll need. Best practices for weeding your material. Tools and tips for adhering iron-on to your base project.
Scroll down for a quick link to find the optimum Cricut iron-on settings for your specific project!
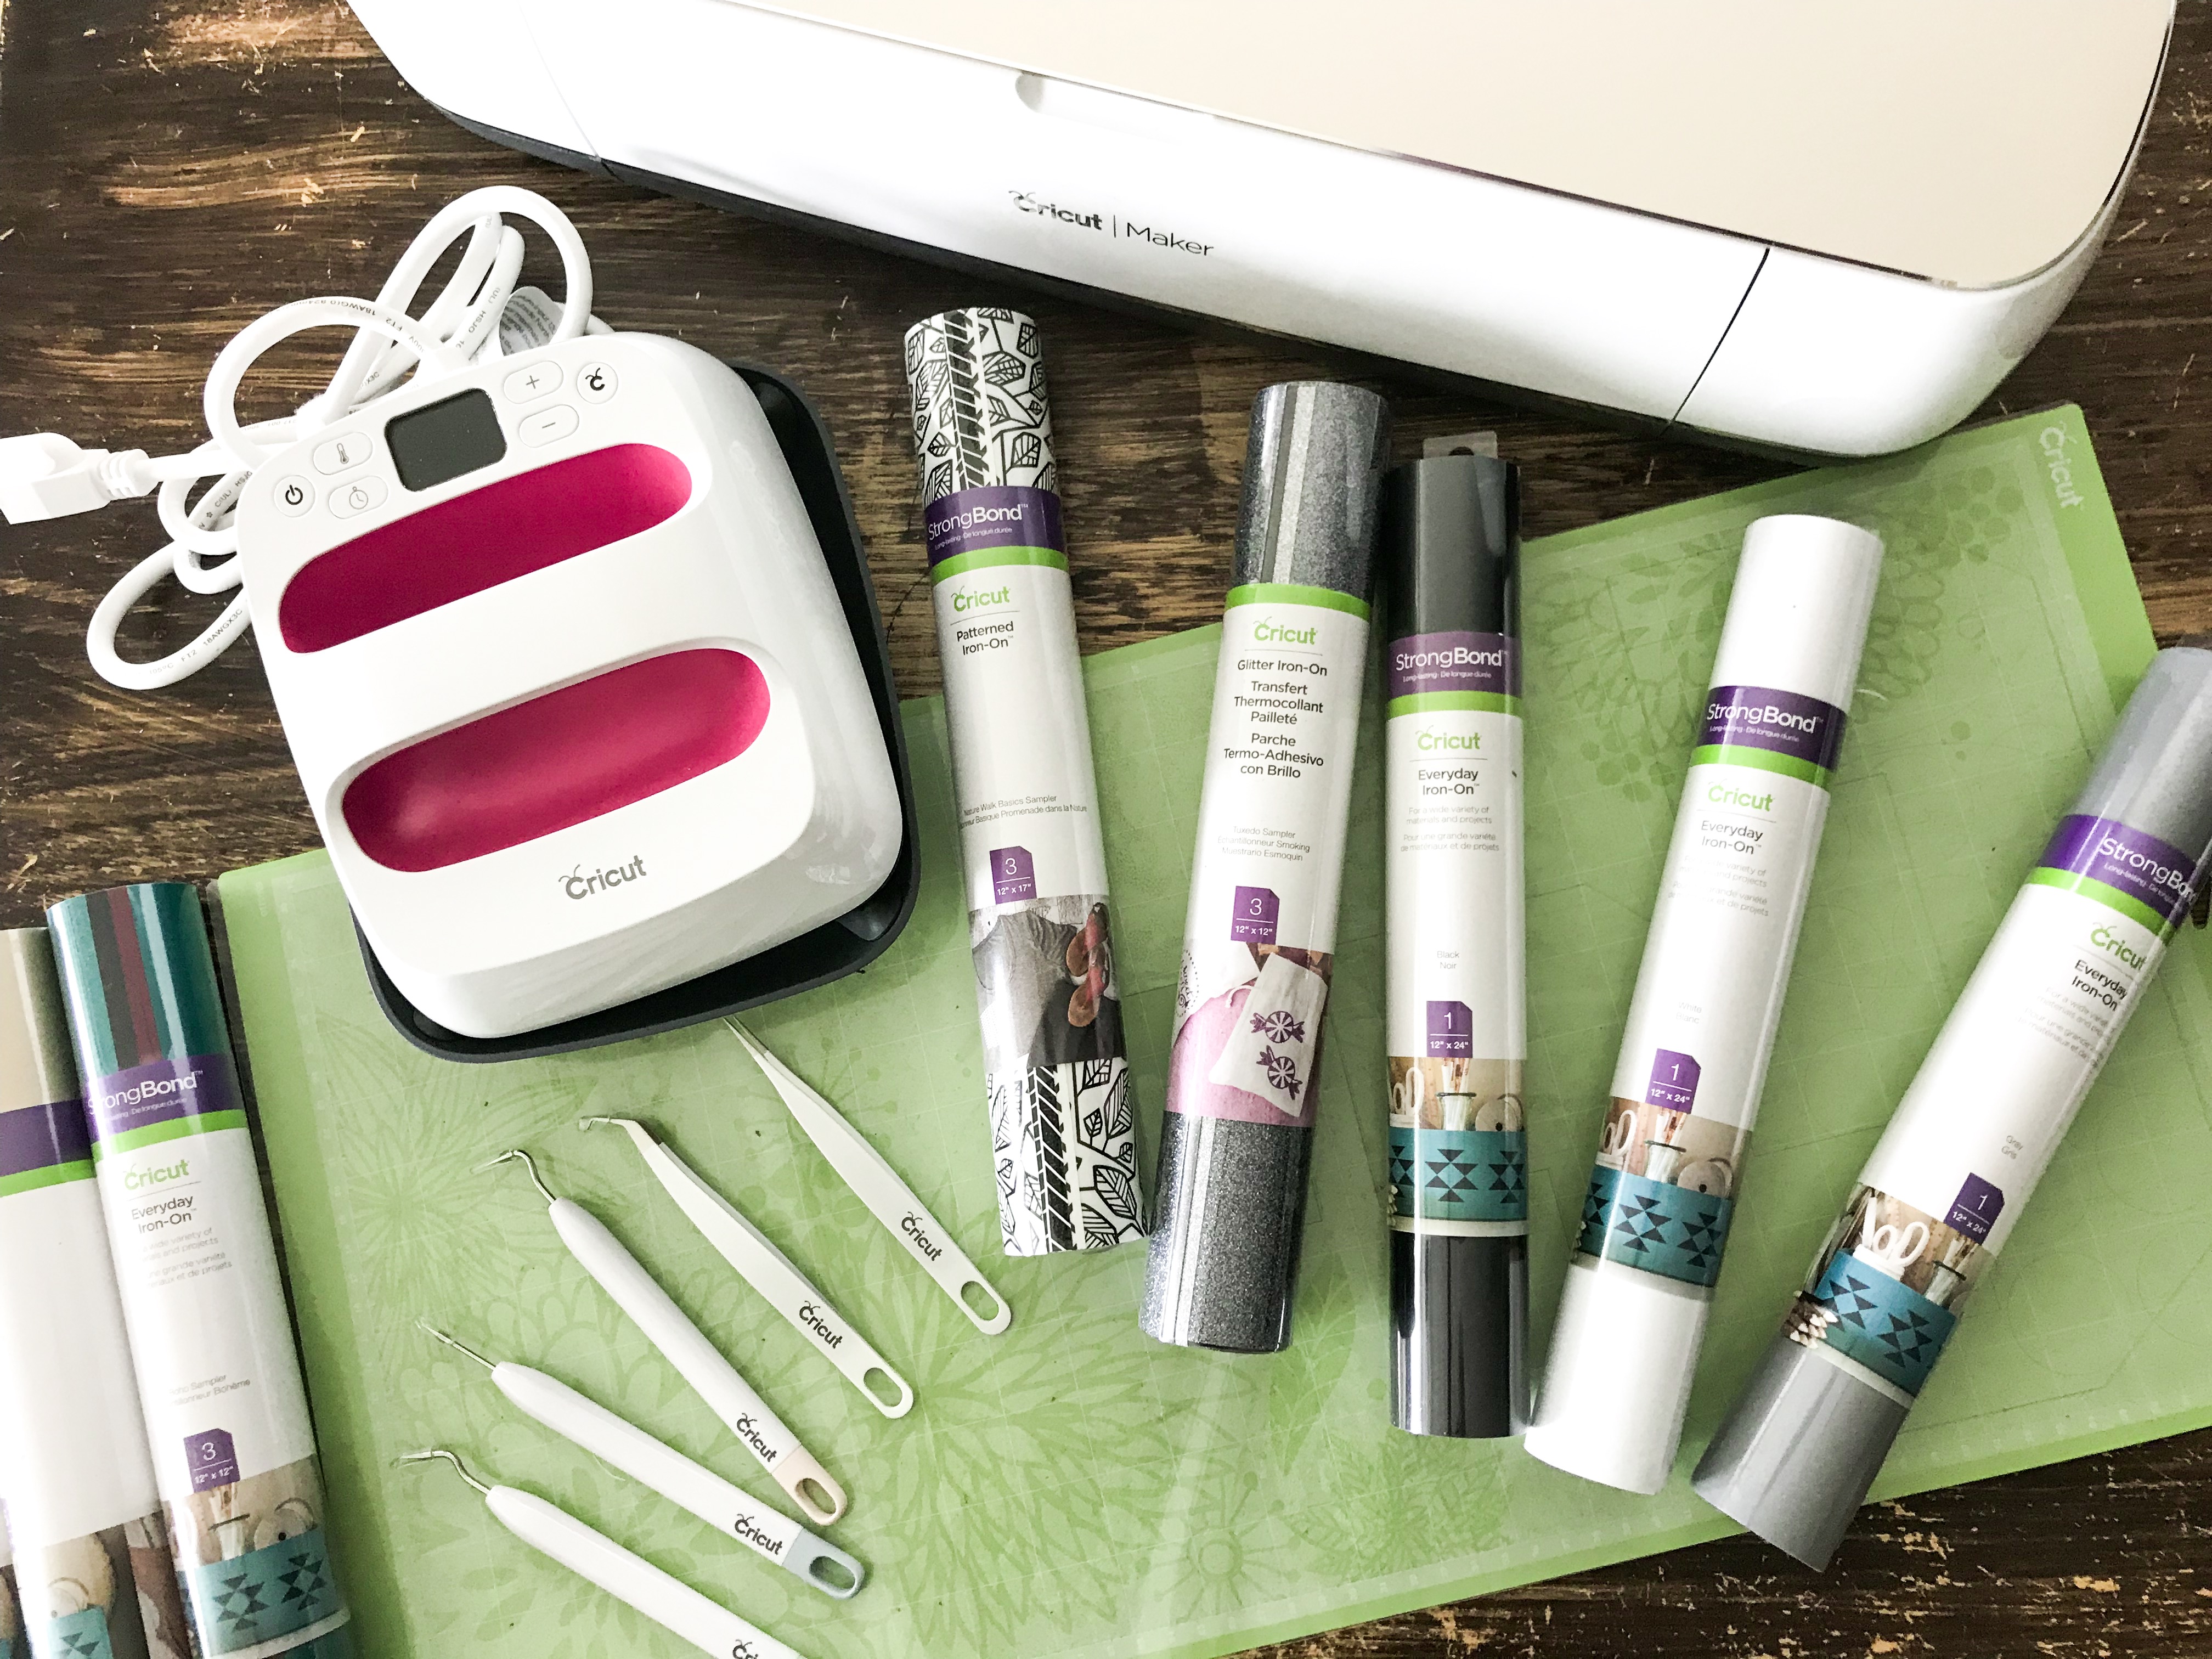
Cricut Iron-on Supplies Needed
- Cricut Iron-on
- Cricut Maker
- Light or Standard Grip Mat
- Weeding Tools
- Cricut EasyPress 2
Cutting Cricut Iron-On
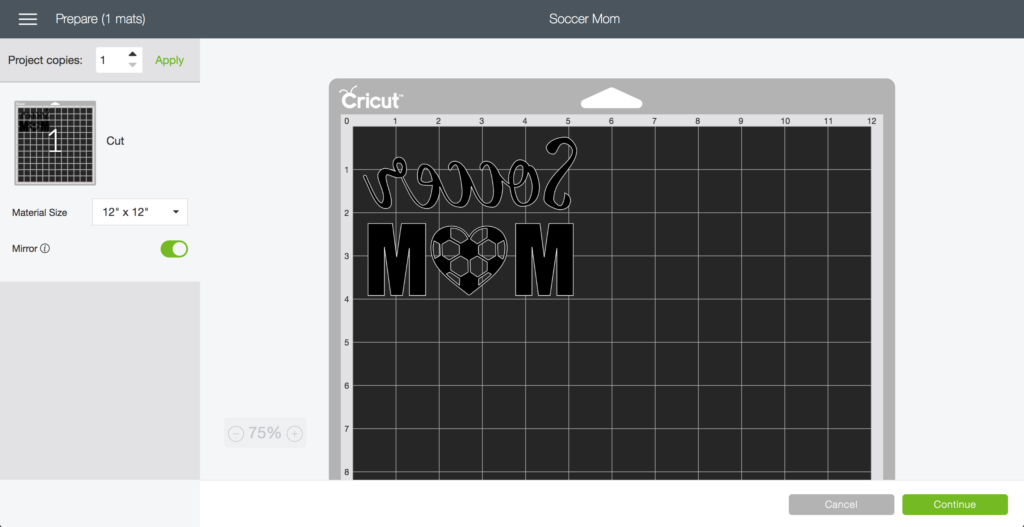
Begin by opening your project. Pictured in this quick start guide is my Soccer Mom and little brother shirt design. Load these into your canvas by clicking “canvas”. You’ll want to customize so you can size to your project.
Note: I always attach a weeding box to my projects. This is simply a box that is added during the design process to aid in weeding. It’s main purpose is to conserve iron-on material.
Once you’ve sized and made any adjustments, click “make it” in the top right hand corner. The preview screen will appear. You can then move the project around on your canvas so it matches where your iron-on is on your mat.
Important: DO NOT continue before toggling the “mirror” setting on. This flips your design so it is oriented properly when you cut. The shiny/plastic protection sheet will go face down on your mat, allowing your image to be cut on the backside of the iron-on.
In the next step you’ll select your Cricut material, before sending the project to be cut.
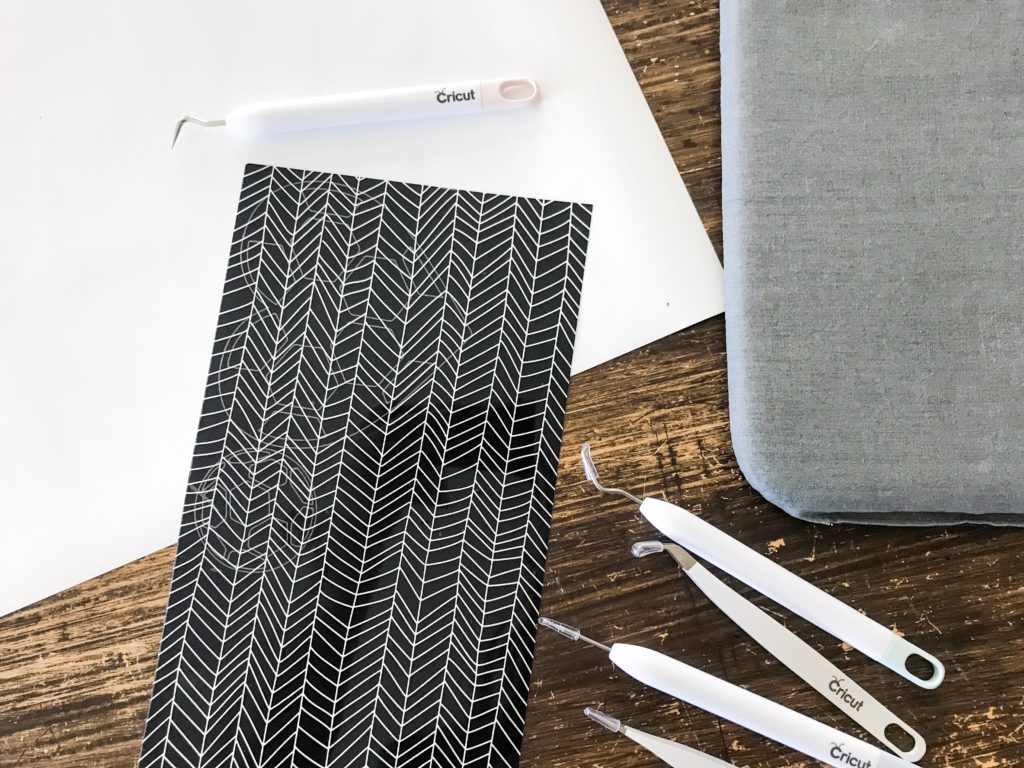
Once your project is cut, you’ll move onto weeding your design. The weeding tool set is essential for easily and quickly getting your design ready to transfer to your project surface. Tweezer and hooks are specially designed for vinyl projects, helping you remove even the most delicate pieces.
Now you’re ready to transfer your design to your project surface. This section will cover what tools you’ll need, and why the EasyPress 2 and EasyPress mats are essential for completing your project.
EasyPress vs. heat press
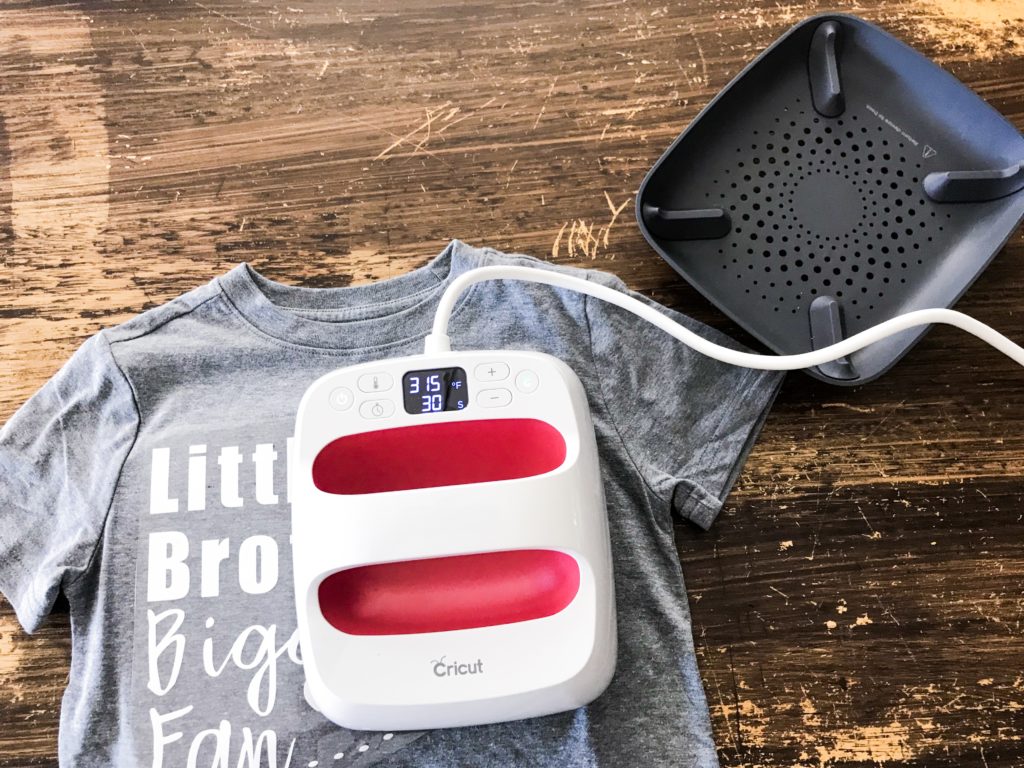
In order to create flawless projects you need 2 things, a flat stable surface and even pressure and heat. Both a heat press and EasyPress provide you with edge to edge heat, are steam free, and provide temperature and time control. Those are the similarities, but below are the 3 main reasons I prefer the EasyPress over a heat press.
- Portability- A heat press has a large footprint. It takes up a lot of room for storage, is heavy and difficult to transport. All 3 sizes of EasyPress come with a storage bag that takes up no more room than a Cricut Maker. The footprint is relatively compact, which means you can throw it in your craft tote and easily take with you.
- Versatility- The Cricut EasyPress 2 comes in 3 sizes making a variety of projects possible. A heat press requires extreme pressure because the large plates means it must flatten all project pieces so it can apply even pressure. With the EasyPress their is a size for most projects. The smaller EasyPress 2 works around piping on onesies and curves on hats. The larger EasyPress makes larger or bulky projects possible. Just imagine trying to put a pillow or something “not flat” inside a clam shell or swing arm heat press!
- Safety- The EasyPress has a safety base to secure between projects. The plastic shell is safe to touch, and comes with an auto shut-off. A heat press is mostly metal which translates to a lot of heat. In standby mode the 2 plates are open and to operate you must place the project between the 2 hot plates. There is no auto shutoff, and they take a long time to cool down.
Which EasyPress should I get?
You’ve decided to go with an EasyPress, now which of the 3 sizes will give you the most bang for your buck? Too large of a heat surface, you won’t be able to evenly heat over seams. Too small of a surface, you might require multiple presses and risk over processing your iron-on material.
- 6″x7″
- 9″x9″
- 12″x10″
Think about which project size you will be creating most often. Considering this information will help you determine the EasyPress size that will work for your most common project dimensions.
Will you be transporting the EasyPress often? If so, the petite or small EasyPress might work best. They are small enough to go in a backpack or reasonably size tote.
Selecting a Surface for Projects
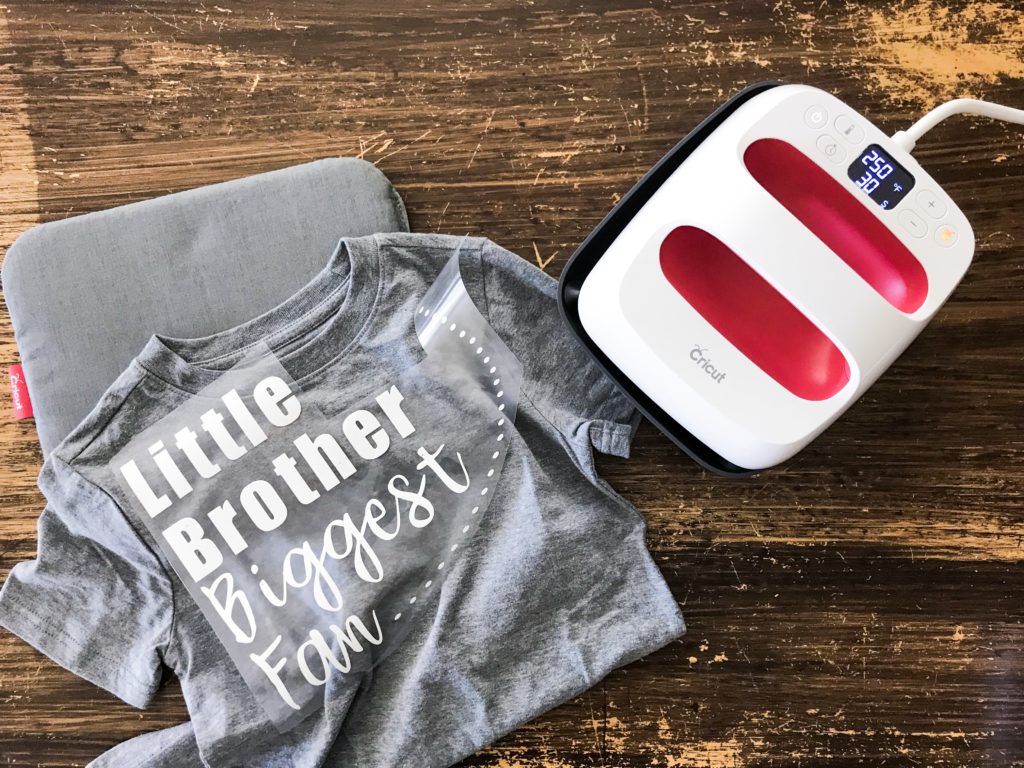
You might be tempted to grab your ironing board, but put that thing away. Learn from my mistake this is not an ideal surface for iron-on projects. Precious heat escapes out the bottom through the holes.
The EasyPress mat is designed to protect your surface, eliminating moisture and directing heat right to your project. This multi-layer surface will give you the best project results, allowing you to get the ultimate hold from your Cricut iron-on and long lasting results. Grab all the details for how this is the EasyPress is the perfect companion and add one to your order here.
How do I know what temperature to use for different materials/projects?
Use the convenient Interactive Quick Reference Guide for more information on temperature and time settings for your project.
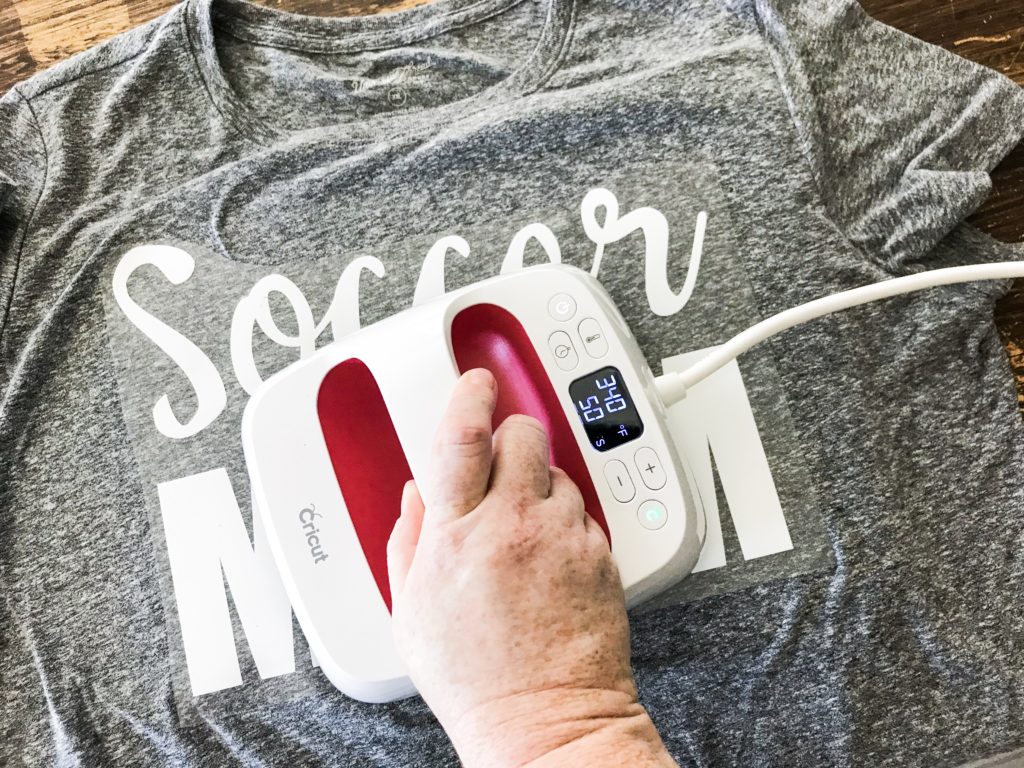
For the best results, ensure you allow your EasyPress to come to temperature before starting to press. Pre-heat your surface prior to placing your design. Place and press with your EasyPress. When the timer expires, press the back for 15 seconds, peel. Note, some iron-on materials are cold peel, these should only be peeled once they are cool to the touch.
Grab your materials, start designing or grab one of my favorite designs here.
In general, do you recommend washing the T-shirts and the fabrics before printing them using the heat press?
Yes, with the EasyPress and iron-on material it is recommended to pre-wash first. I do often iron-on directly without pre-washing and it works, however, best results are yielded when pre-washed.