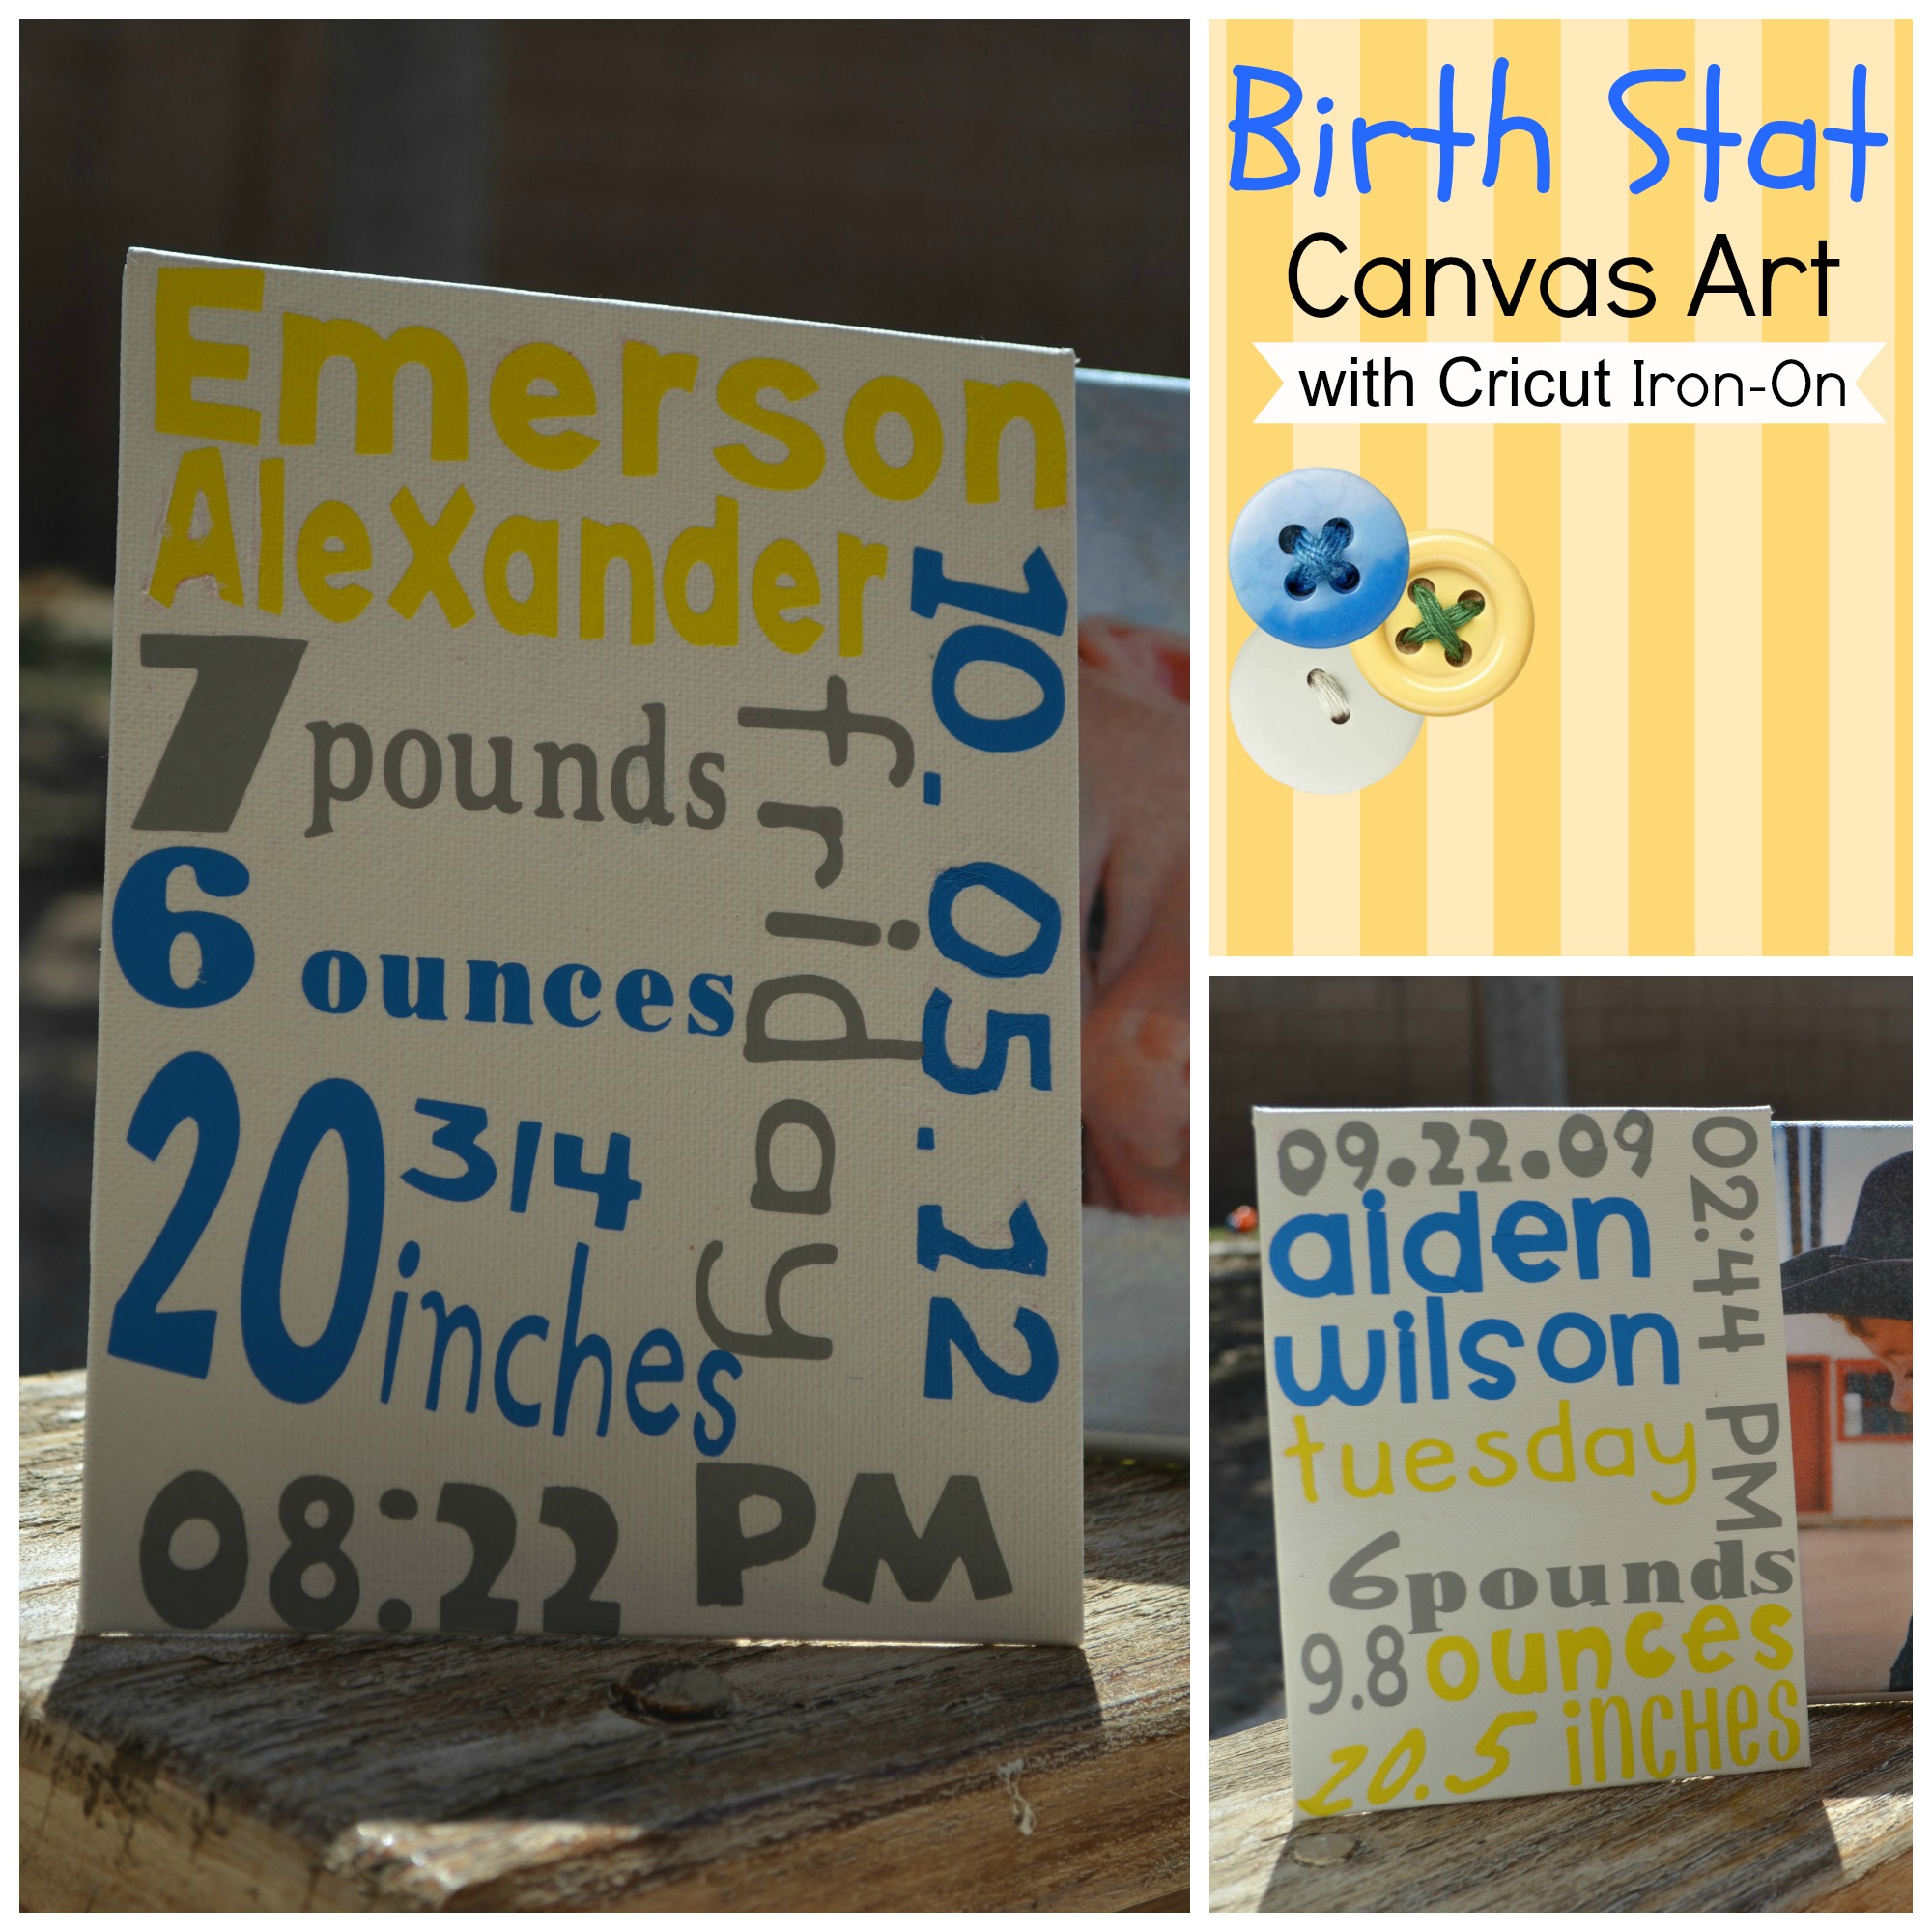
I’m always looking for fun ways to use canvases to decorate. My favorite application, decoupaging photos onto canvas. I just might have a new one though, iron-on. Cricut has created an iron-on material that works with the cutting machine. I had so much fun designing these birth stat canvases for each of my boys.

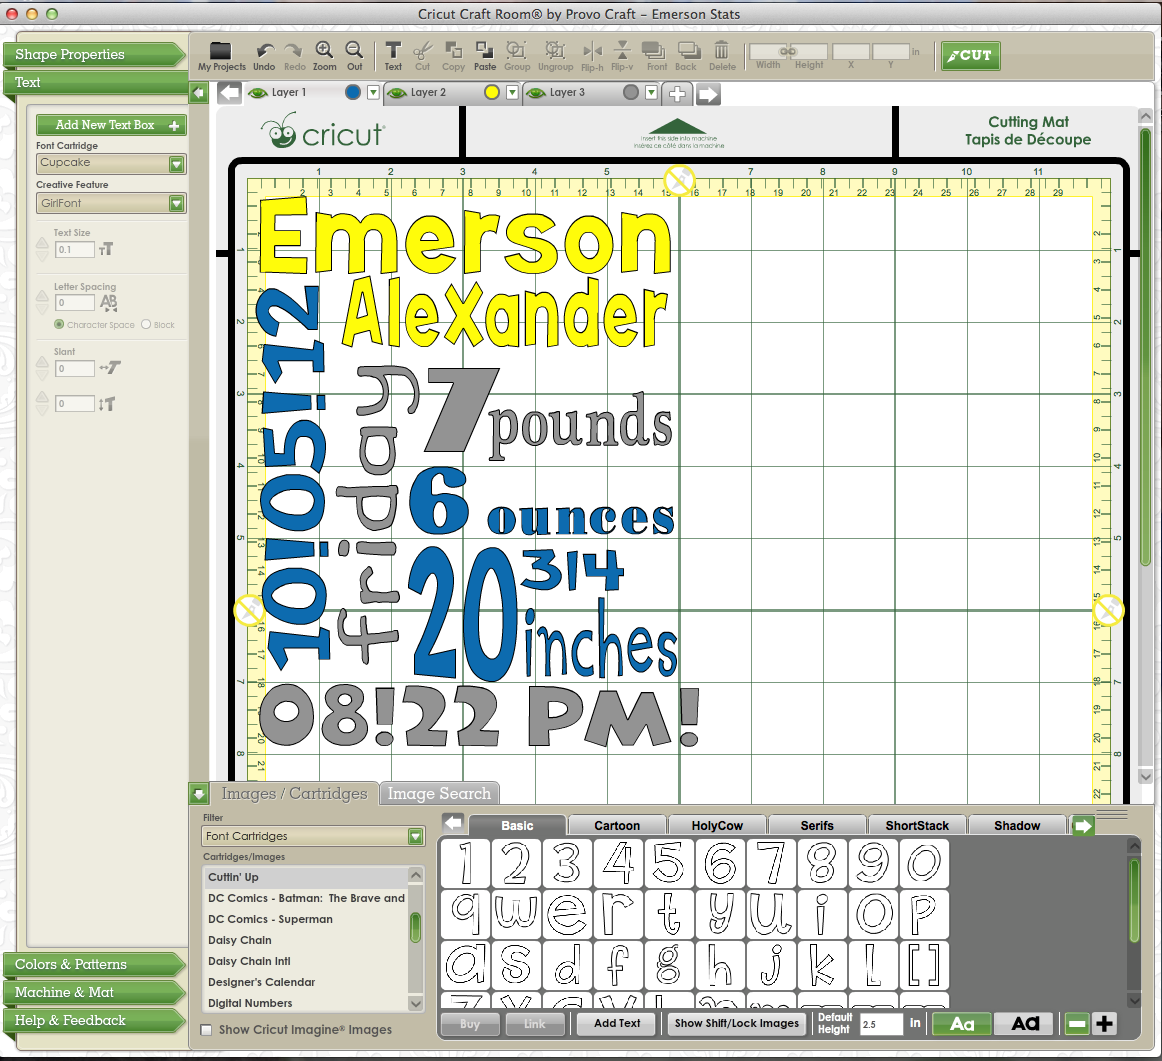
The first step for me was using Craft Room to design the layout of my canvas art. The mat and ruler made it very easy to size my images just right. And by using different layers I was able to color code then rearrange my different colors for individual cutting. Don’t forget to mirror your images before cutting (I learned this the hard way more than once). Don’t worry if you aren’t using Craft Room. Just use your machine to cut and flip or mirror your images.

If you’ve cut vinyl with your Cricut before it’s the same steps. Use a kissing cut to cut the material and leave the backing plastic intact. Next use your tools to remove the negative image, leaving your iron-on image behind.

Finally preset your iron to cotton/linen. Place your iron-on material and cover with an iron cloth. For most applications the directions advise about 30 seconds to adhere. I found the canvas needed a little extra time. Just make sure you are applying pressure and moving your iron to avoid scorching. Lightly pull back on the backing plastic to make sure it’s stuck.

The effect is flawless. The iron-on material melts right into the canvas giving it the look of paint.
The new iron-on material releases to the general public April 11th, but as an Eclectic Momsense reader you have the opportunity to purchase now. There are 2 options available:
Iron-on Pre-sale Sample Pack (selection of 3 iron-on colors)
Iron-on Pre-sale Bundle (Cricut Expression, toolkit, and 3 iron-on colors)
Disclosure: I was provided with Cricut material to create my art. No compensation was provided. Affiliate links contained in this post.
