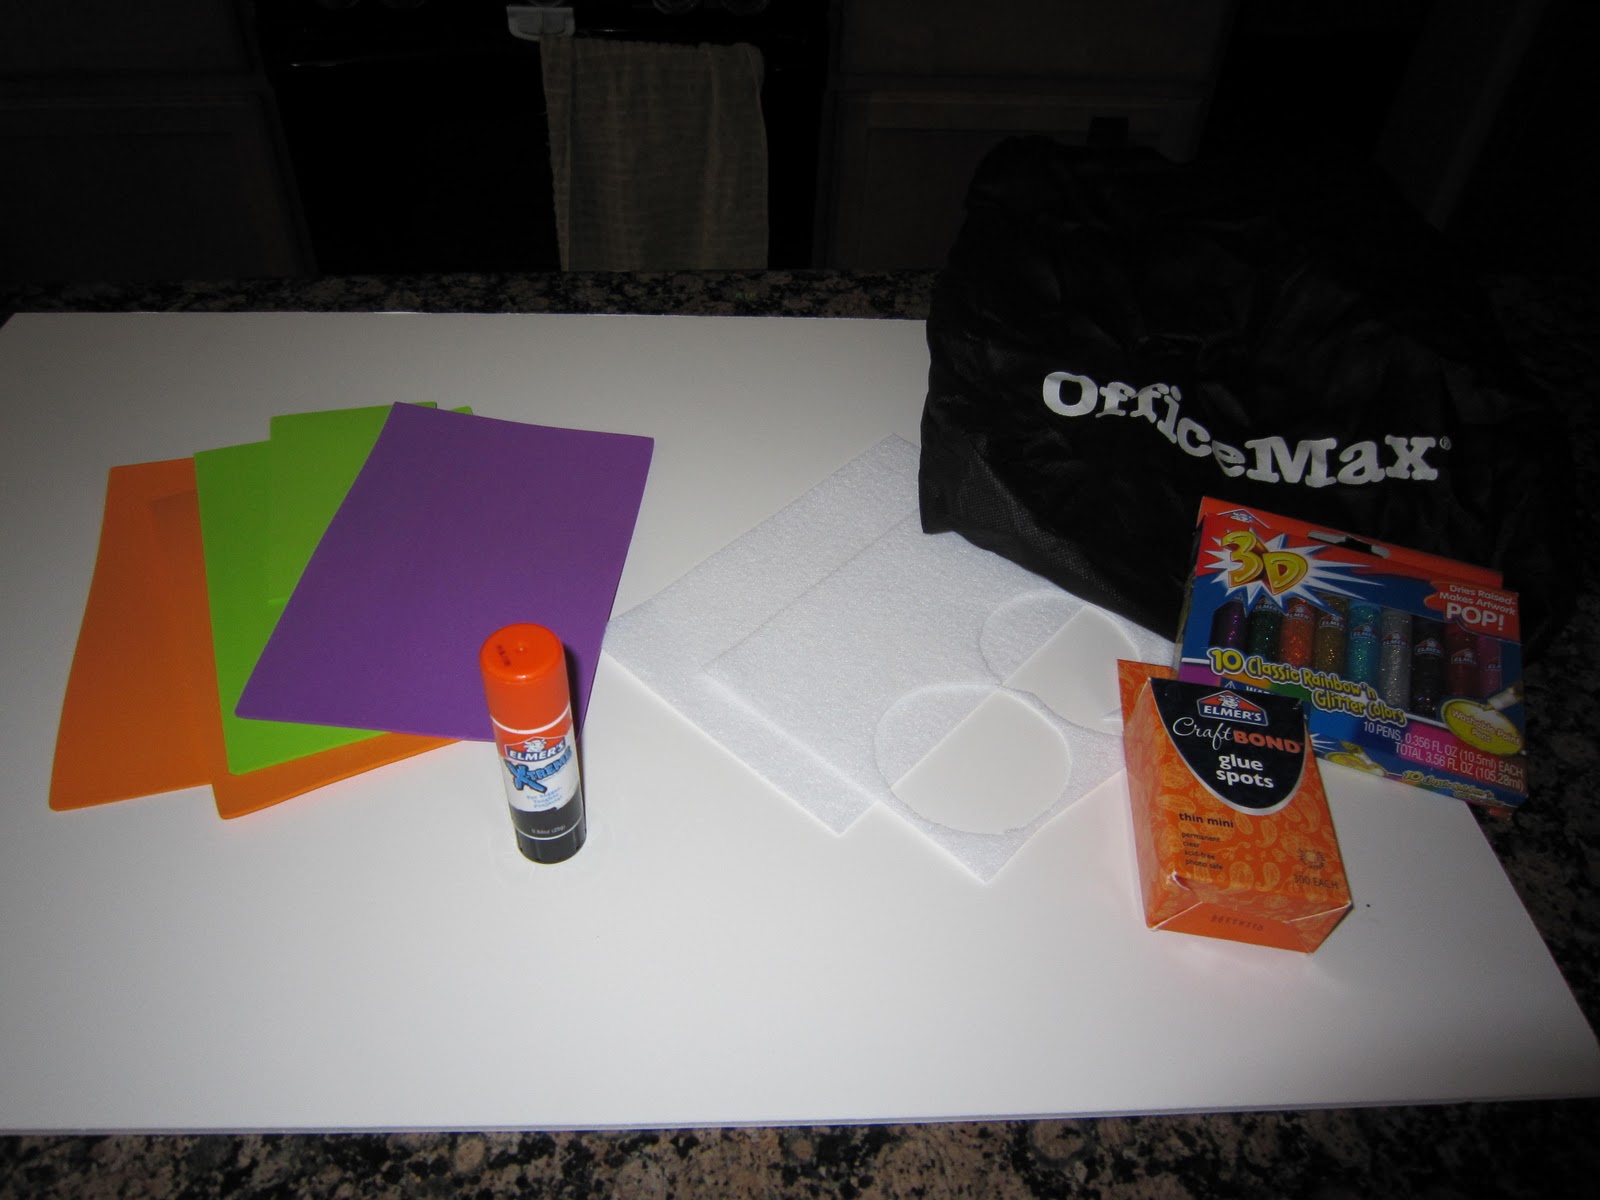
Fall is a favorite time of year around here. The holiday season is kicked off by one of our favorites, Halloween. This year we are all dressing as Mickey Mouse and need a special bag to go with our collaborative theme. As we are trying to green our life a little more I thought, why not Halloween? This craft is about repurposing and using what’s on hand. The only thing I picked up was Elmer’s Foam Board.
Supplies:
Colored Foam Sheets
Re-usable Shopping Bag
Paper Cut-Out (not pictured)
1. Start out by measuring your bags height, width, and depth. I decided to create stability for the whole bag to use as a decoration and doorstep treat bag. You may opt to only create stability in the base.
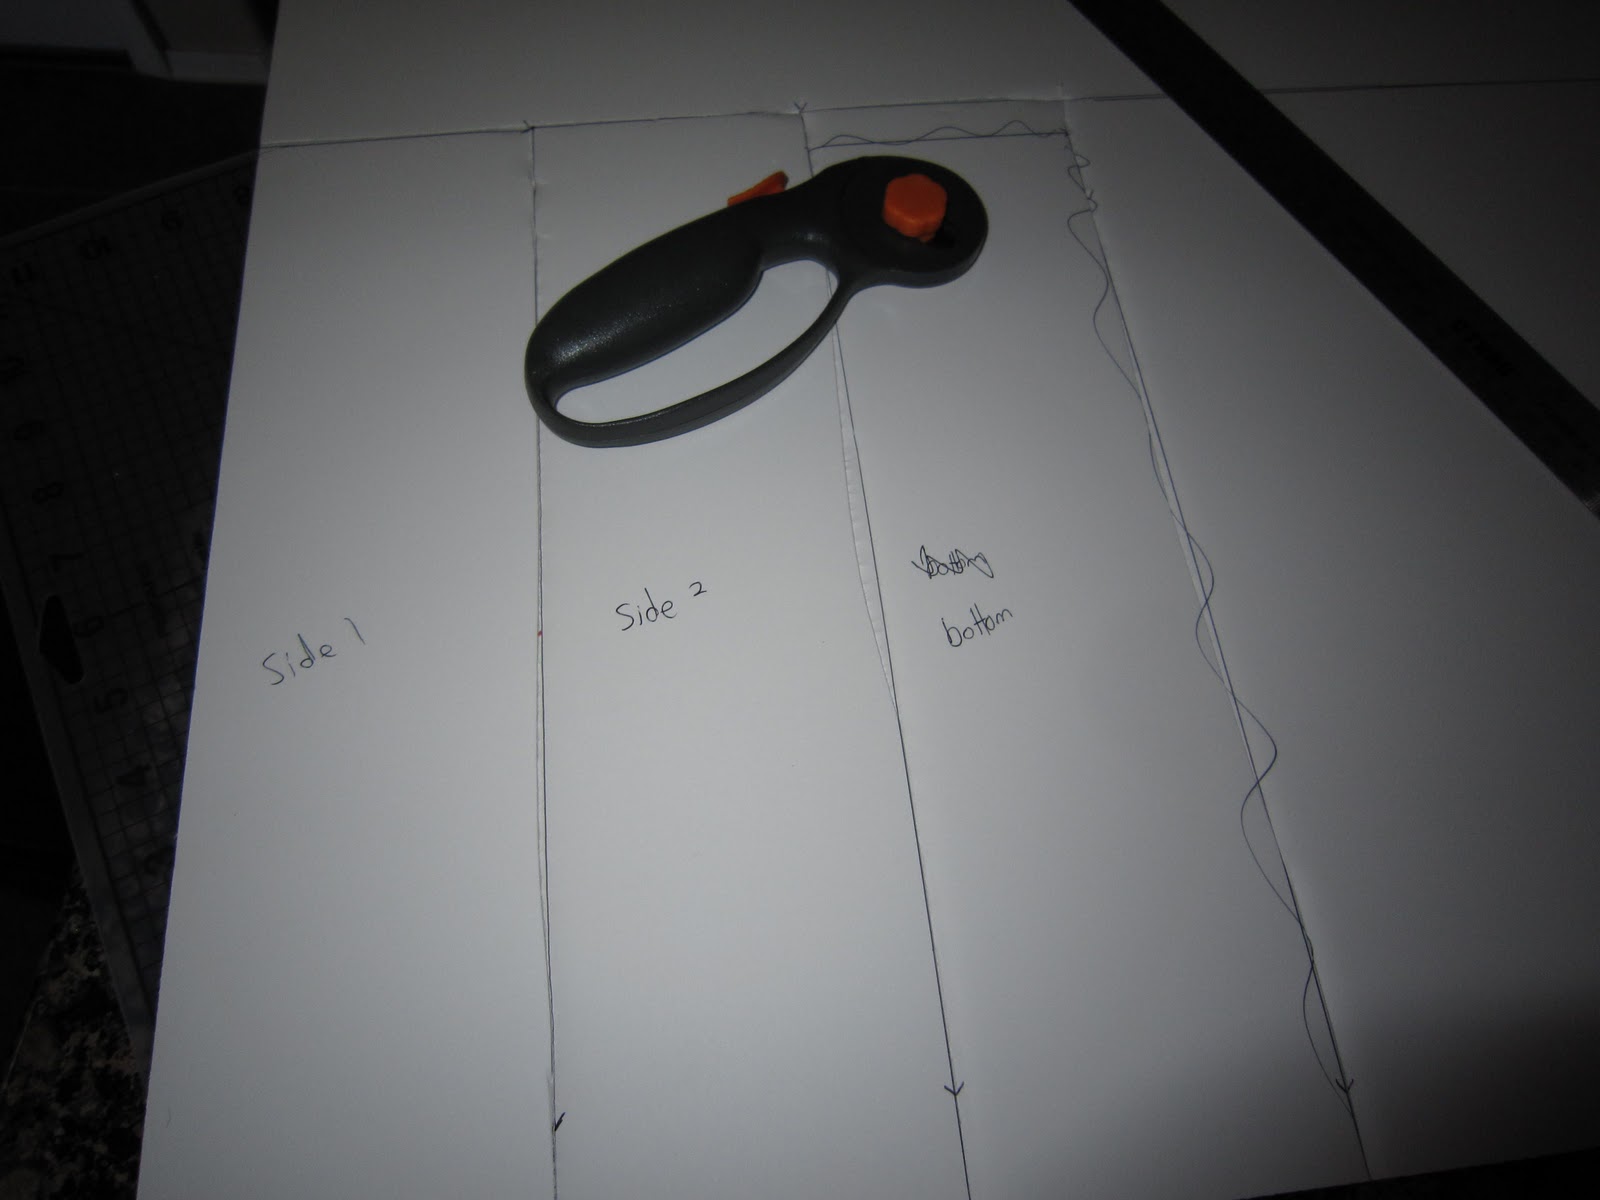
2. Layout and mark your measurements on the
Elmer’s Foam Board. Using a box cuter or rotary cutter, cut to size. My cutter didn’t pierce both sides so I had to go back with scissors to
finish off.
3. Use the Elmer’s CraftBond™ Glue Spots to adhere the foam board to the sides and bottom of the bag. I would recommend the larger Glue Spots for this project. I had to use a lot of the mini spots to get it to stick permanently.
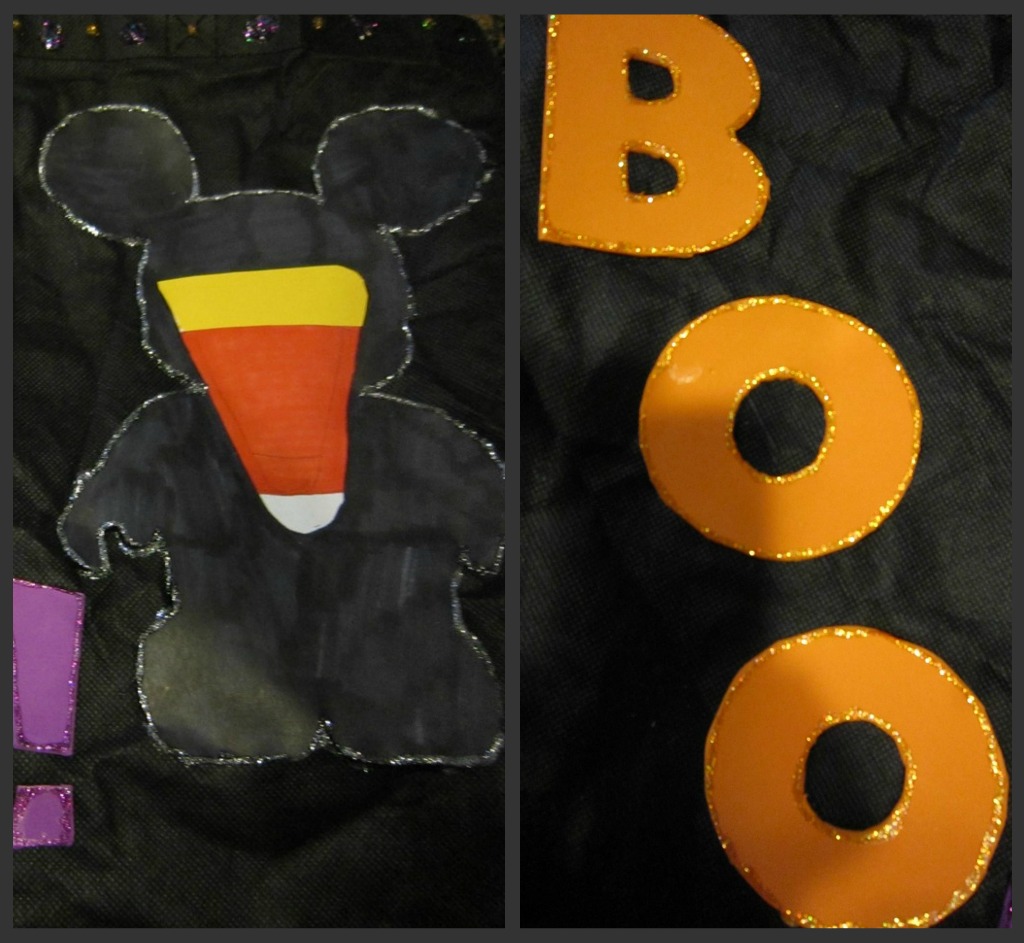
4. Create your embellishments.
I created mine using colored foam and Elmer’s 3D Washable Glitter Paint Pens (I can attest to the washable part). I used my Cricut to etch. When you’re finished cutting outline the decoration with Glitter Paint Pens to really make it pop.

The Mickey Vinylmation character idea was borrowed from Darcie at Such the Spot. I loved how she let each person in the family create their own Halloween Vinylmation character.
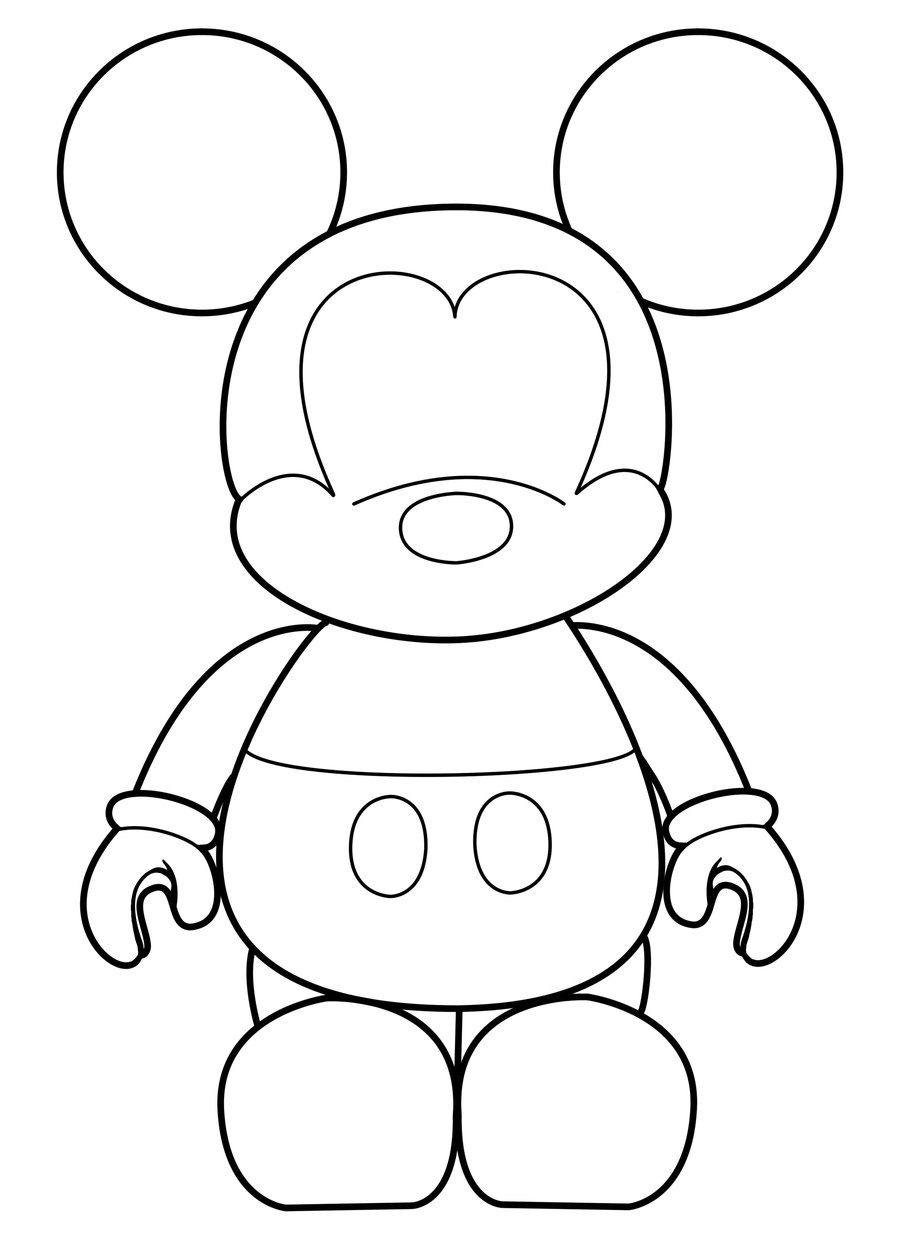
I printed it out on paper and had my hubby, he’s the artist in the family, do his magic.
5. Use the Elmer’s CraftBond™ Glue Spots to attach both decorations to the bag. I tried the Elmer’s X-TREME glue, but it wouldn’t adhere the foam to the fabric.

I think the final project is pretty cute scary. Can’t wait to see how it works with candy exploding from it.
Checkout my shopping trip at Walmart on Google+.
This project has been compensated as part of a social shopper insights study for Elmer’s #GlueNGlitter and #CollectiveBias all opinions are my own.