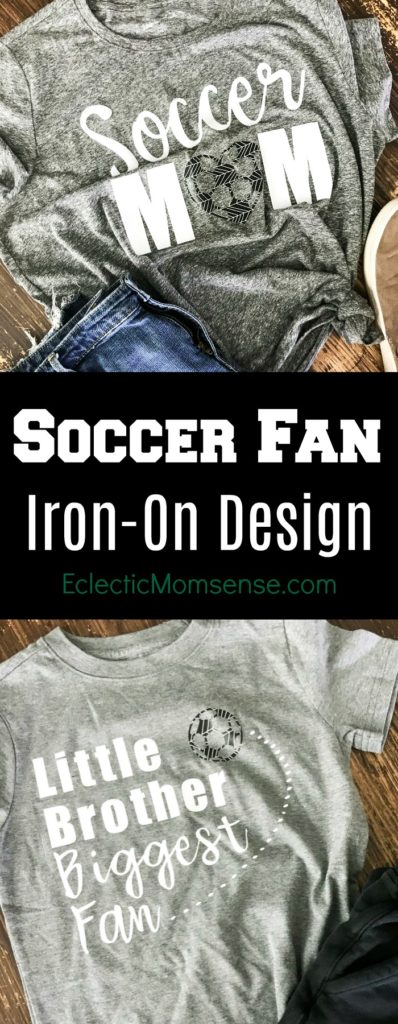
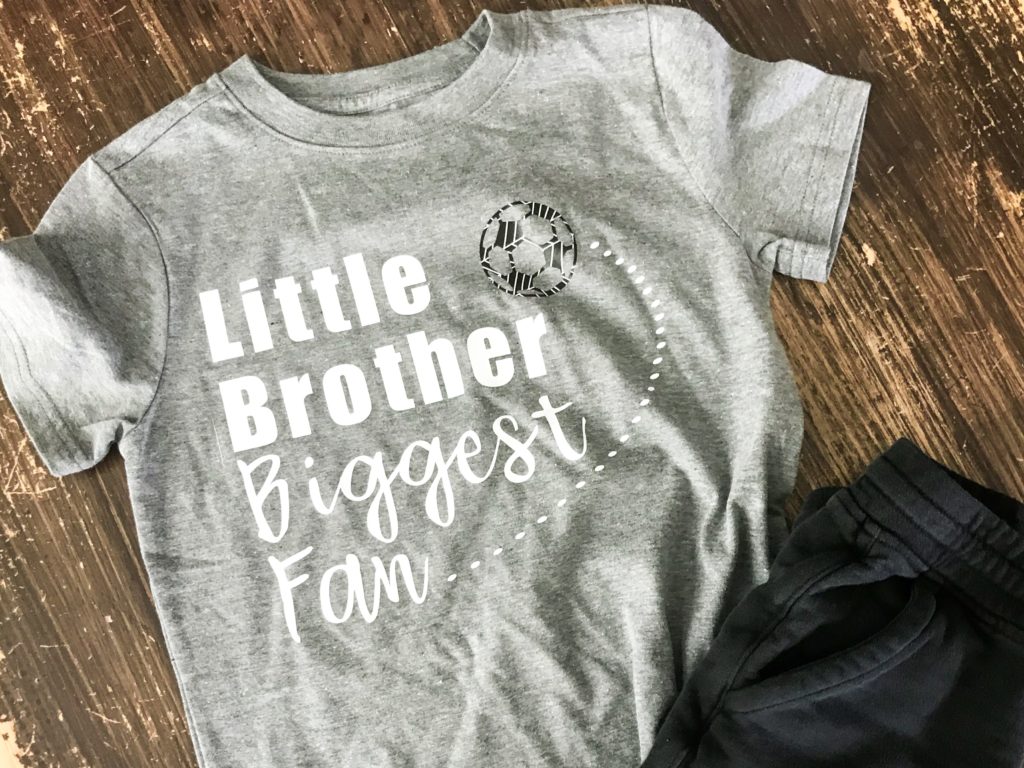
Soccer season is just starting up for us again, so I decided to whip up a set of shirts for me and our littlest soccer fan. Everything in this post comes thanks to Cricut down to the artwork! As part of a partnership with Cricut they sent me supplies to share another iron-on project featuring the Cricut Maker, EasyPress, and a variety of Cricut Iron-on materials.
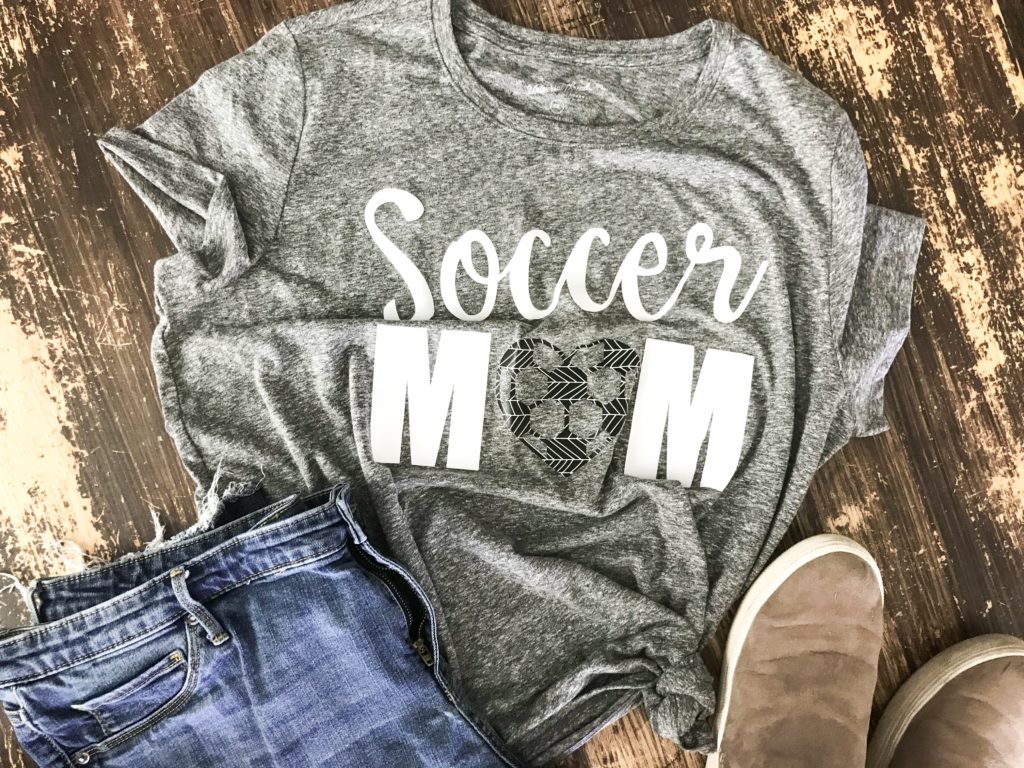
One of my favorite uses for the Cricut Maker is cutting out iron-on and making custom designs. The Cricut artwork makes it so easy to splice and attach to make custom designs. Plus you can’t beat the selection of Cricut Materials! My absolute favorite to work with right now is the Patterned Iron-on. It pairs nicely with the Everyday or SportFlex iron-on for an amazing store bought quality look.
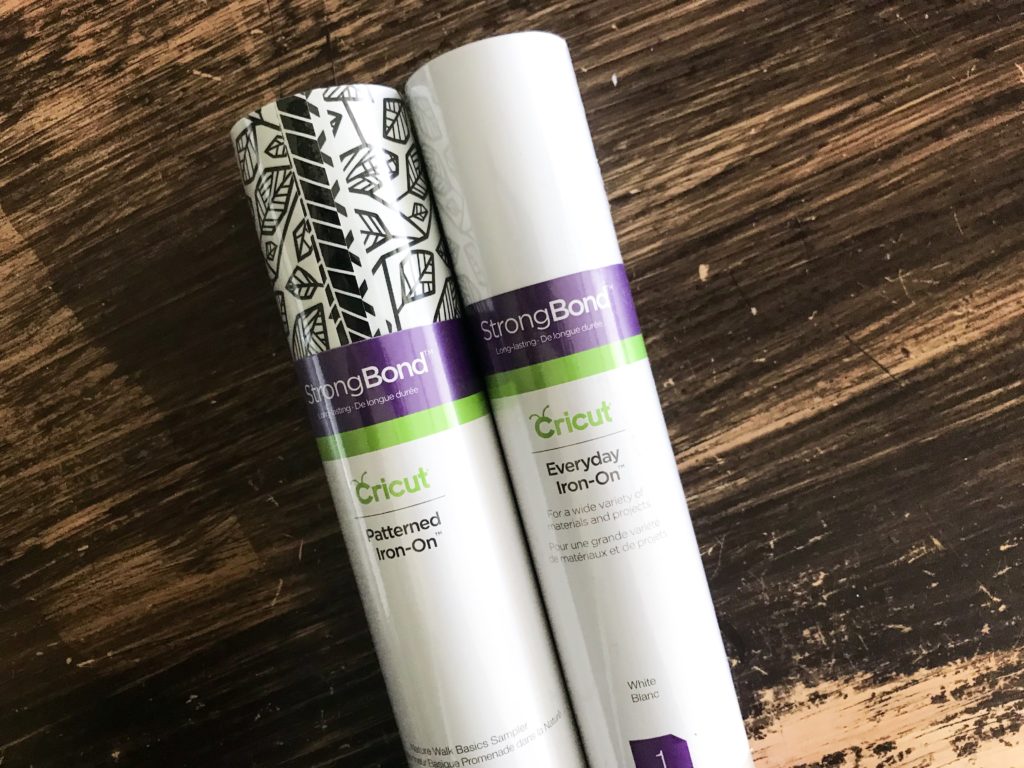
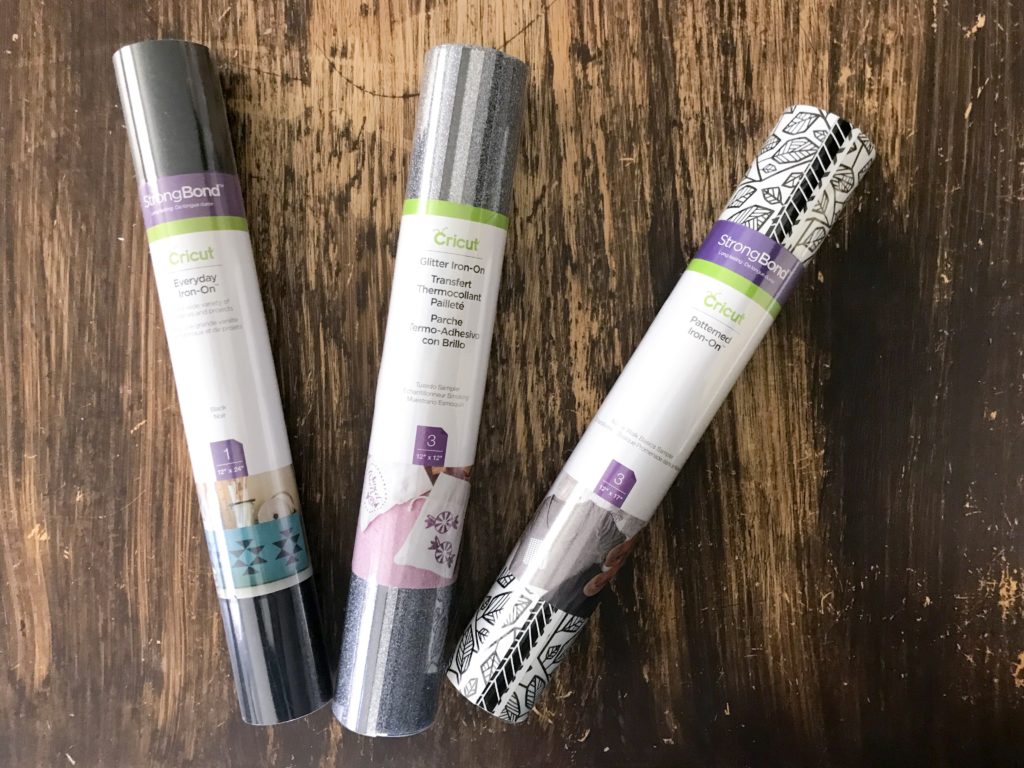
I decided to go with my favorite print from the Nature Walk Basics Patterned Iron-On . I used several patterns from this collection this summer to make coordinating tees for my boys.
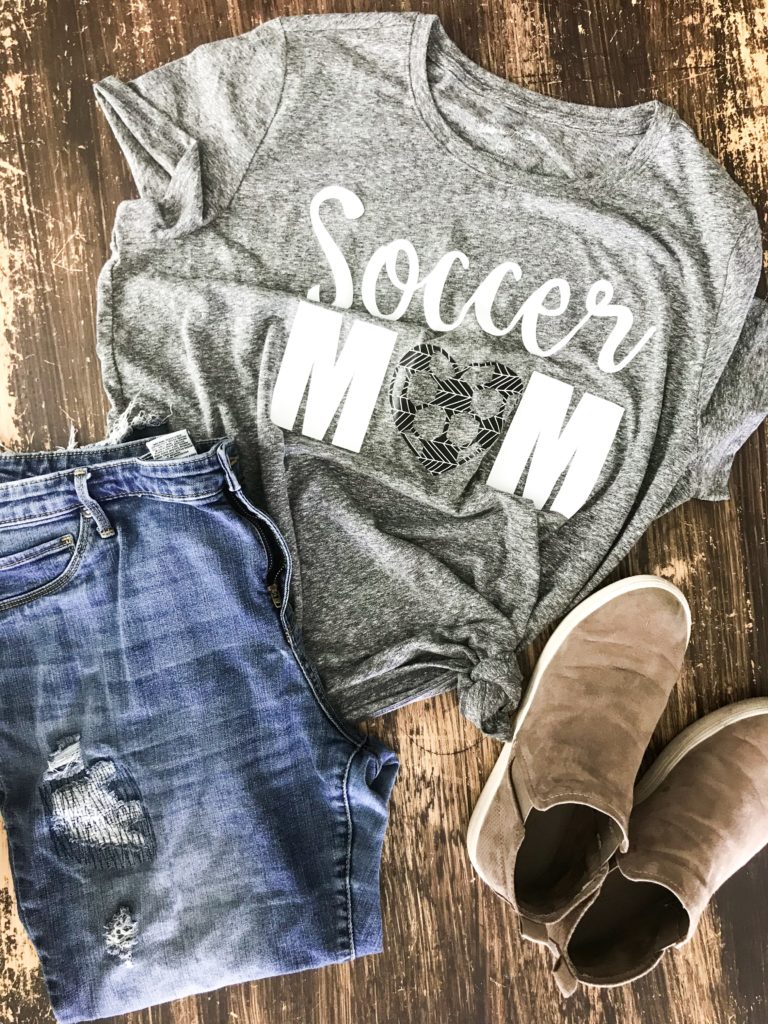
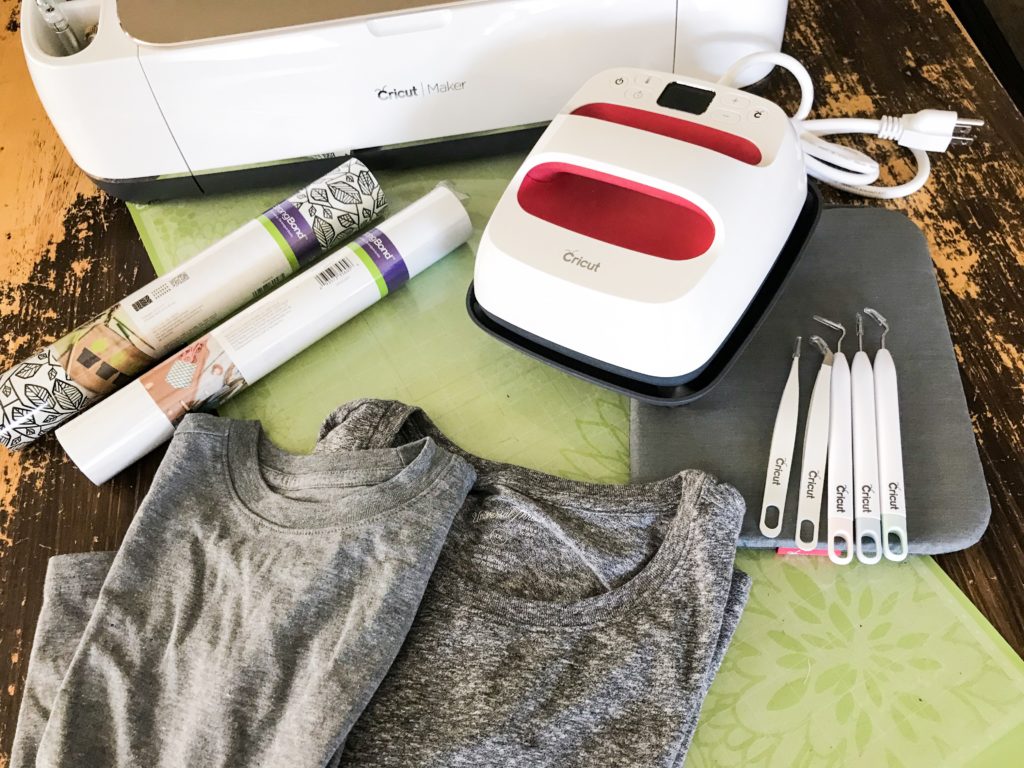
PATTERNED IRON-ON SHIRT SUPPLIES
T-shirt
Patterned Iron-On™
EveryDay Iron-on
Soccer Mom or Little Fan design
Cricut Maker
EasyPress 2
EasyPress mat
MAKING CUSTOM PATTERNED IRON-ON T-SHIRTS
Open up the attached soccer fan or soccer mom file in Design Space and adjust to your shirt size. I usually go with something that is at least 2″ smaller on each side from the sleeves.
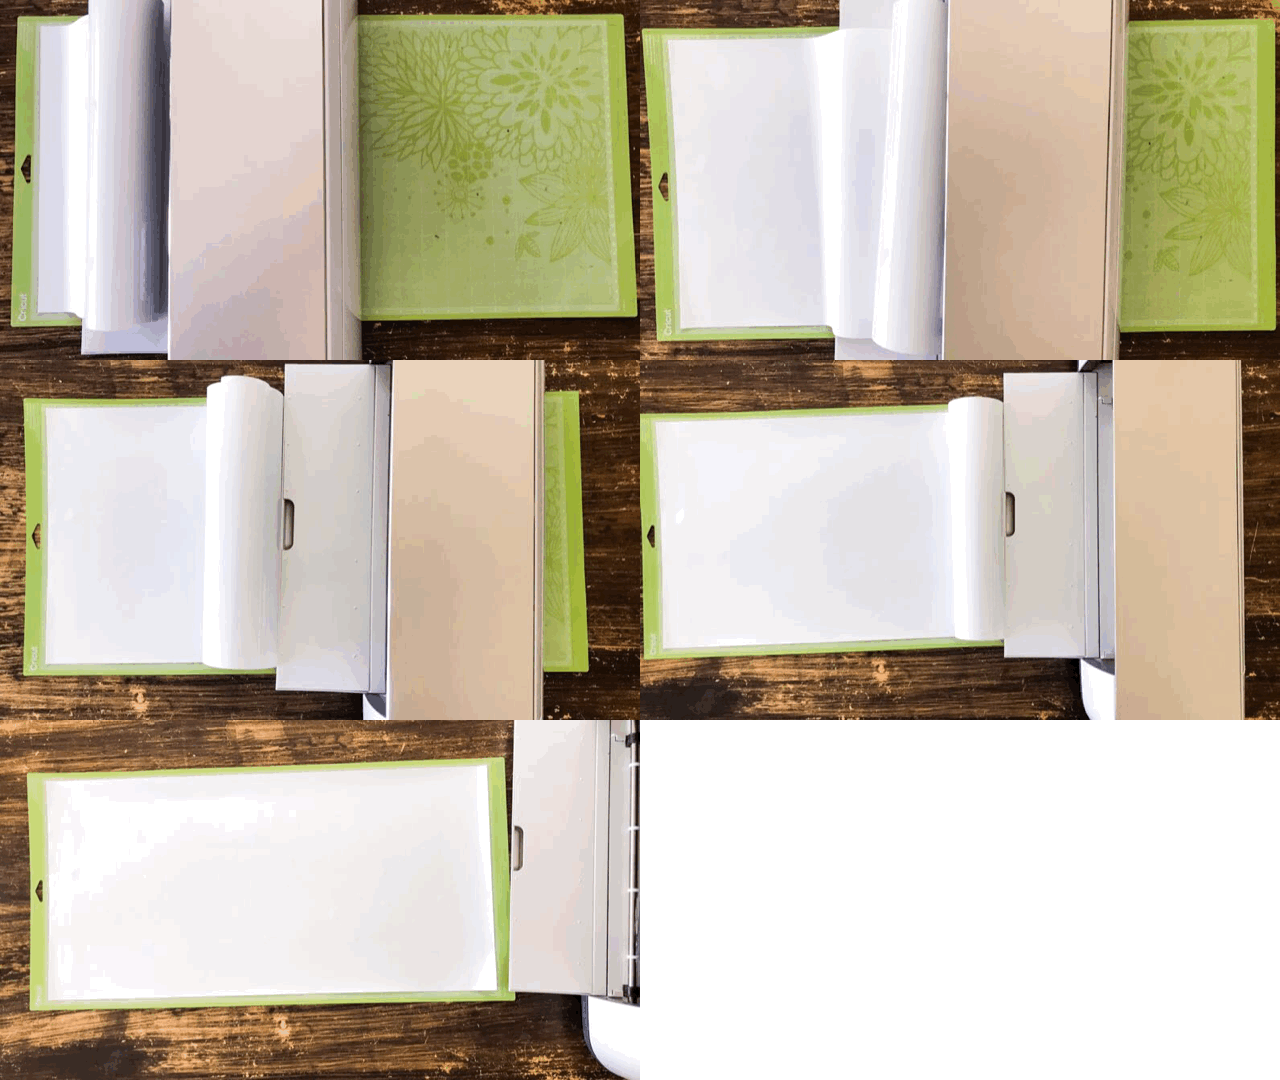
Before cutting you’ll need to place your material face down on your mat. I have a quick trick for making this chore simple, especially with longer pieces of iron-on material. Place your mat under your Cricut as illustrated. Carefully align your material to the top of the mat. Slowly, pull out the mat as you continue to stick the material until completely unraveled. This makes a huge difference when working with iron-on material that likes to stick and roll onto your mat before you’re ready.
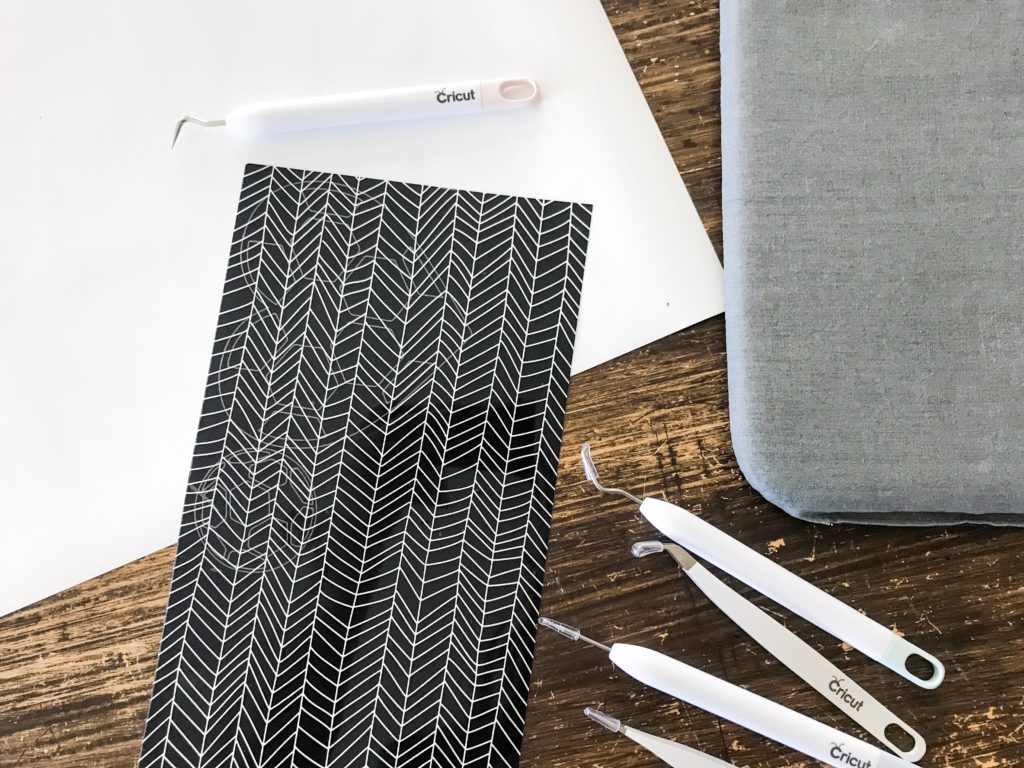
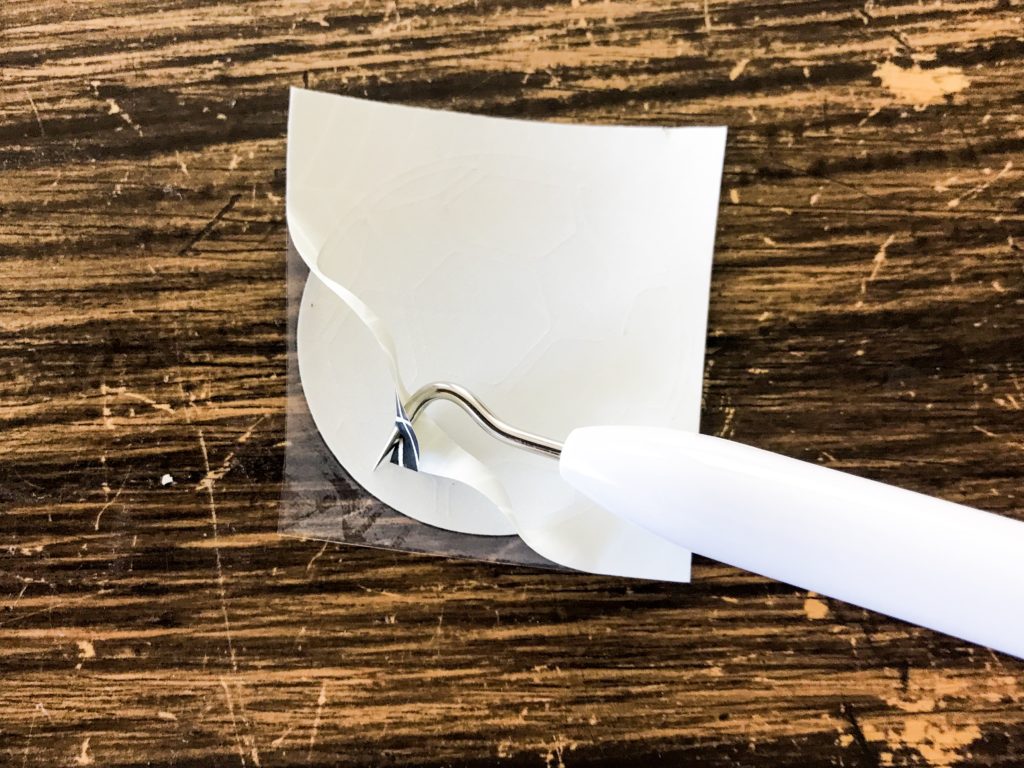
Weed out your design using a weeding tool. The tool set makes it easy to tackle any weeding task big or small. I don’t know how I survived weeding before having more than the standard hook. Each tool has it’s own specialty, making weeding even the most intricate designs a breeze.
While your EasyPress 2 preheats place the EasyPress Mat under your shirt. This provides a protective layer designed to evenly distribute heat, reduce moisture to reflect the heat back into your iron-on, and protect your surface from heat damage.
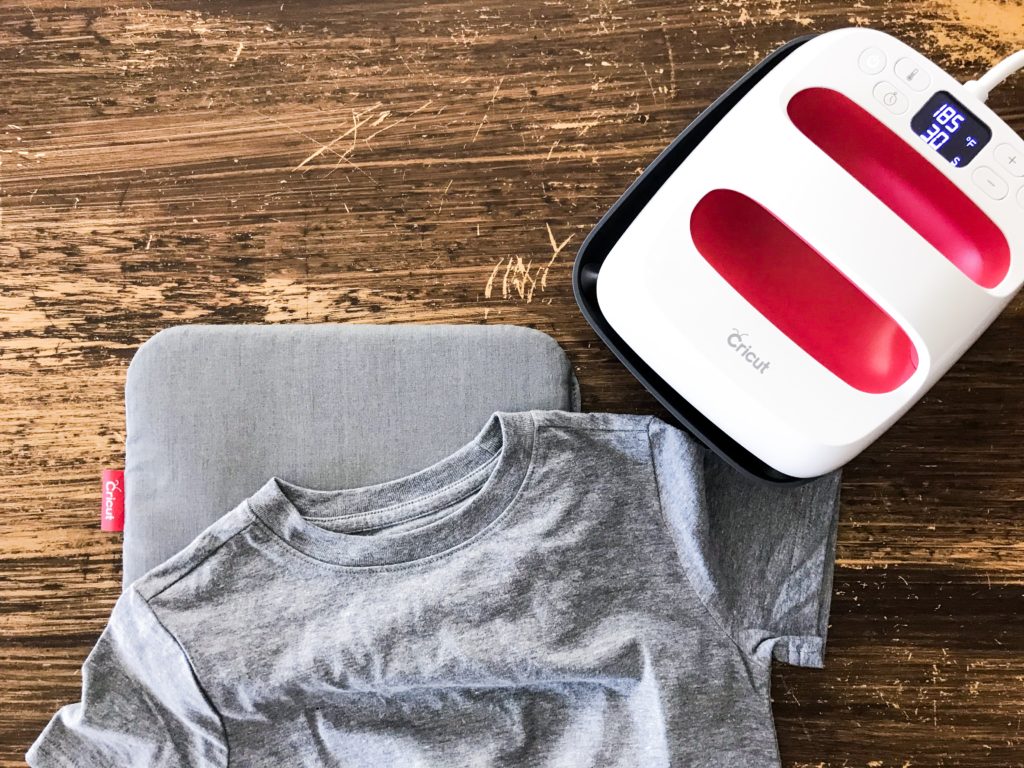
Preheat your material for 5-10 seconds before placing the design.
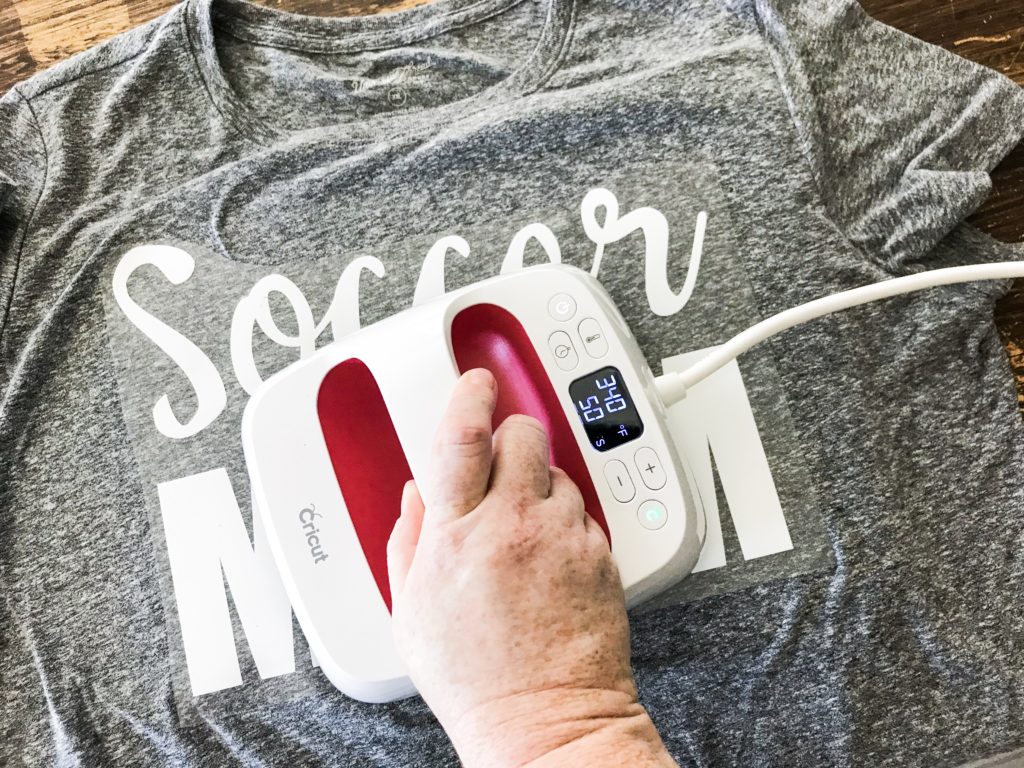
Press firmly on your iron-on for the recommended heat and time settings. Use this handy table to determine the settings for your material and fabric type. Lift the EasyPress and repeat until you’ve pressed the entire design. Flip the shirt over and press for an additional 15 seconds before removing the protective sheet.
Take note if your material is a cold or warm peel.
I LOVE making shirts and custom clothes with my Cricut Maker. The Cricut Patterned Iron-On is beyond my favorite. It adheres nicely to fabric, and almost melts into your project material with no visible edges giving it a durable store bought look.
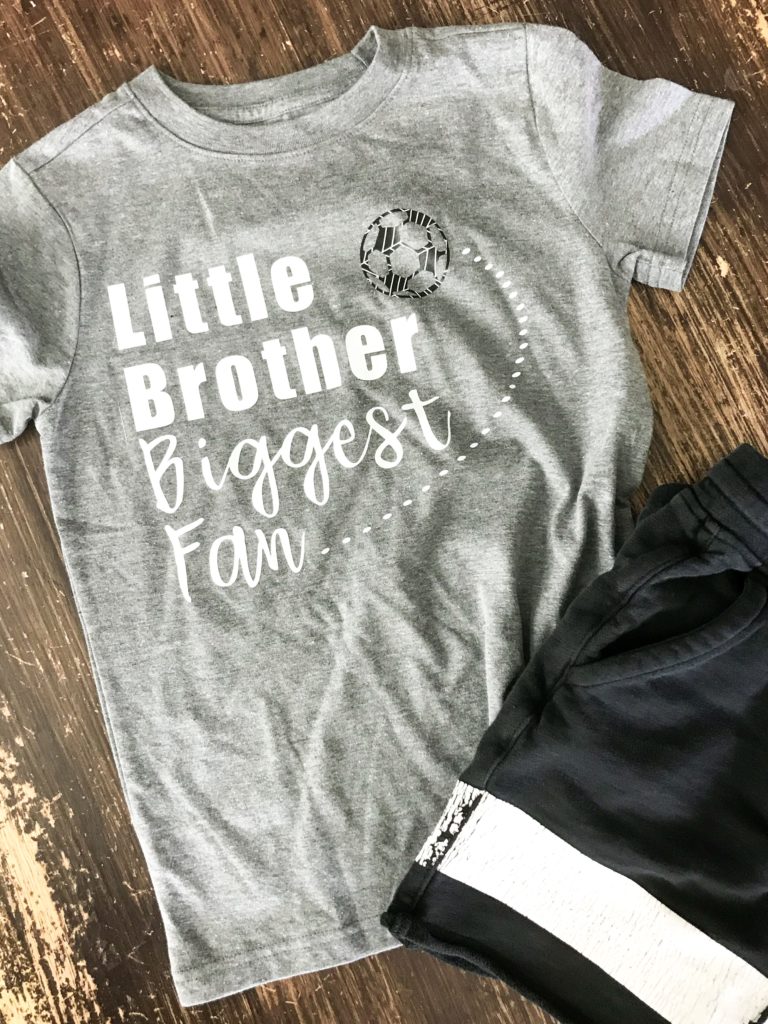
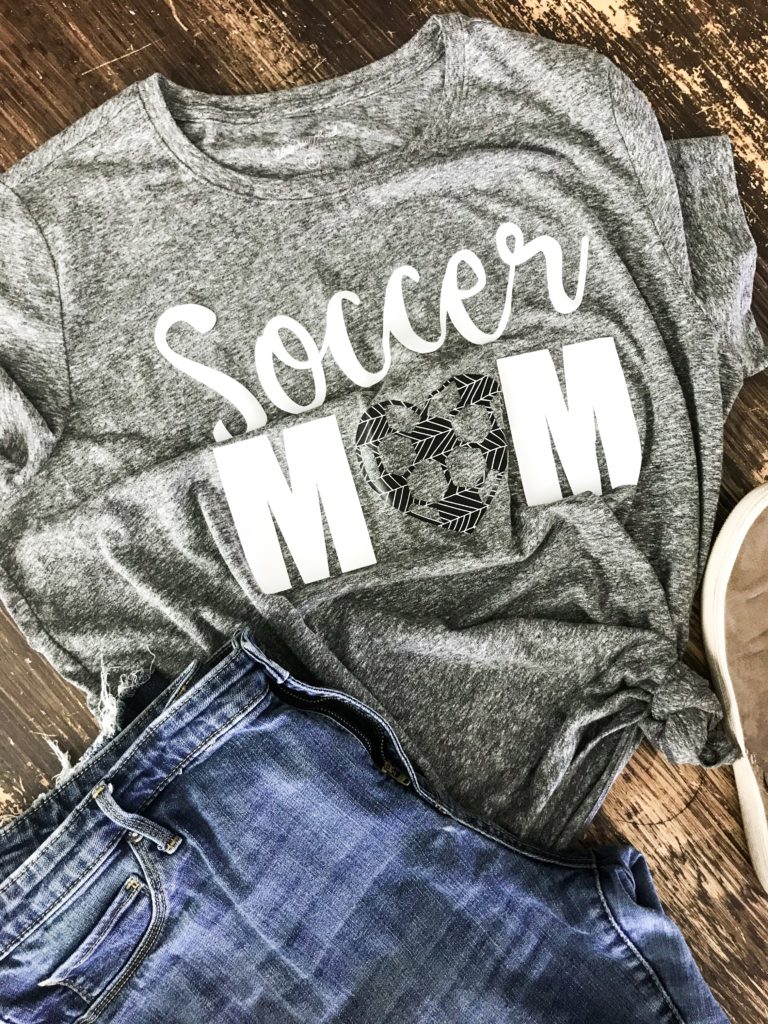
Little brother and I can’t wait to cheer from the sidelines in our coordinating shirts. He’s already proven he’s a superfan with his encouragement from the sidelines, now he’s got the shirt to prove it!
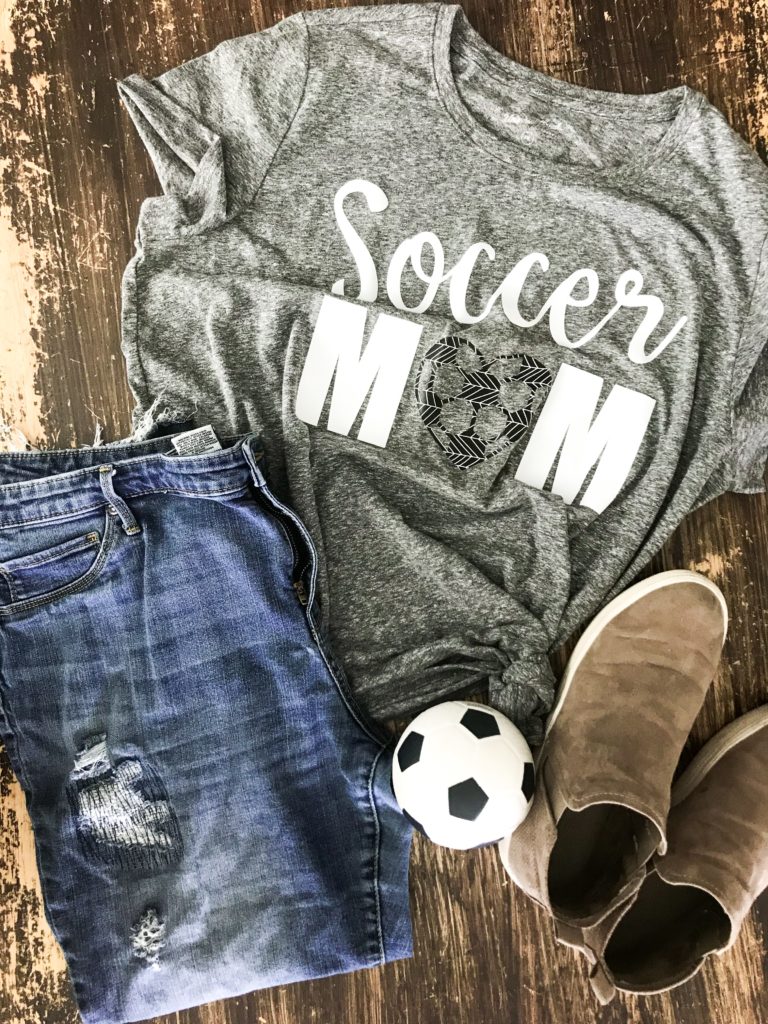
The patterned iron-on just really adds to the style of the shirt. It takes a boring plain tee and gives it a fun customize look. Cricut offers a variety of iron-on materials for any project or material, they even have glitter!
I love how this project turned out, but I’m thinking of going back and adding some white to each soccer ball to make it pop more. Thoughts?
LIKE IT? PIN IT FOR LATER!
